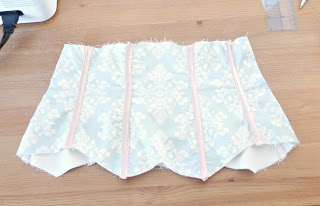
If you want to add some contrast to your corset, adding contrasting boning channels is an easy way to do it. You will need a yard of contrasting fabric – any type will do, but avoid knits. I’m working with a pale pink charmeuse.
Before adding these contrasting bands, make small tacks where the boning is to end on your bone channels. I am not boning the entire length of my seams in this corset. The pattern is marked where the bones are to stop.
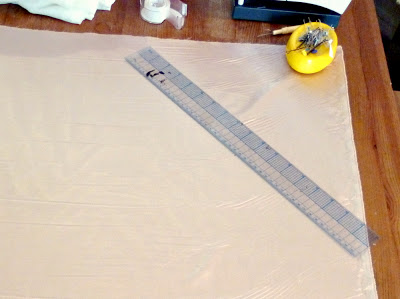
Because I am working with a flimsy fabric, I am cutting my bias strips quite wide, at 1 ½” – bias strips are made by cutting the fabric on a 45 degree angle. If you are using an easier to manage fabric, you may want to cut your strips narrower, by about 1/4″. We’re going to end up with a strip that is 1/2″ wide.
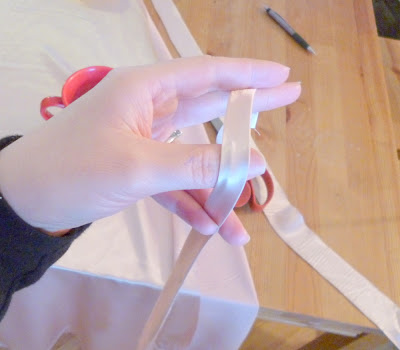
Fold your raw edges in and press with a hot iron, so you end up with a ½” wide strip of bias – I trimmed off excess as I folded. Wider strips of flimsy fabric like charmeuse are easier to work with, and cut down as you go.
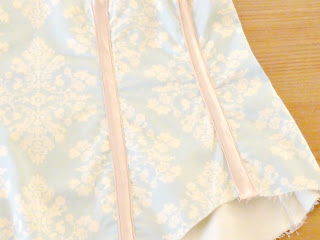
If it is easier for you, pin your bias strip over your seam, or simply hold as you go. Your bias strip should be just a “smidge” wider than your top stitched seam. Stitch it down, as close to the edges as you can! You should be just about stitching over your to stitching.
So, Why can’t you just stitch on a bone casing line this to put your bone under? Well, you can – if you are using something like a twill tape casing, or a sturdier fabric. With a single layer of charmeuse, your bone will quickly, and I mean quickly work its way through these bias strips. Your bone needs a couple of layers to sit in between, in order to have a garment that will last.
And there you are – contrasting bone channels!
What kind of embellishments have you added so far?


No Comments