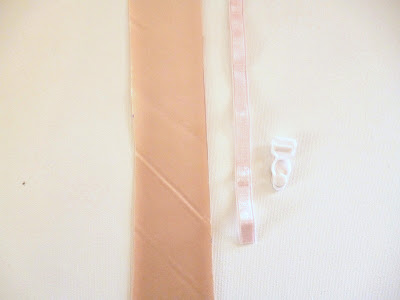
Now that your all of the major construction of the corset has been finished, we can add our garter straps. Has anyone had a hard time finding garter clips? I bought pre-assembled straps, that I’ve taken apart. I’ll use the sliders and hooks on another project, today all I need are the clips and the elastic.
I decided I wanted ruched, satin garter straps for my corset. Here is how I did it:
I cut a piece of satin on the bias, 1 1/2″ wide – adjust the width of yours depending on the width of the garter elastic ( I am using 3/8″ elastic). I didn’t use any particular length, I just cut a long strip, and made more as I needed.
Folded in half length-wise, stitch 1/4″ in from the raw edge, forming a long tube. With a safety pin attached to one end, turn the tube right side out and press, so that the seam falls along one side of the tube. The seam side is the back side. Now that you have a nice, pressed strip, carefully stitch 1/8″ in from each edge – can you see my stitching lines in the picture below?
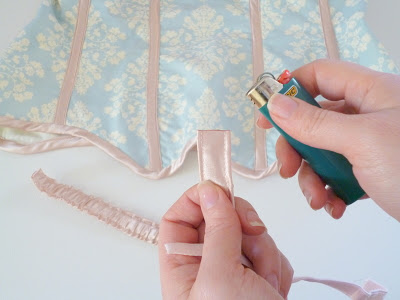
I am using a polyester satin, so I am able to singe the ends with a lighter. This makes life much easier – we are going to have to carefully turn the raw ends in once we have our elastic in place. I hate dealing with fraying fabric!
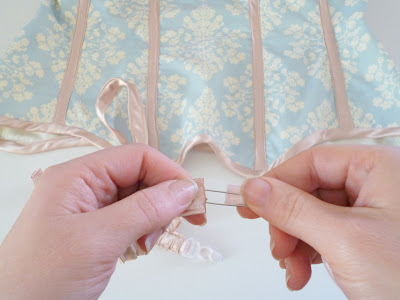
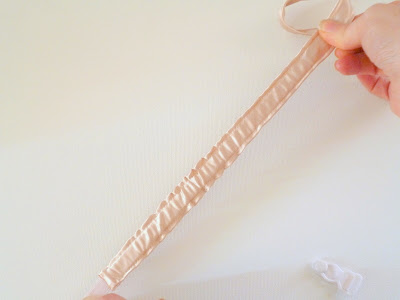
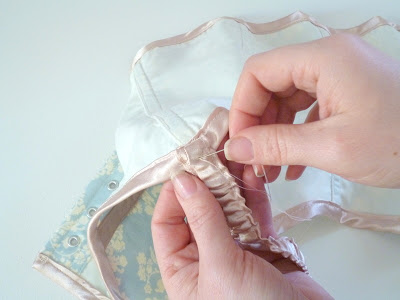
Feed your elastic into the satin casing using a safety pin. Pull and stretch the elastic as you go. You will start getting a gathered, ruched effect. Once you have the gathers the way you like it and the elastic has pulled almost all the way to the end, stitch one end so the elastic doesn’t pull back into the tube, and turn the other end in, leaving a “tail” of elastic at the turned end in (about 1/2″ of elastic should be sticking out). The elastic that is left sticking out the end will attach onto our garter clip.
In the picture above, you can see how I stretch the elastic as I pull it through the satin. In the lower left, you can see that I leave some elastic sticking out of the casing.
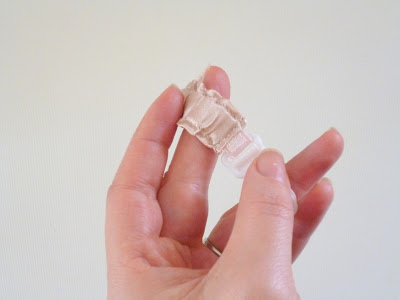
Fold up your raw edge, at the end where you’ve left some elastic sticking out, feed on your garter clip, fold the loose end of elastic back up into the satin casing, and carefully stitch it closed.
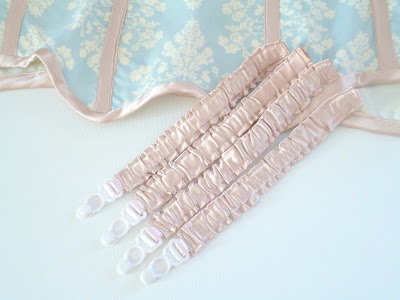
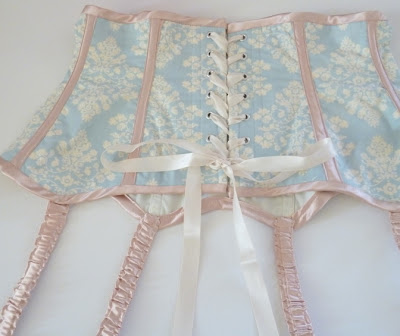
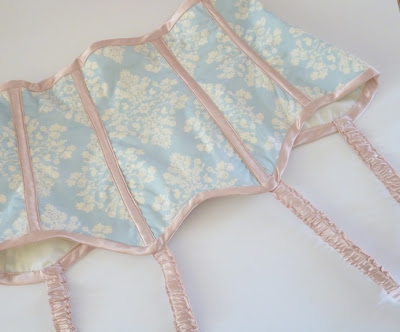
Now, do that four times! Don’t they look pretty?
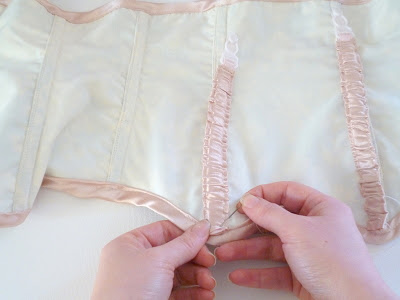
I attached my straps by hand, first laying the strap upwards and the right side facing out, I basted it to the corset.
Flip it back down, facing the proper way, and stitch it down. I then stitched by hand around the entire piece to keep it securely in place.
There! Satin covered garter clips. I feel like these give my corset a burlesque-ish look. What do you think? Will you use something like this on your corset?


8 Comments
K.Line
March 7, 2012 at 1:37 pmThis is looking really beautiful…
mideva
March 7, 2012 at 4:29 pmvery nice,didn't think about the elastic as a loop,glad I waited.
Sarah Elaine
March 7, 2012 at 9:33 pmIt works well – especially if you are working with small garter clips, like I was!
Rachel Proffitt
March 7, 2012 at 5:11 pmOOh pretty! I have only just made my muslin- my Joann's finally reopens this week and I will be able to get the extra stuff I need. That is of course once I resize the pattern and redo the muslin!
Cherise
March 7, 2012 at 6:54 pmI already made me some satin covered garters, but then realized my clips wont fit with the added width I was hoping to make them adjustable.
Your corset looks very lovely
Diana Nuland van
March 7, 2012 at 7:49 pmYour corset is very lovely!
Thank you for sharing
Charl
March 7, 2012 at 8:34 pmThis is awesome, Sarah! Thanks for passing this on- I am using this method to cover mine as we speak!
Sarah Elaine
March 7, 2012 at 9:23 pmCan't wait to see your finished garment!