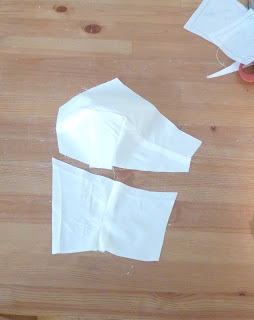
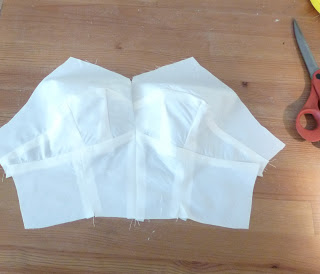
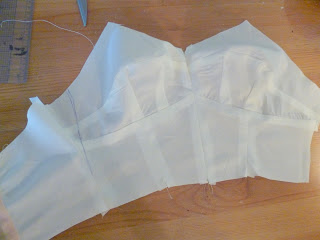
In order to get the right fit, which is very tricky and specific with bras, it’s really important we sew a muslin. You can use any scrap fabric of your choosing, so long as it is a similar weight as what your final garment will be sewn in. If you plan on using any stretch fabric in your finished bra, do the same with your muslin, or you won’t get the same fit. I am using a stretch fabric for the centre back panel.
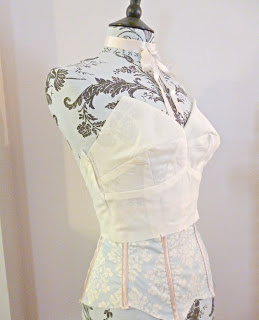
Sew your bra together, leaving one side open (or open at the back if you plan on using a back closure). Try it on over a fitted shirt and no bra, or an unpadded bra. Pin it in place and see how it fits! I use a pen to mark any alterations that need to be made, directly onto my muslin.
Transfer your markings onto your pattern. You are now ready to start cutting your fabric! Are you having any trouble with the fit?
If you are finding that the cups are too small, increase the curve of the upper and lower cup. If you are finding the cups are too large, decrease the curve of the upper and lower cups. Anna has demonstrated how to size down the cups Here. If you need to size up, do the opposite of what she does. It’s really that easy. You can also play with the darts to alter the depth of the cup.
After sewing my muslin I decided to change mine from a side close bra to a back close bra. I did this by simply removing the “cut on fold” indication and adding 1/2″ seam allowance along the center back seam. I also decided I would add a panel of stretch to the side front, under the cups. What changes are you making after sewing your muslin?


No Comments