Once you have the foundations of your business established – what you will sell, your shop policies, and a basic template for your product descriptions, it’s time to get to the fun stuff. I never thought I liked photography. I figured it was as easy as seeing something you like and taking a picture of it. Turns out, it’s not that easy. The camera doesn’t always see things the way your eye sees them in that moment.
When selling items on Etsy, or any other online venue, your photos are probably one of the most important tools you can use to help sell your items and create a brand image. When I first started selling on Etsy I felt really overwhelmed by the amount of sellers who appeared to have professional photography. I didn’t have any photographer friends handy at the time, and just a $99 point and shoot camera. While I feel like my photos have greatly improved over the years, I still feel like my photos were crisp, clean, and clearly displayed what I was selling.
I think the most important tip I can pass along is to take lots and lots of photos. Get a sheet of white bristol board, some whethered wood, some black velvet, something to create a nice clean back drop, place it in front of a bright window and take million pictures of your item on it. If you are like me and have no clue about how to take a good picture, you will quickly see what works and what doesn’t just by doing it. You do not need a $600 camera with a dozen fancy lenses to take nice photos. Just time, patience, a good backdrop, and bright natural light. Also take time to prepare your items before hand. Snip any loose threads and give the garment a really good press.

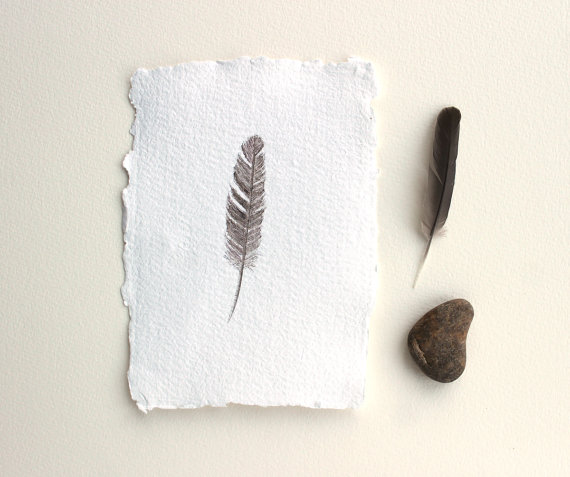
Something I have often done in my photos is add props. Props help to create mood and add interest to the photos. I know when I am browsing through Etsy, the items I often stop on and favorite feature props. One of my favorite sellers,
Kathleen from Trowel and Paintbrush, often uses natural props in her photos. I like how she does it, the photos still appear simple and uncluttered, but the props help highlight the artwork.
Styling your photos can be a lot of fun. Remember to keep it original – you want to create a look that is distinctively you!
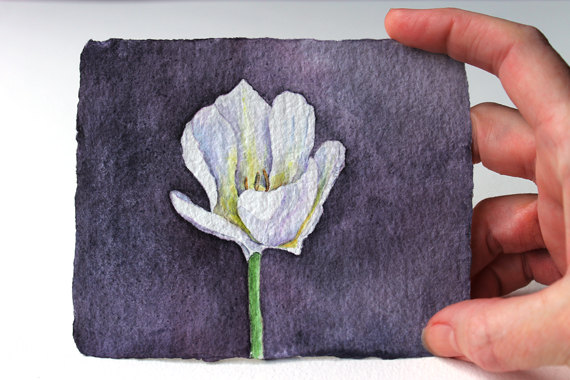
For many items, a scale reference is nice to have. If you are selling greeting cards, show it held in someone’s hand, so you can see how big it is. If you are selling earrings, show them on an ear so you can see how long they dangle. For clothing it gets a little trickier because photoshoots can cost you big bucks, but you can also enlist some friends as models, put on some good music, and just have fun, or include a shot of the garment on a dressform.
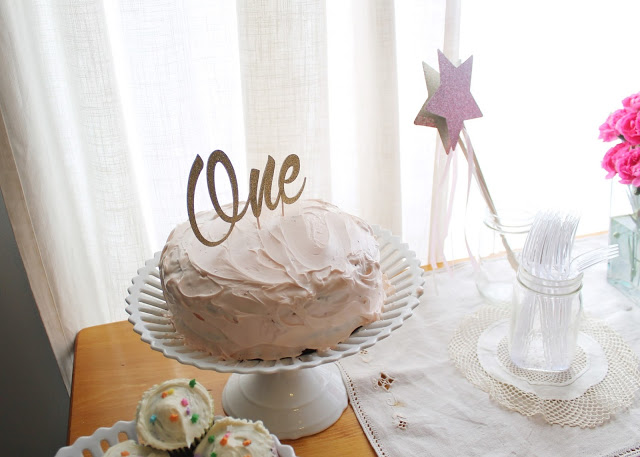
Taking a lot of photos is really important, but also trying new things with your photos is important too. With my last collection I have tried a new approach with my photography. I use simpler backgrounds, geometric shapes to highlight my items, and with the collaboration of photographers and models, have more modeled shots to display the fit of my garments. As you grow and change as a designer, your photography and styling should reflect that.



3 Comments
eennieuwejurk
April 9, 2013 at 7:37 pmGreat information again! Thanks a lot! The last picture is quite stunning!
Kathleen Maunder
April 10, 2013 at 4:01 amThanks so much for including my photos, Sarah! Great 'how to' series that you are doing.
Jennifer @ Workroom Social
April 10, 2013 at 4:07 pmReally good tips here, for online retailers and bloggers too! I think it's especially important to prepare your items ahead of time. It's easy to overlook but it's those little things that really catch your eye in a photo. Can't wait to read your next post! This is a great series.