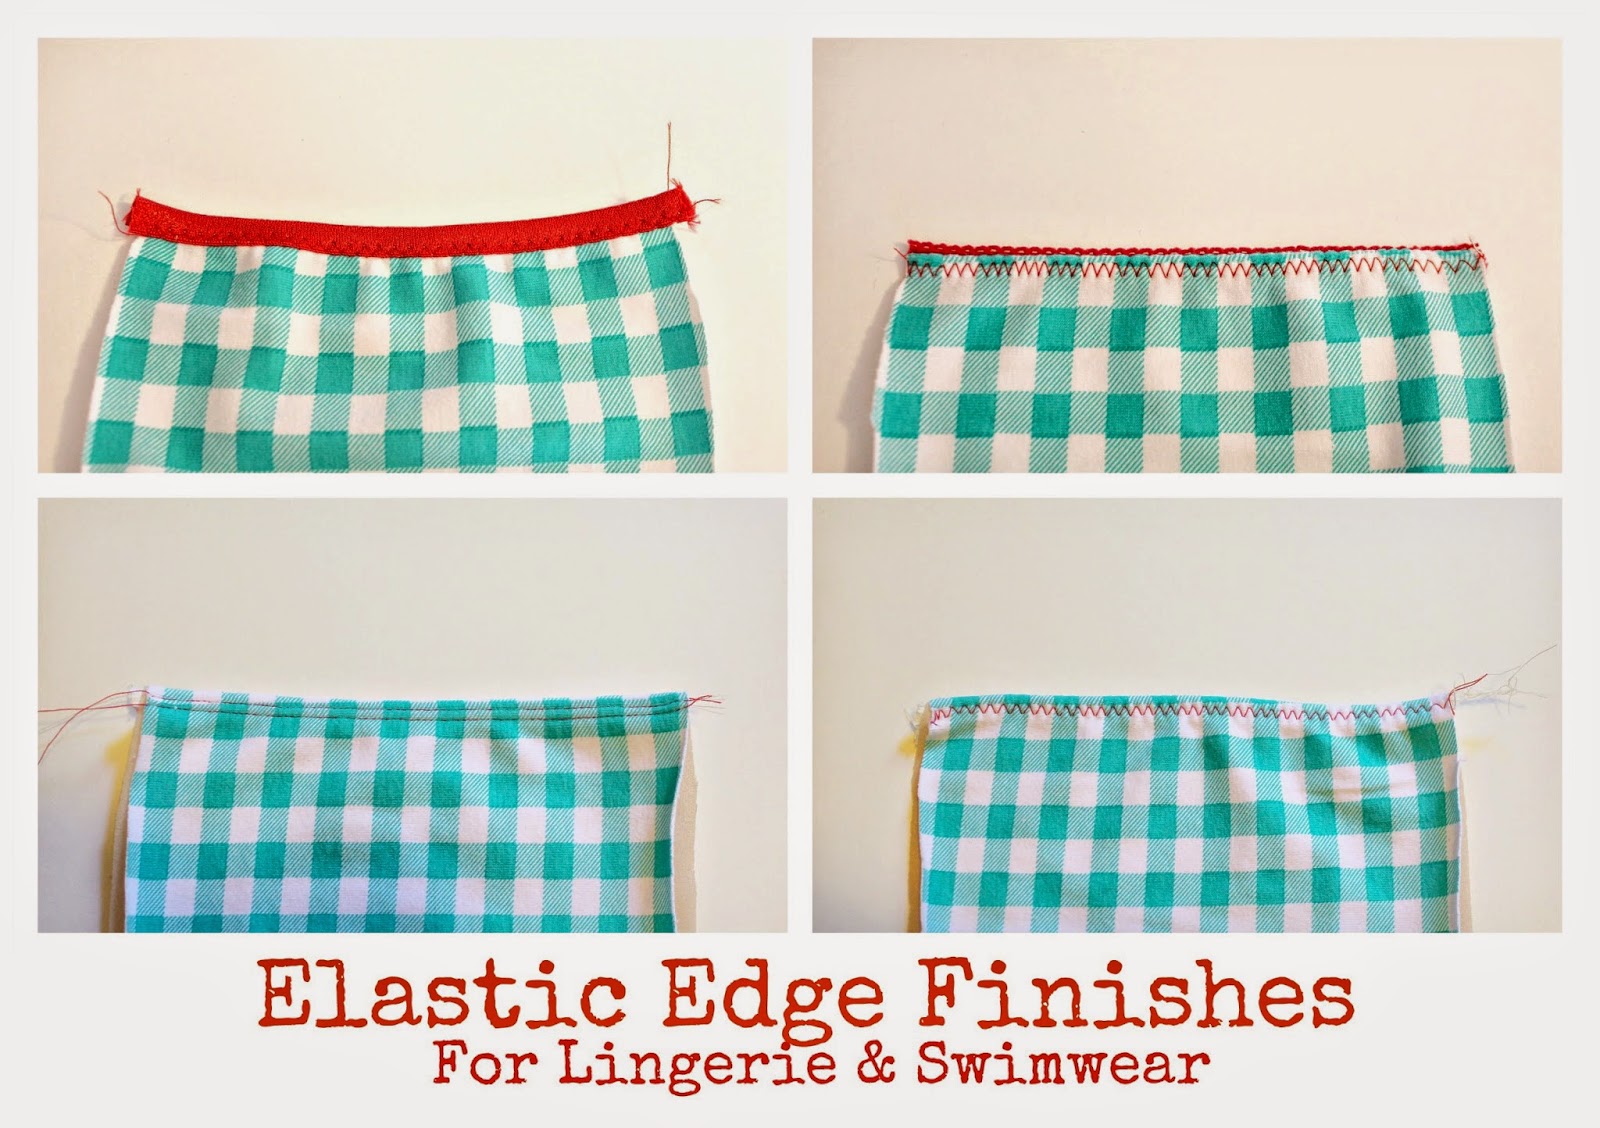
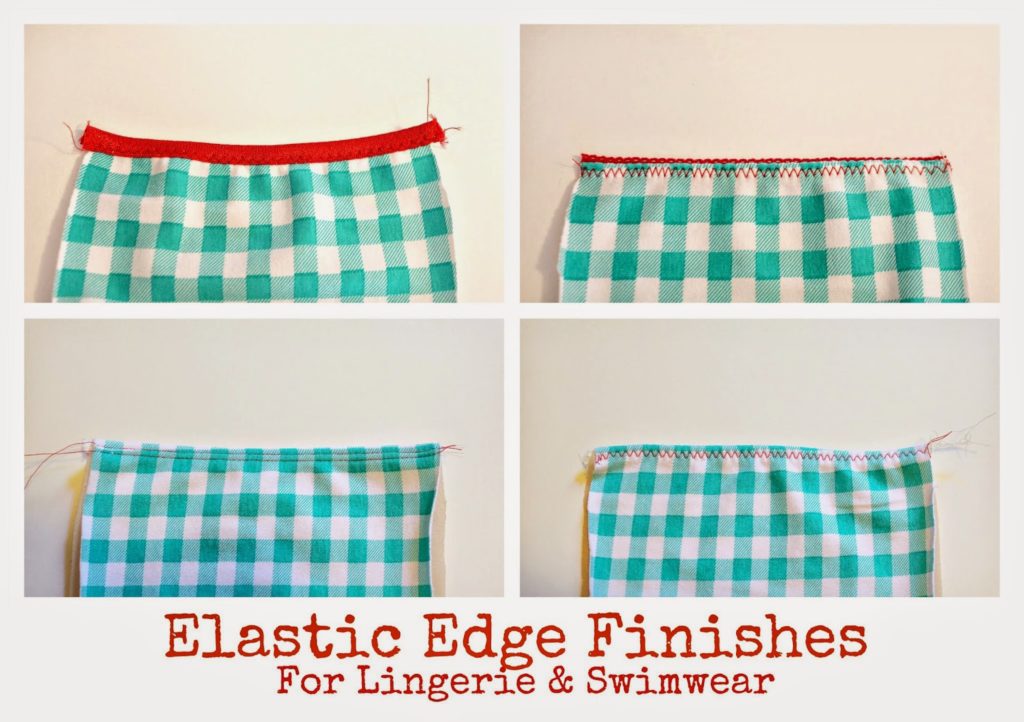
In my patterns, I generally glance over how to apply elastic edge finishes. There are so many different types of elastic, and different methods of application. Here, I’m going to go more in depth into 4 different edge finishes, serger/overlock machine optional!
These are four basic finishes. I like to use the Fold Over & Picot Elastic for lingerie edge finishes, while the Twin Stitched and Zig-Zag finishes are great for swimwear as they create a clean, but snug fitting edge.
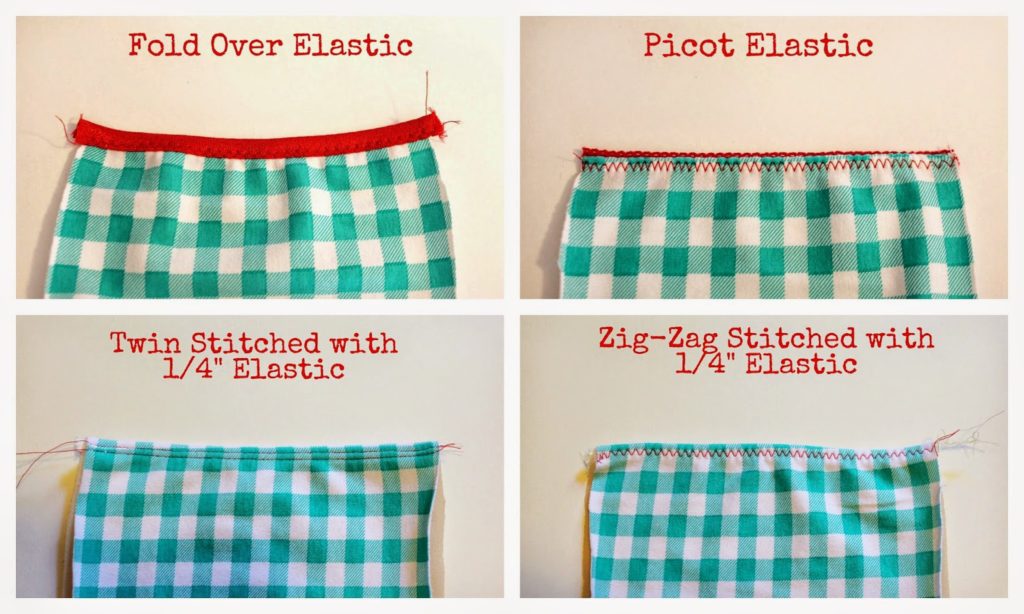 |
| Elastic Edge Finishes – on the outside |
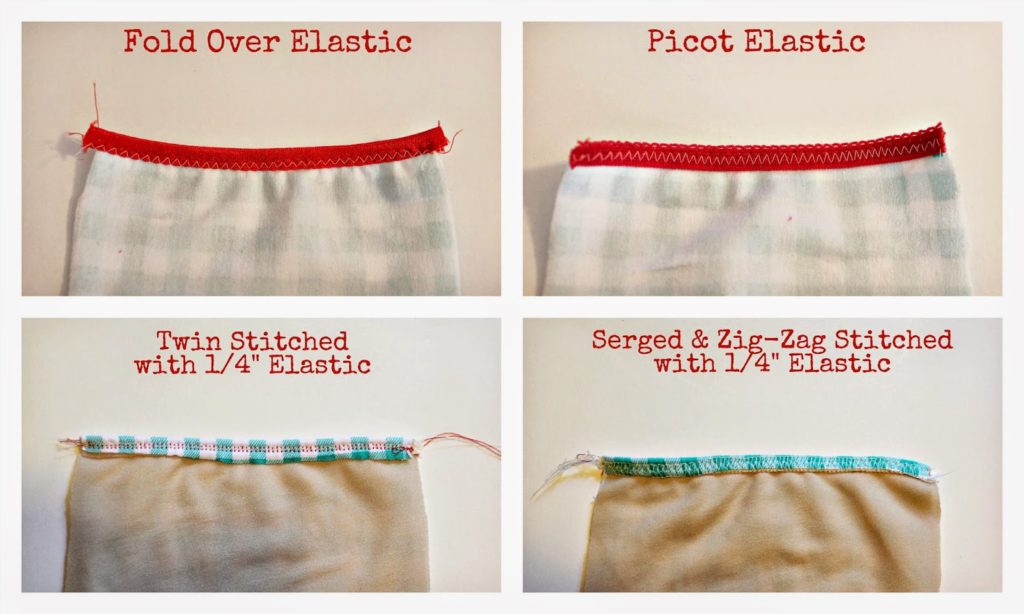 |
| Elastic Edge Finishes – on the inside |
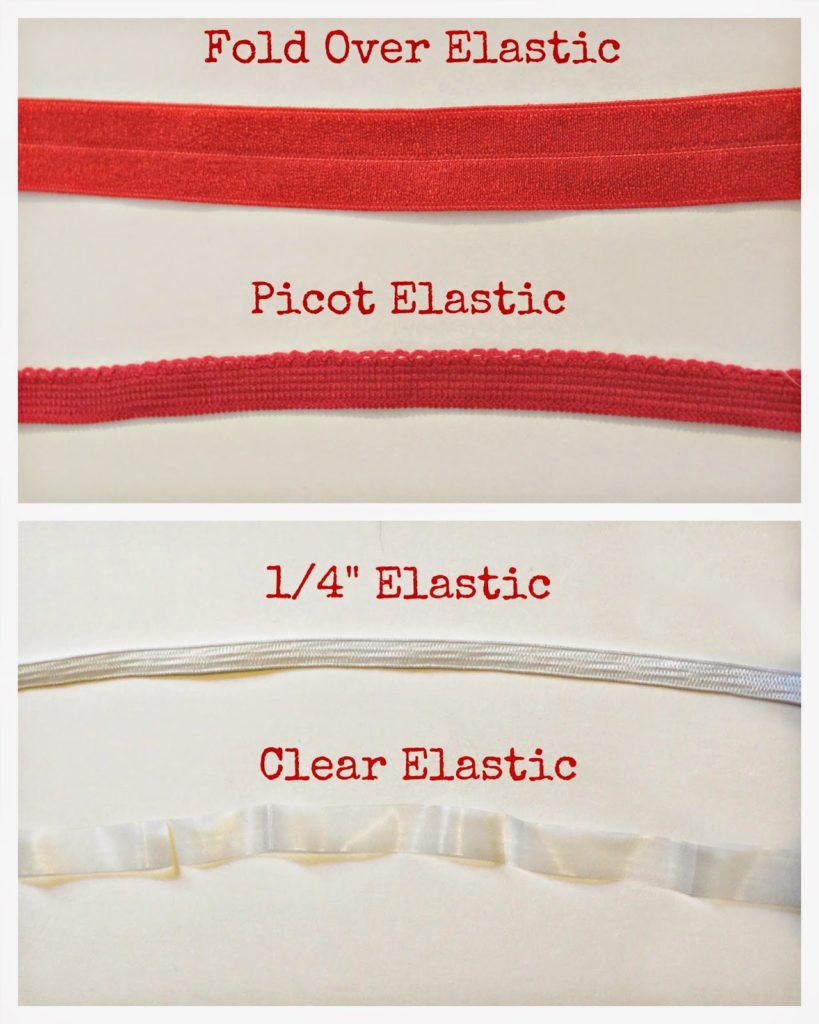
Above are the basic types of elastic you may want to use for Lingerie or Swimwear. Picot & Fold Over are best for Lingerie while plain elastic works great for swimwear. You can buy specific swimwear elastic that is suitable for wear in chlorine – just search for “Swimwear elastic.” I use 1/4″ swimwear elastic on my swim items, but you can also experiment with clear elastic and elastic of different widths.
Elastic comes in different weights and amounts of stretch. Because of this, I generally do not add elastic lengths in my patterns. I find the best way to get the most comfortable fit is to experiment with the amount of tension applied to the elastic you have. You want the elastic to gently contour the edge of the garment and create a snug fit, but not ruche or gather the fabric underneath. You will find that if you are working with stretch knits, like a spandex swimwear fabric or cotton/lycra jersey, you will want to apply less tension than if you were working with a bias cut, woven quilting cotton. After you sew a couple samples, I think you’ll find that it quickly becomes second nature.
I have an “Anything Goes” mindset to sewing. I firmly believe that there are countless ways to sew a garment or perfect a technique. These are a few techniques that I personally like to use, but it doesn’t mean they are the only way to do it! Experiment, try different things, and find the technique that works best for you.
Fold Over Elastic
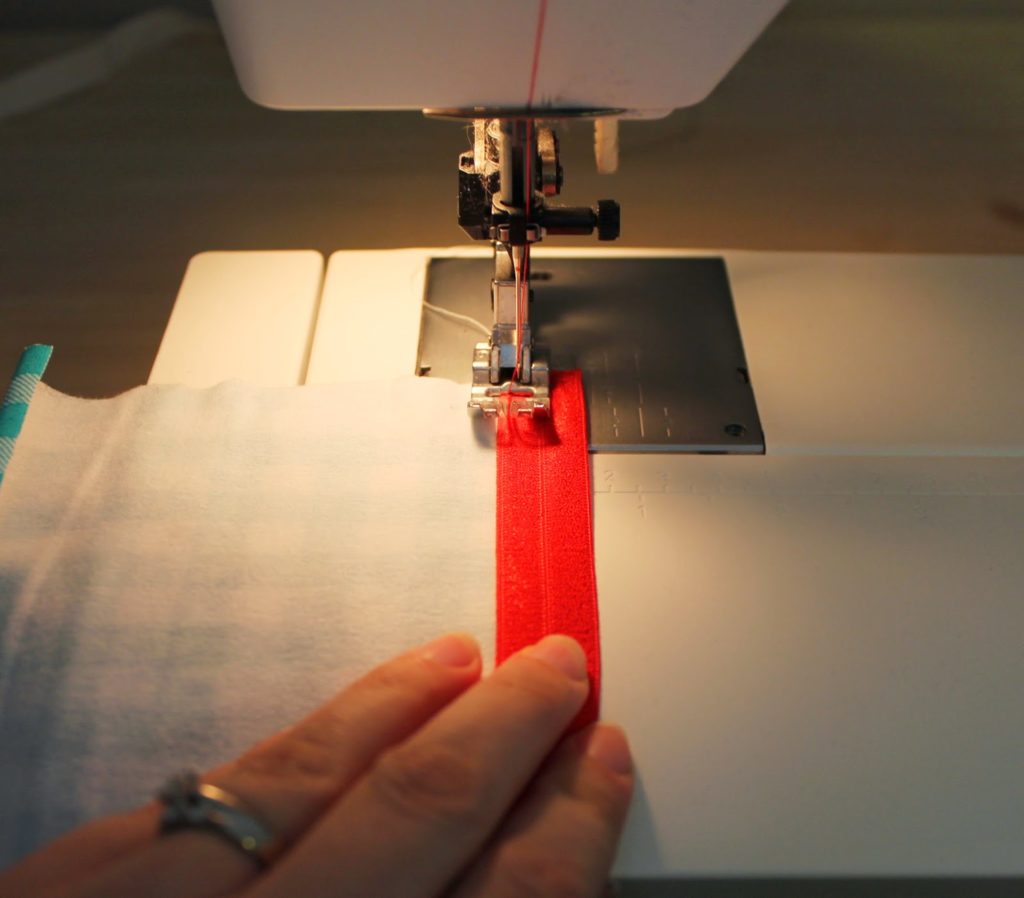
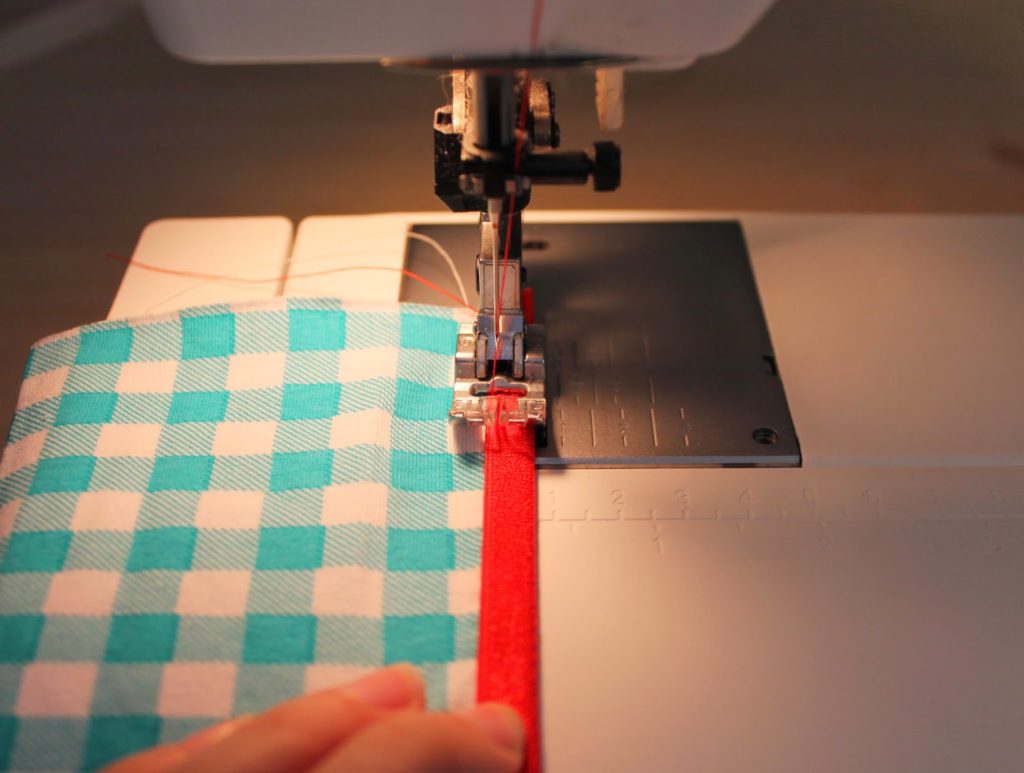
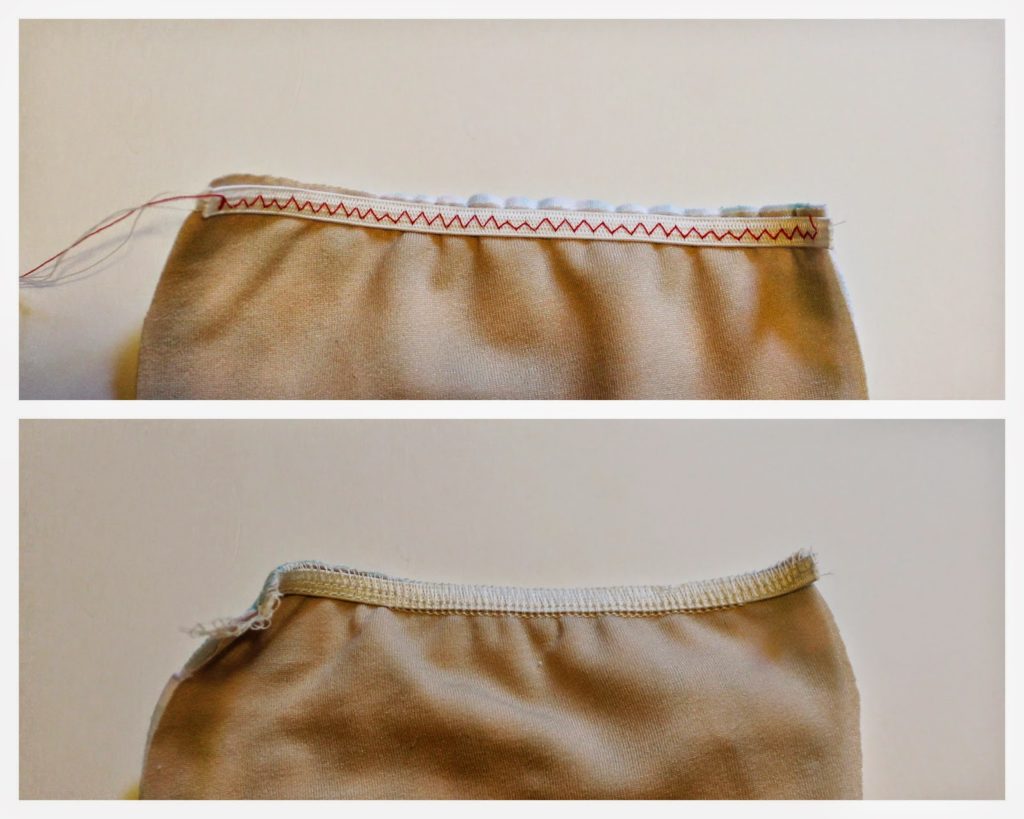
1. Using a zig-zag stitch, baste your FOE (Fold Over Elastic) onto the wrong side of the garment. Most of my patterns have a 1/4″ hem allowance, so I inset my FOE. When you are basting, apply slight tension to the elastic – this means you gently pull on the elastic while stitching it down. You’ll see that the fabric very slightly “shrinks” under the tension. I find it’s best to experiment on mock-up garments to see how much tension works best. After you do this a few times, it will feel like second nature.
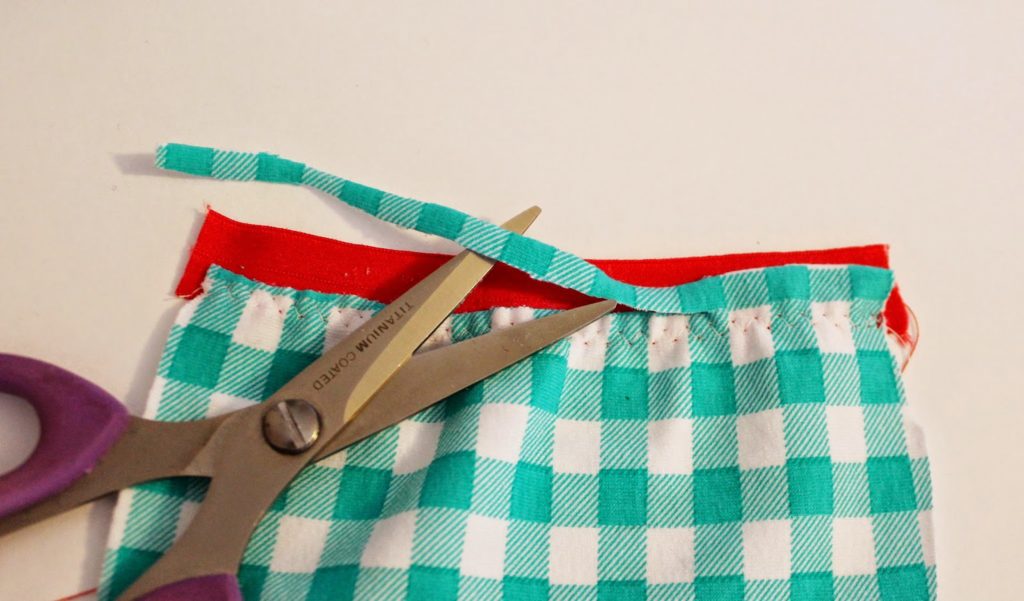
4. Voila! Your edge is bound in elastic.
Picot Elastic
1. Baste your picot elastic onto the right side of the fabric using a zig-zag stitch. The picot, or decorative edge of the elastic should be pointing in towards the fabric. As you baste, apply a slight amount of tension to the elastic.
3. That’s it!
Plain Elastic Edge Finishes with Twin or Zig-Zag Stitching
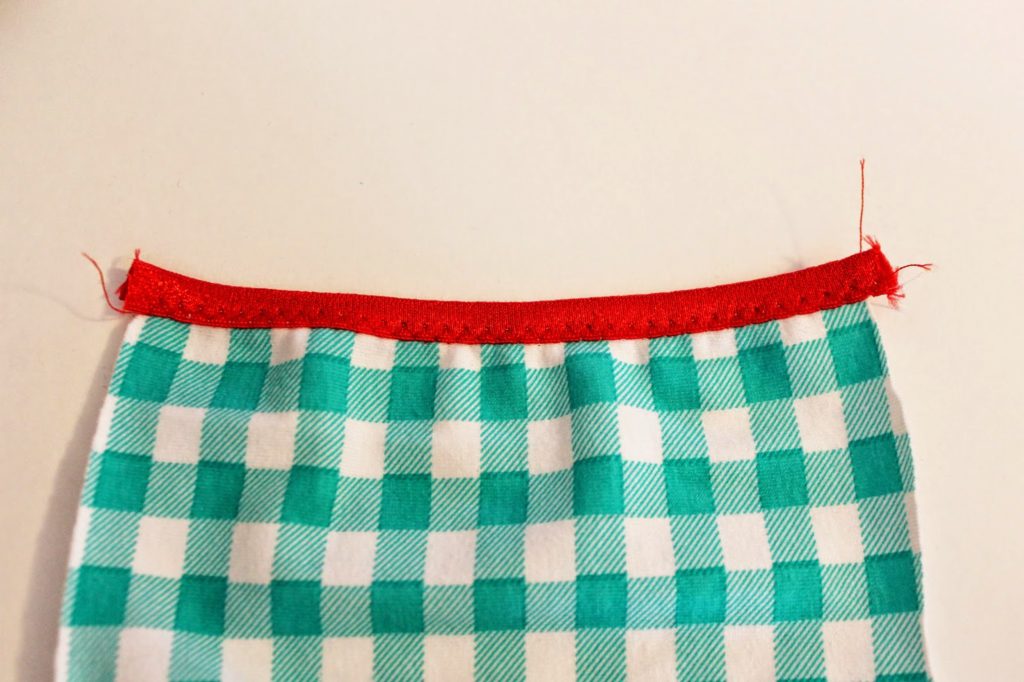
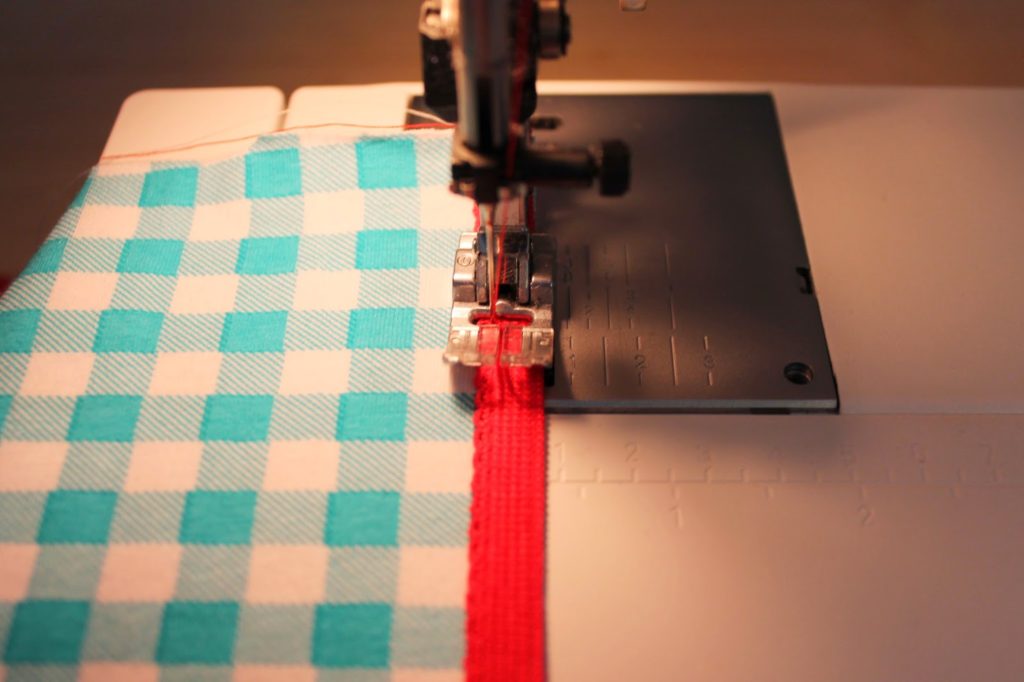
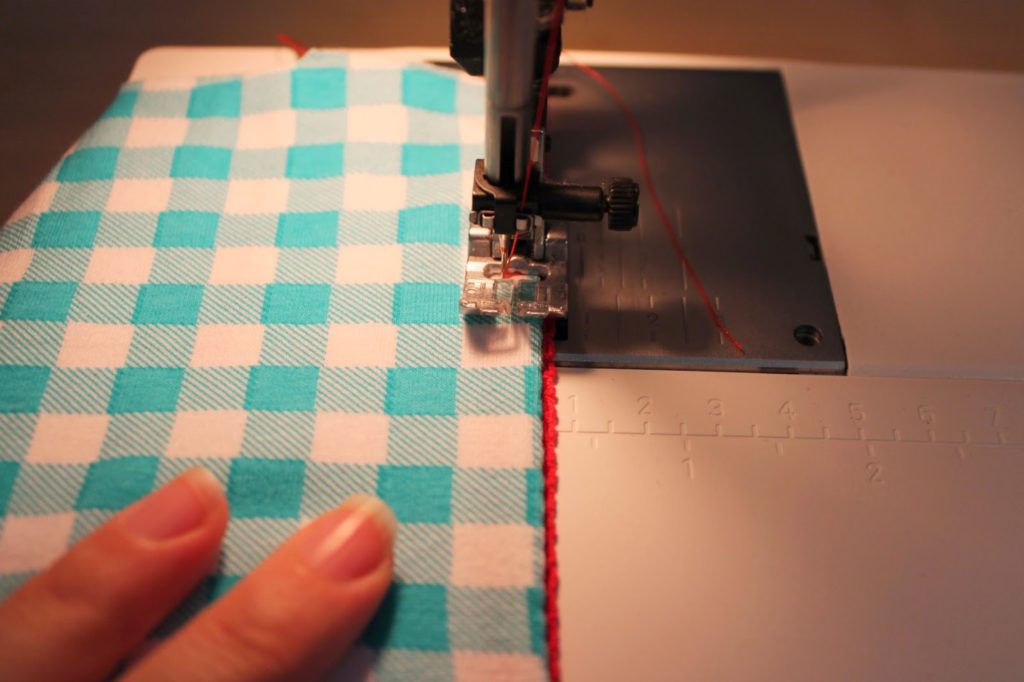
1. Baste the elastic to the wrong side of the garment using either a zig-zag stitch or your serger/overlock machine. Apply a slight amount of tension to the elastic – you can see in the photos below how the elastic slightly “shrinks” down the edge, which will create a snug fit.
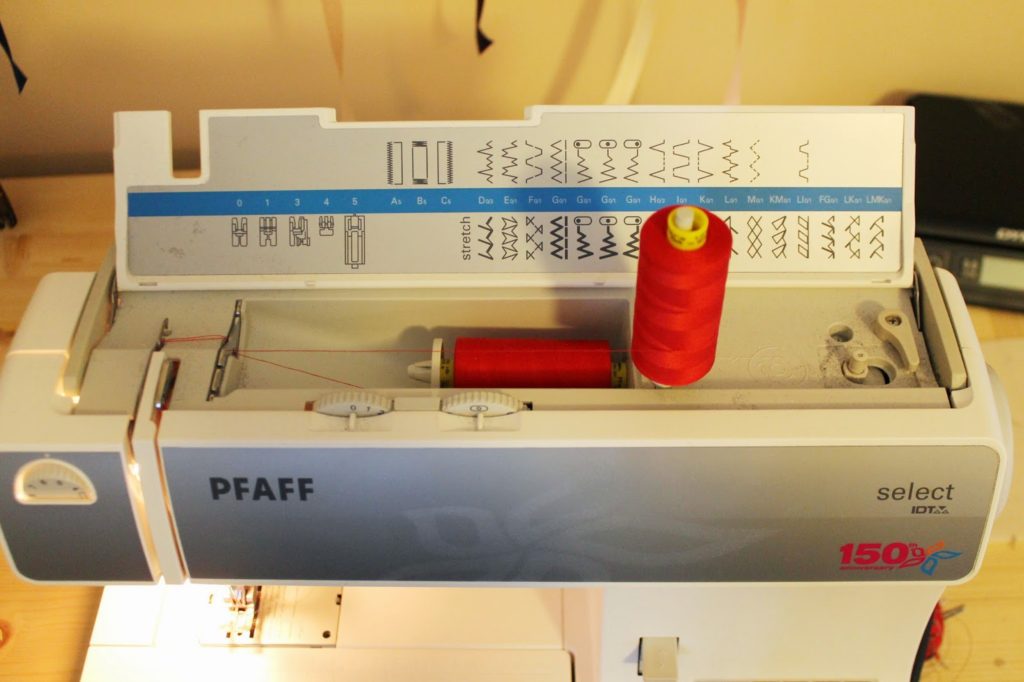 |
| Sewing Machine threaded for Twin Needle |
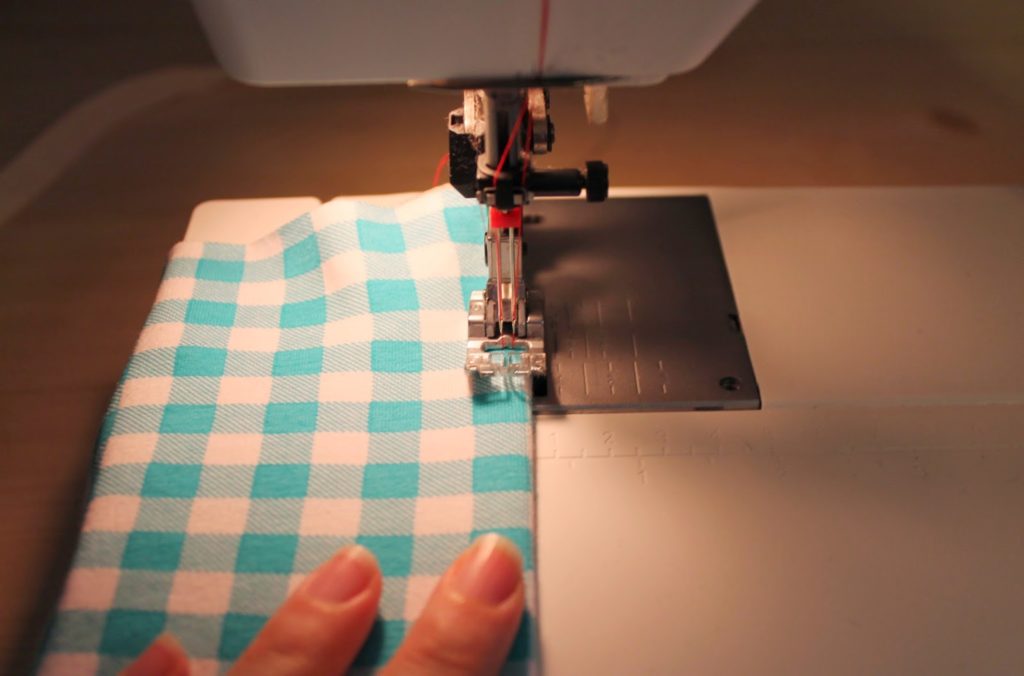 |
| Stitching with a twin needle |
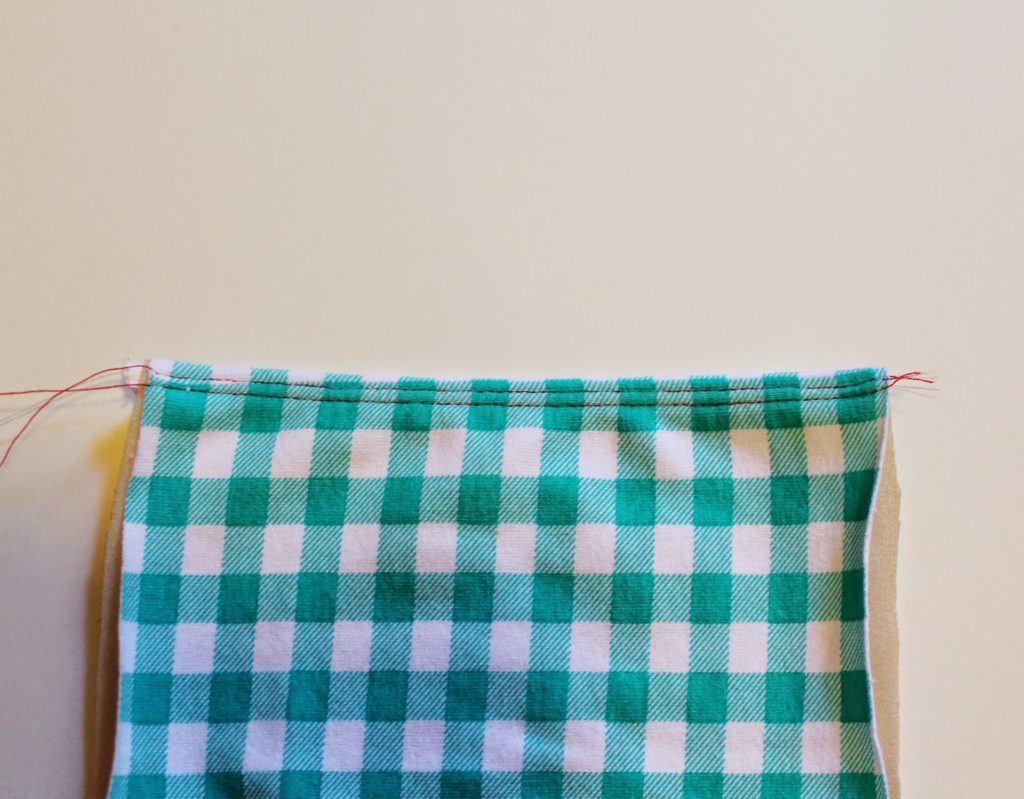 |
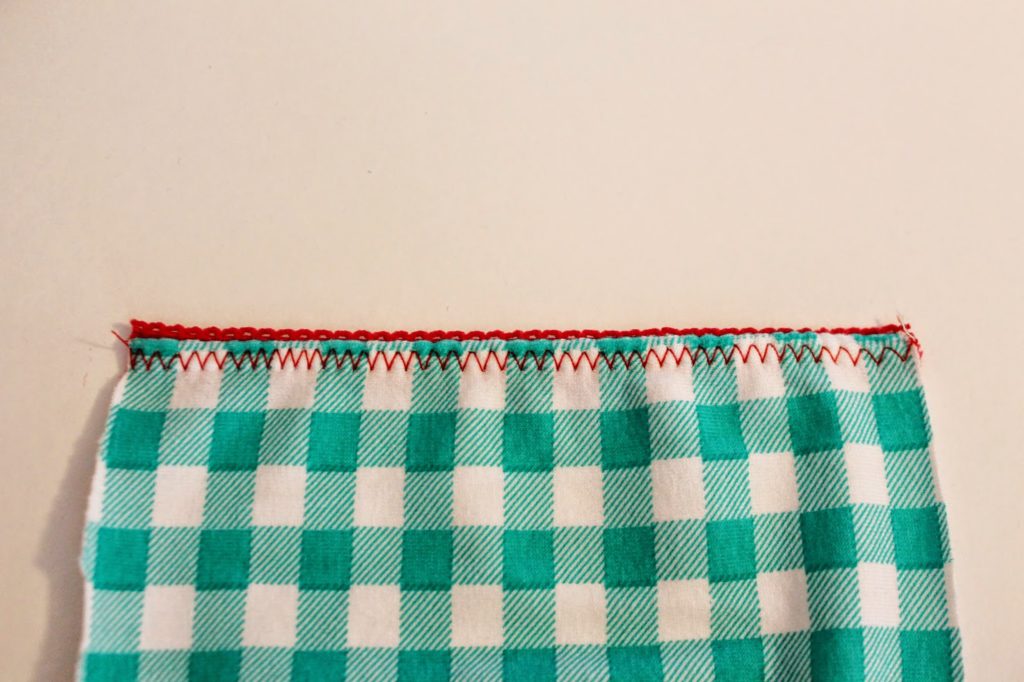
| Elasticized, twin-stitched edge finish |
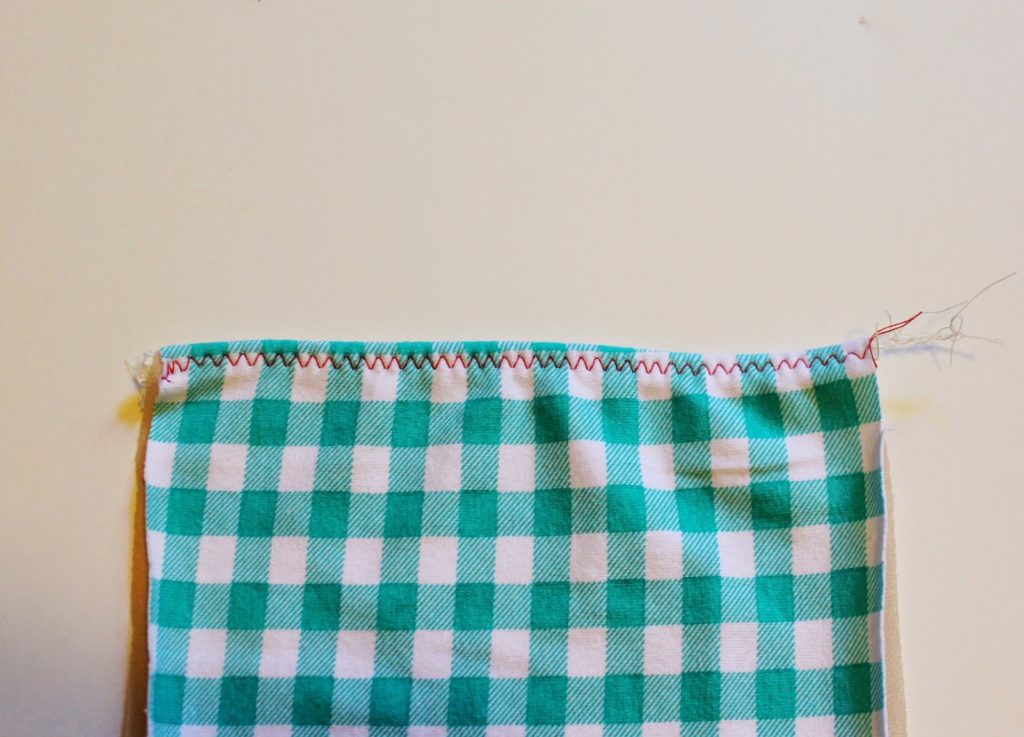 |
| Elasticized, zig-zag stitched edge finish |
So, there you have it. Those are some basic techniques for applying different types of elastic. I hope you find these helpful!

7 Comments
RosendameGallica
July 9, 2014 at 9:50 pmThanks♥ for that tutorials, I am beginner in lingerie sewing and glad to find such good♥.
Best wishes, Anne
joelle st-laurent
July 10, 2014 at 7:39 amsuper clear and informative post, thanks!
Karen C
July 11, 2014 at 12:15 amJust found your blog and etsy store via pinterest – I cannot tell you how excited I am for your patterns! Just purchased the Jasmine Bra and Sarah Longline Bralette and had to hold back from buying it all. Very excited to sew a few from my fabric stash, but even more excited to use this as an excuse to purchase some cute new fabrics
Wakeymakes
July 12, 2014 at 9:00 pmThanks. Really handy. Just bought new bikini pattern K xXx
Angie
January 18, 2015 at 1:21 pmWith the Picot and Foldover elastic, you specify a zigzag stitch. But, I was wondering if it is possible to use the twin needle with those finishing options? Thank you!
sarah.e.norwood@gmail.com
January 18, 2015 at 5:22 pmYes! You can use the twin needle – any stitch that will allow the elastic to stretch will work just fine.
Brenda Palmeri
June 11, 2016 at 10:29 amKeep posting the good work. Some really helpful information in there. Bookmarked. Nice to see your site.mundocosturas