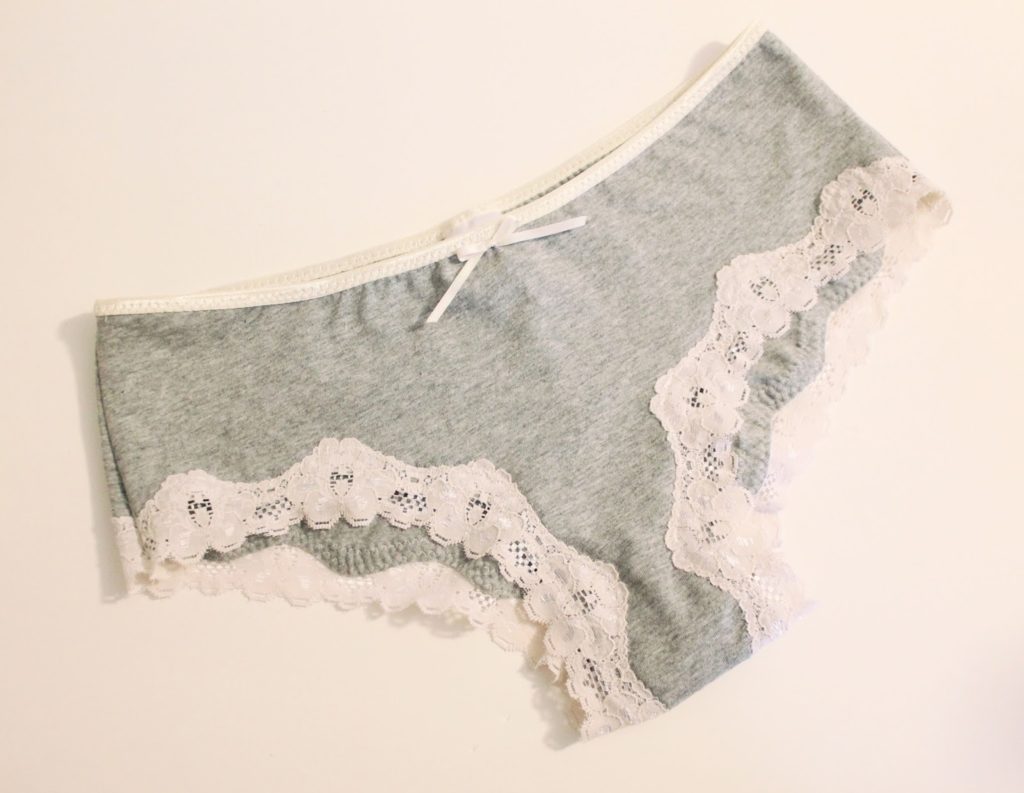
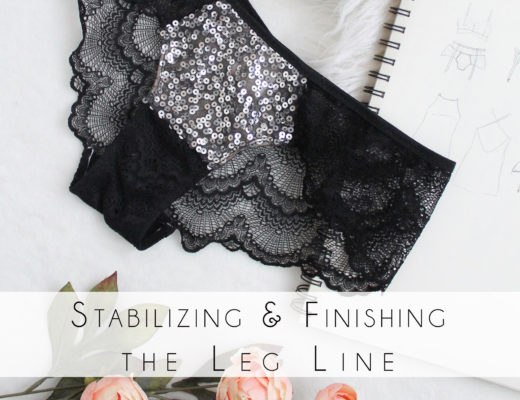
This Pattern Hack is a follow up to my post on Lace Edging for Lingerie. I like to use scalloped lace instead of a twin stitched hem on my Lola’s because it helps to reduce panty lines and is just plain pretty! Here is the way I trim my Lola’s with Lace.
What you will need:
2. Scalloped Lace – approx 1.5 yards.
3. Stretch Knit fabric (yardages given in pattern)
4. Elastic for waist
5. Small scrap of cotton jersey for gusset lining
Instructions:
1. Stitch together the panties back and crotch seam as directed in the pattern instructions.
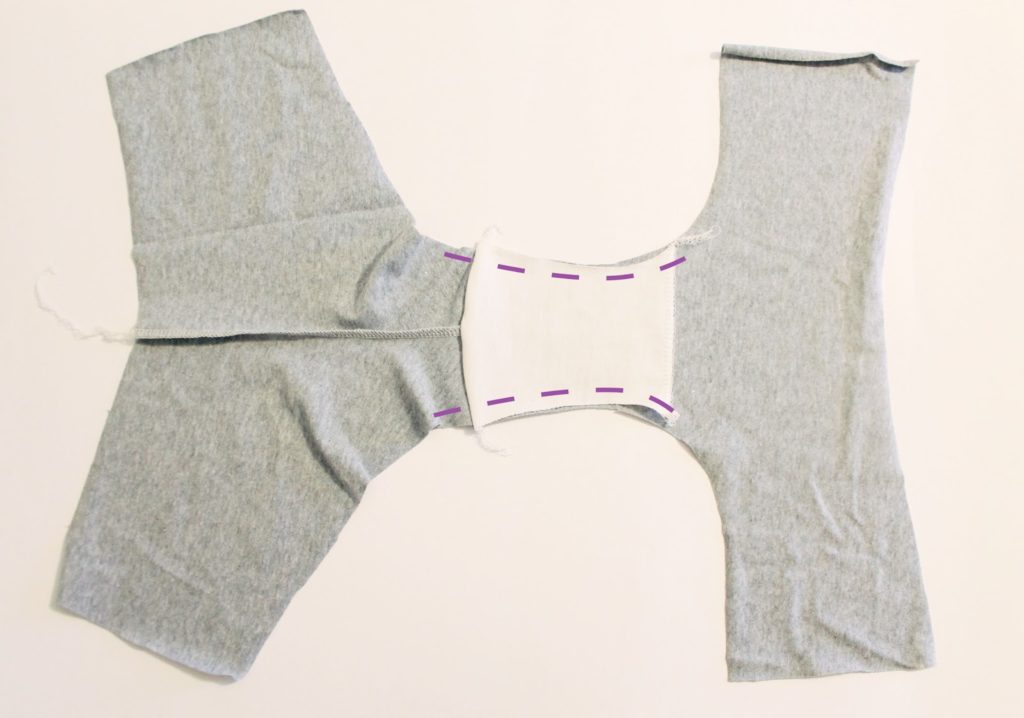 |
2. Baste gusset lining in place.
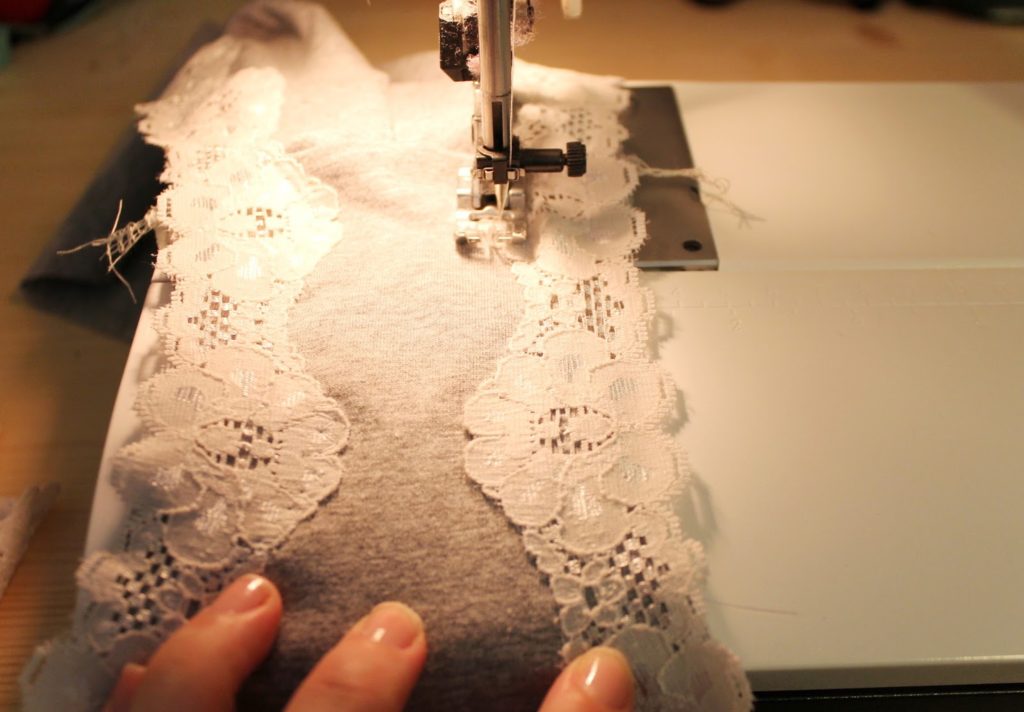
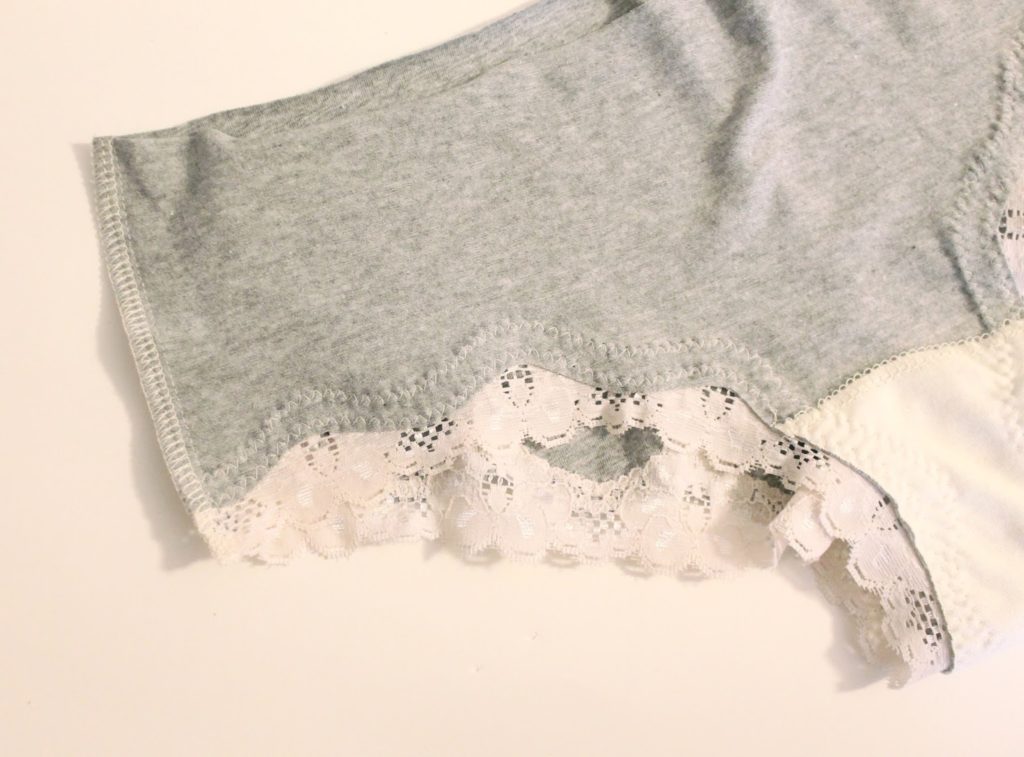
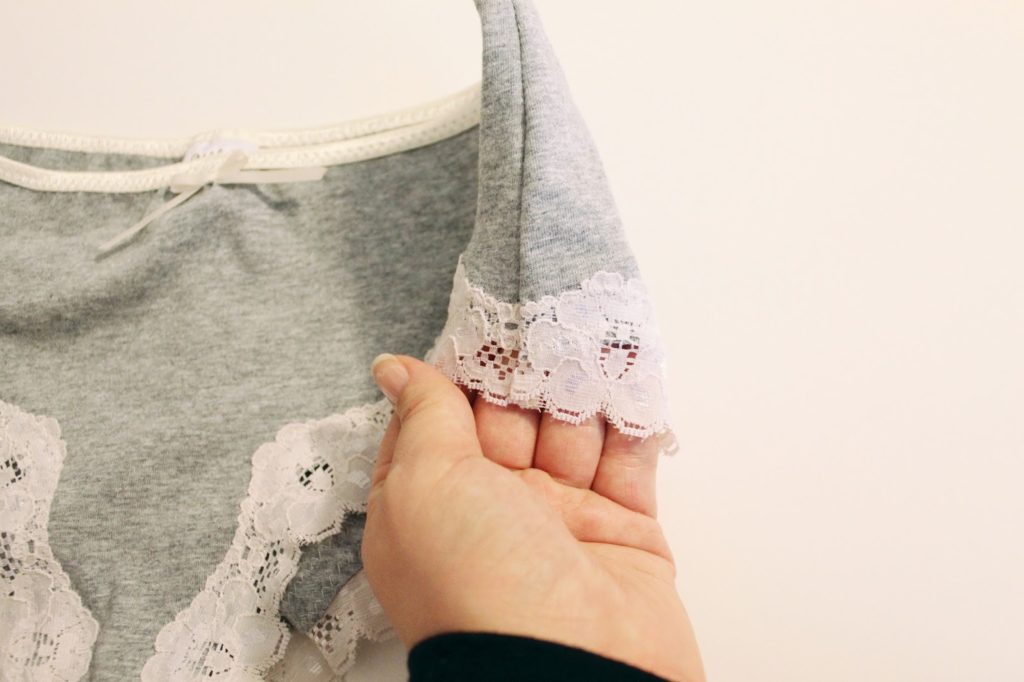
3. Place stretch lace trim on rightside of garment and stitch in place with a zig-zag stitch. Do not apply tension to lace – this pattern does not need contouring around the leg openings. I align the straighter edge of my lace with the raw edge of my leg opening. If you are using an exaggerated scalloped lace like I have, make sure your scallops are even on either side. As I discussed in part two of my post on Lace Edging for Lingerie, I sew two parallel rows of zig-zag stitches to apply the lace.
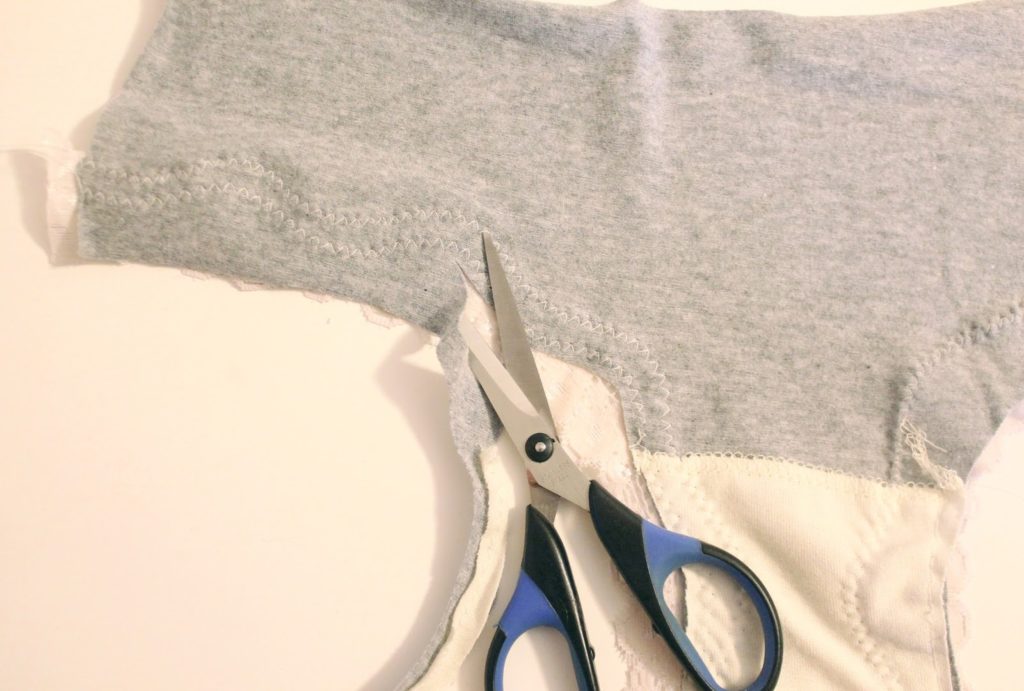
4. Trim back excess hem allowance. Be careful not to clip into any of your stitches!
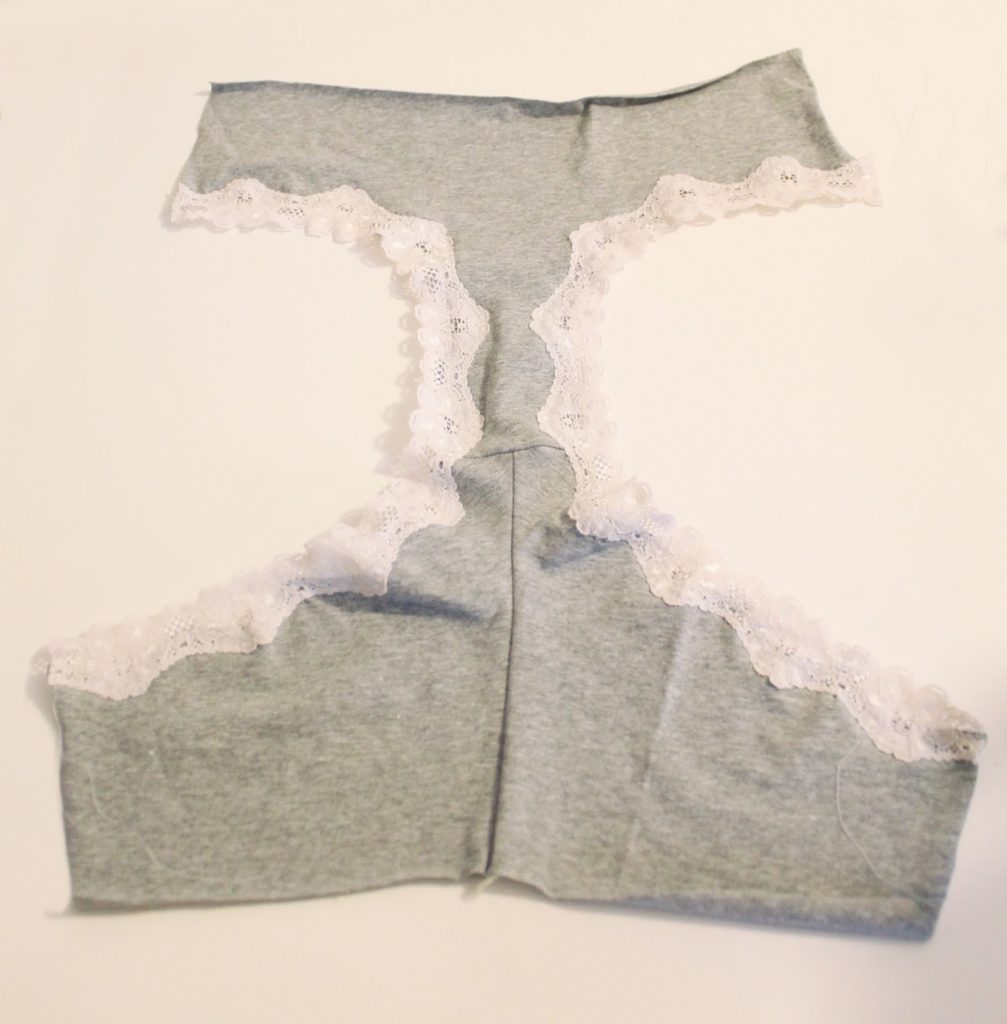
5. Sew your side seams, making sure that the lace hem meets up. Be sure to backtack to secure your seam and knot off your serged seam finish if you are finishing with a serger.
5. Finish waist with elastic and embellishments of your choice!
There you have it! Adding lace to the leg openings of the Lola pattern takes a little extra time, but in my opinion, the results are totally worth it!




No Comments