The Lola Pattern is another one of my favourites… they are great for under everyday clothing and I especially love them in lace under tight leggings and clingy pants (I’m a yoga-pants-everyday kind of girl, I even sometimes do yoga in them). Here, I’m going to show you how to use scalloped lace for the back of this pattern. There isn’t a huge change to the way you sew these using scalloped lace, but there are a few tricks to getting a nice finish. You can easily use the method I’ll be demonstrating here on the
Grace Panties as well.
What You Will Need:
2. About 1/4 yard stretch knit fabric (like jersey) for the front.
3. About 1 yard scalloped stretch lace approximatly 7″ wide or more (you can use narrower lace, but will have to be creative with your center back waistline, or alter the rise).
4. Elastic for waist (I use Foldover Elastic)
5. Twin needle
6. Two Spools of thread
Instructions:
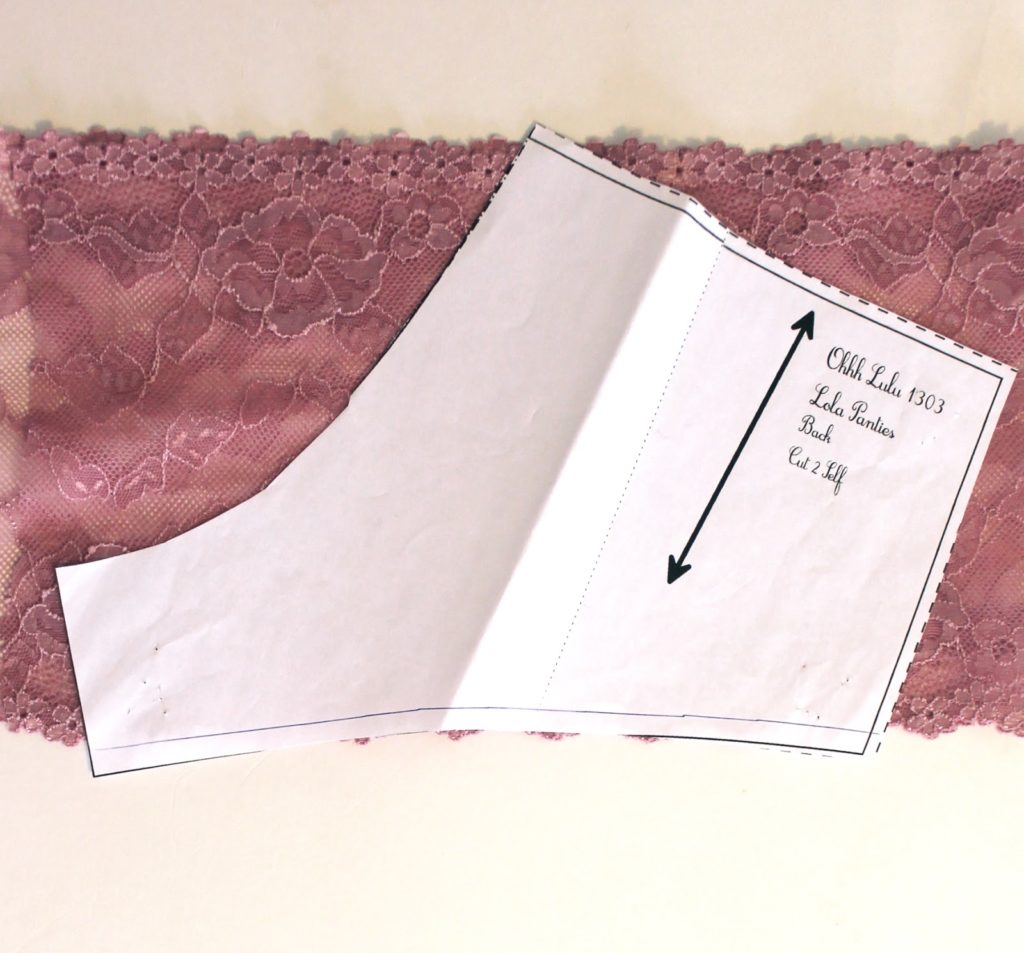
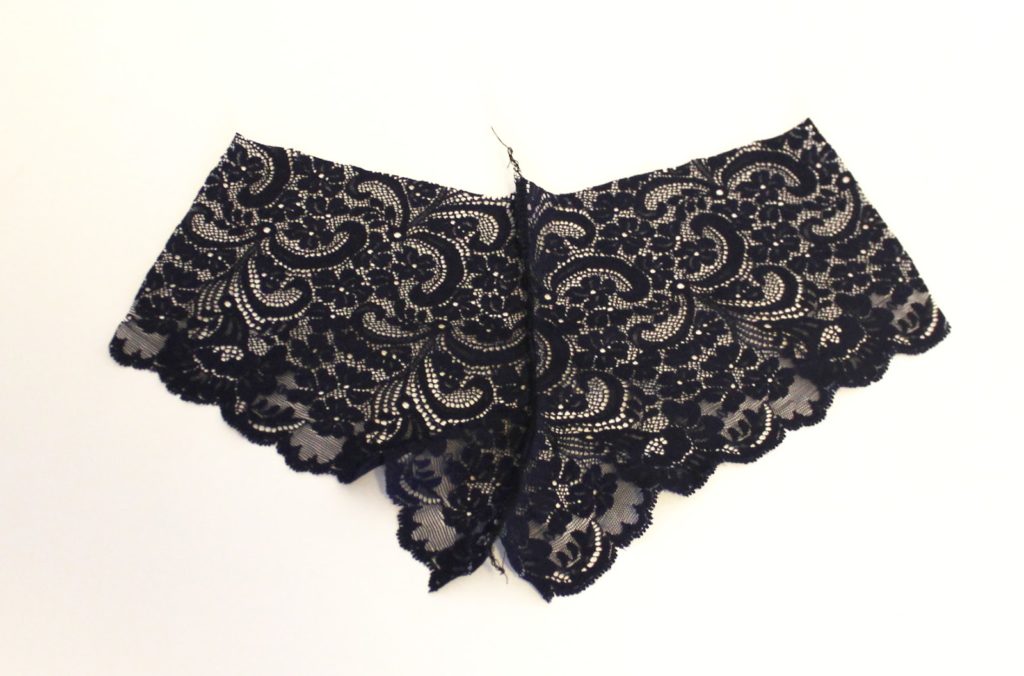
1. Using a pencil and ruler, draw a line along the leg opening of the Panties Back, approximately 1/4″ up from the original hemline. Place the pattern piece with the leg opening along the scalloped edge of the lace, so that the NEW hemline lines up with the scalloped edge. You will notice that the leg opening is slightly curved, so it won’t lay perfectly straight against the edge of the lace.
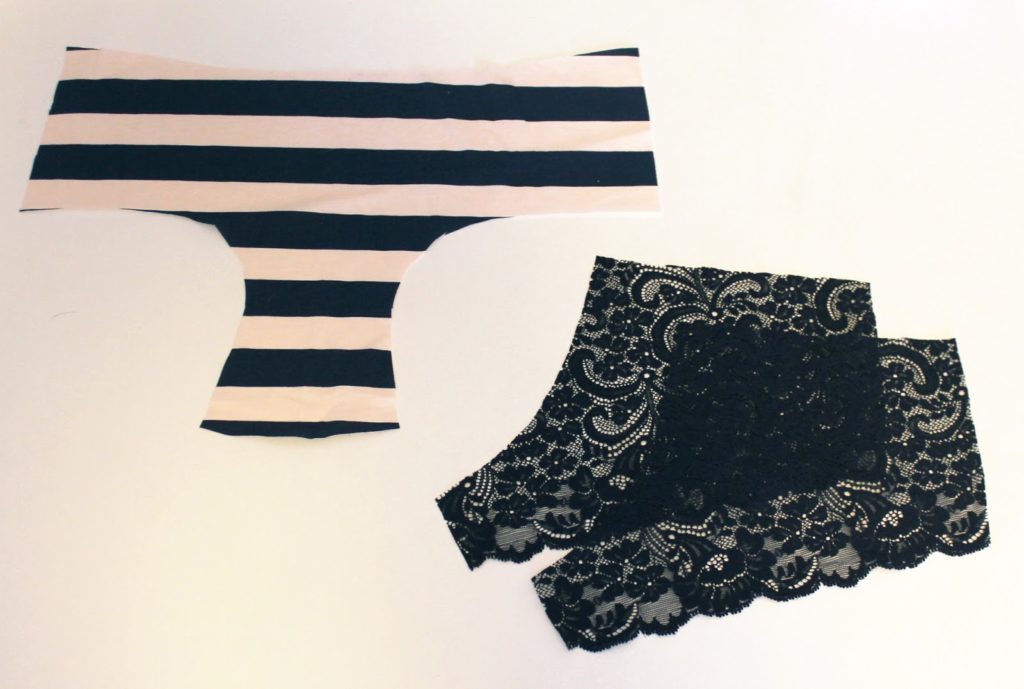
2. Cut out two pieces of lace in the manner described above, plus the Front Panties and Gusset Lining piece.
3. Using either a seger, or straight stitch and zig-zag, sew your Panties Back along the Center Back Seam.
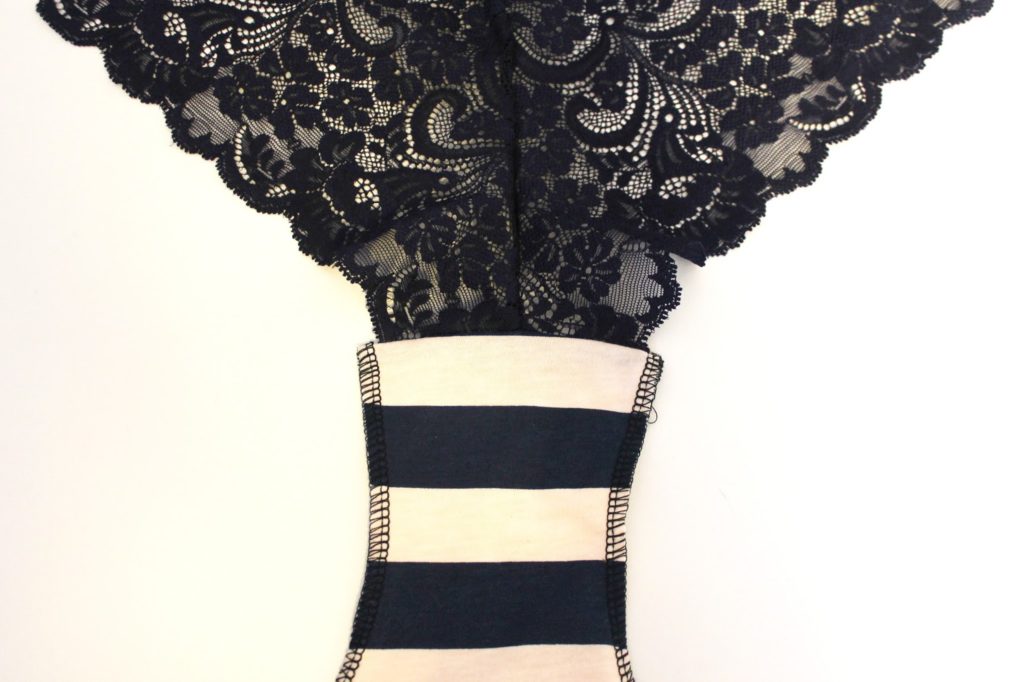
4. Assemble the crotch as indicated in the pattern instructions so that the seam allowance gets encased between the Panties Front and Gusset Lining. Your Panties Front & Gusset Lining Hems should extend beyond the scalloped edge of your lace by about 1/4″ on either side.
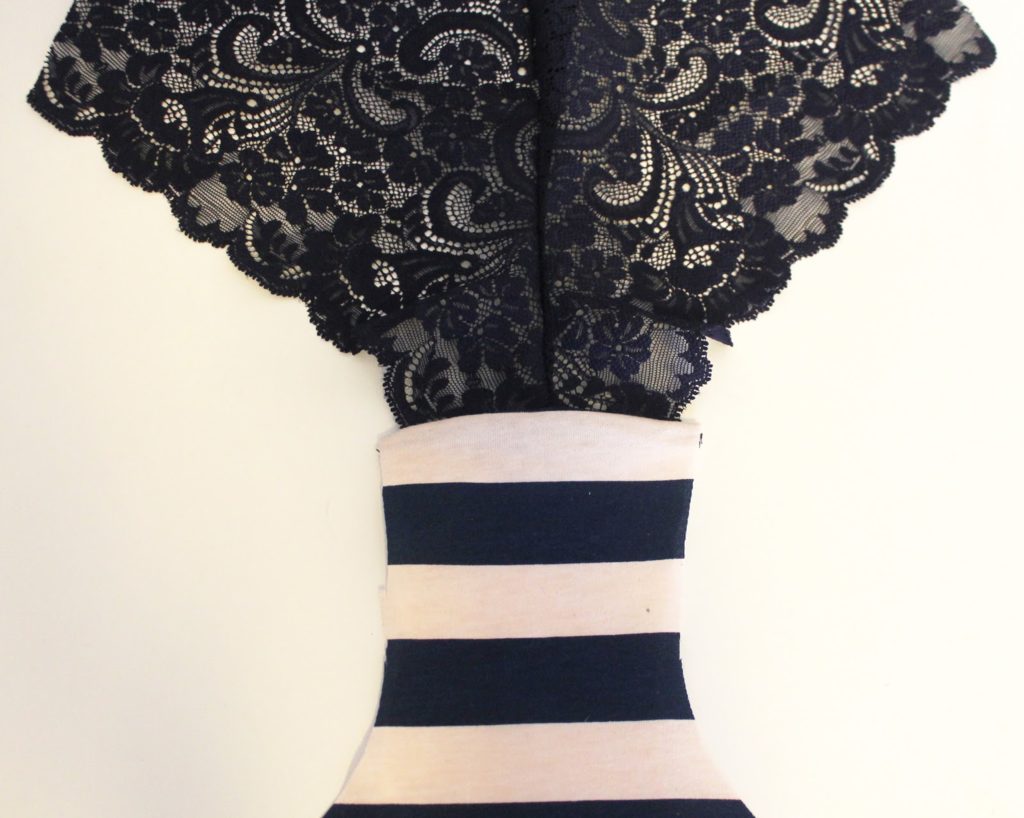 |
| Hem Allowance on Panties Front extends beyond the finished edge of the stretch lace. |
5. Using a serger or zig-zag stitch, finish the raw edges of the Panties front.
6. Turn the hems under by approximately 1/4″ and top stitch down using a twin needle.
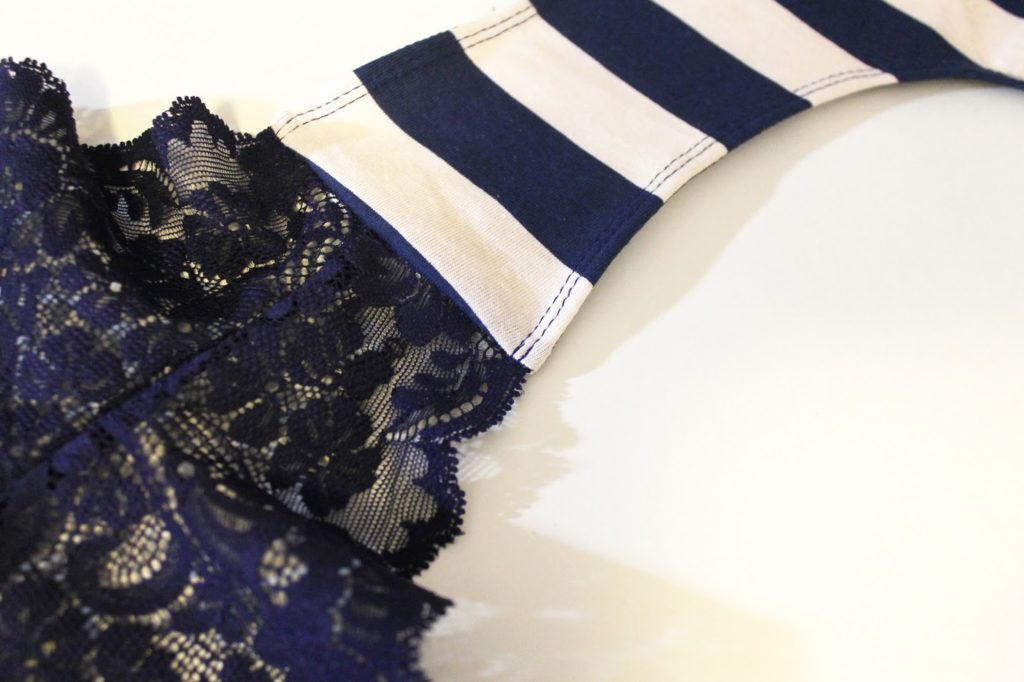
7. With a straight stitch, sew your side seams so that scalloped edge of lace meets up with the finished edge of the panties front. Be sure to backtack at the beginning and end of this seam.
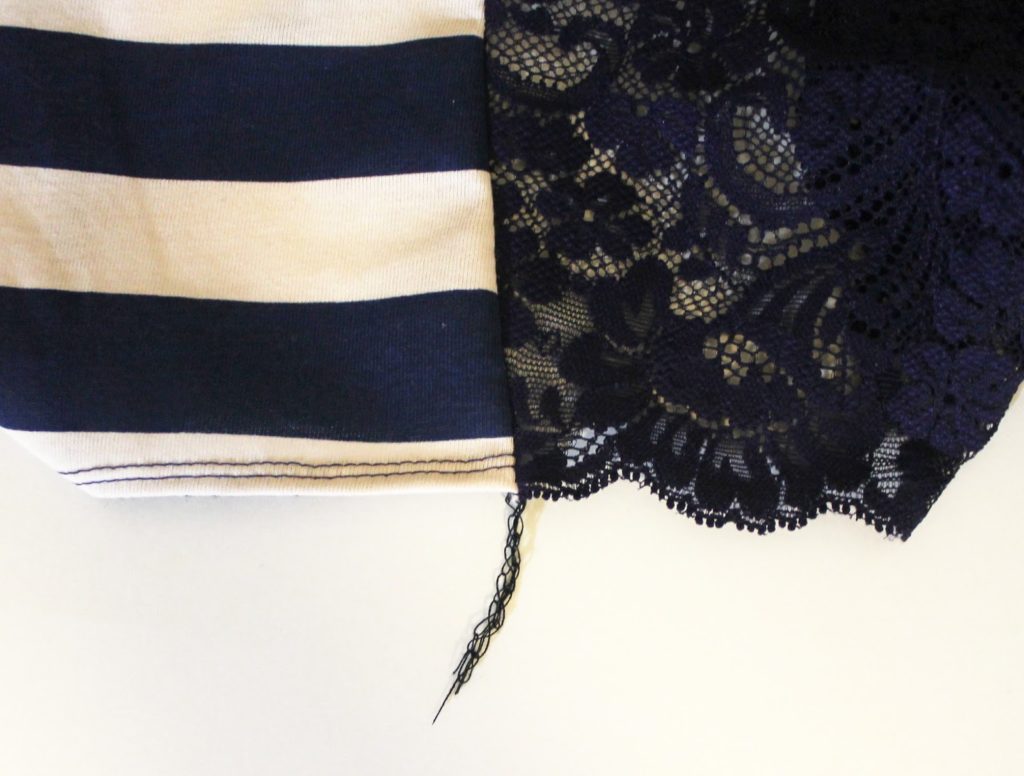 |
| Scalloped Edge of lace meets up evenly with twin-stitched hemline. |
8. Tie off any loose threads, and press the seam allowance towards the Center Front of the garment. Sew a small bartack along the hemline, anchoring the seam allowance in place. I do this because it is a potential weak point in the garment, where stitches may be prone to break. By tacking the seam allowance down, you will have a more secure join.
9. Finish with waistline elastic and embellishments as indicated in the pattern.
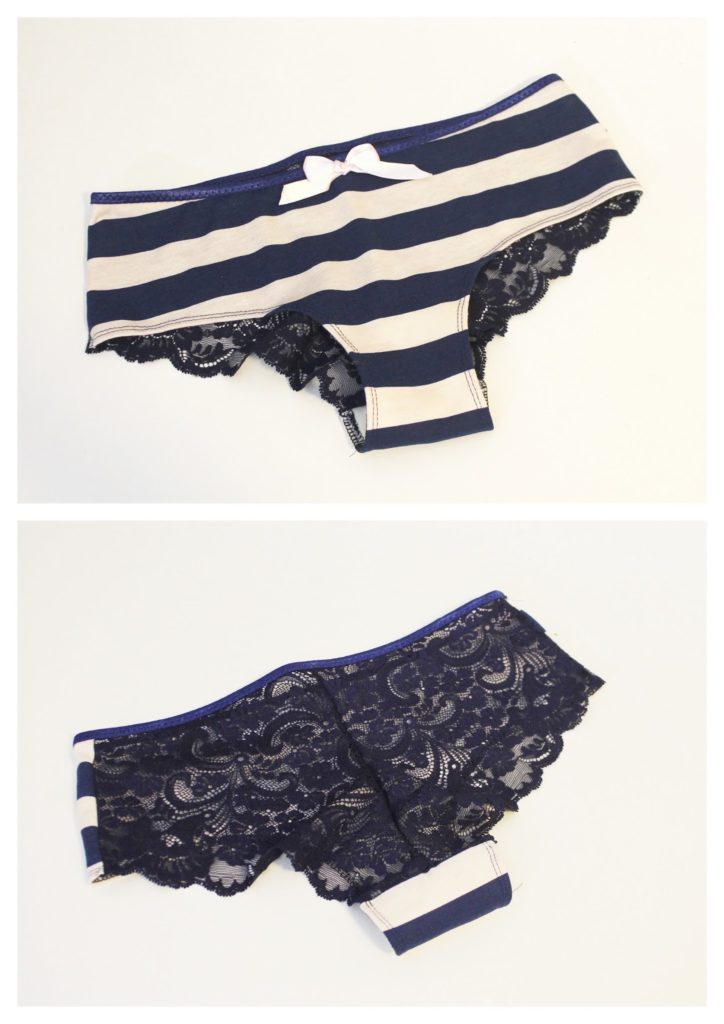
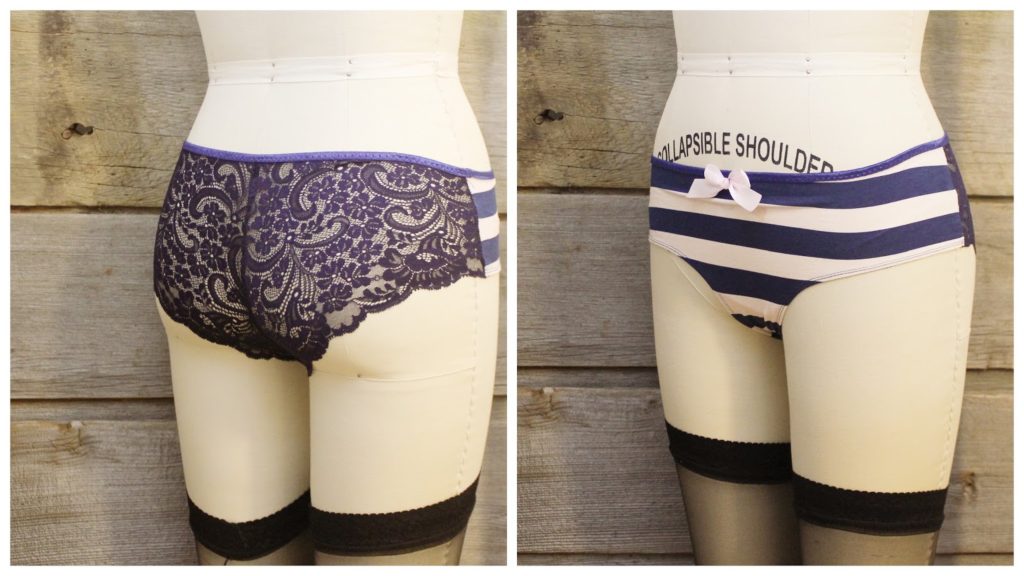
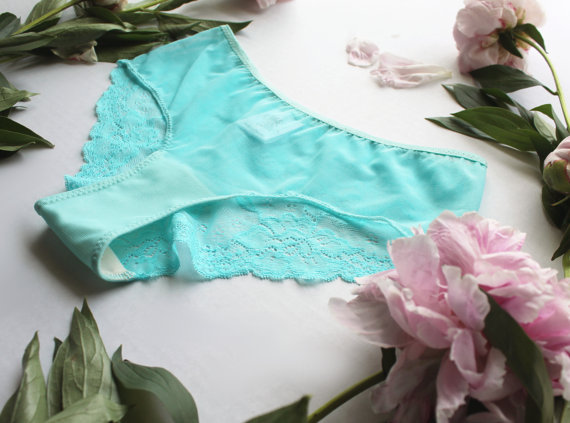
That’s it! It’s pretty easy to substitute with scalloped lace. I’ll leave you with a few pieces of inspiration…!




3 Comments
Heather
September 26, 2014 at 2:33 amAwesome! Looking forward to trying this!
craftylittlebugger
September 26, 2014 at 9:39 amGorgeous! I love those striped ones.
Artischocke
February 7, 2015 at 7:19 pmThank you for that tutorial. The Lola's look great!