All Posts By

sarah norwood

Making Do with Ugly Tile

Home
Green.
This house has a lot of green.
Deep, forest green.
So, as I mentioned in my last house post, Dan and I are prettying up the inside of our 1930’s beauty on a shoestring budget. That means for the time being we’re focusing mostly on paint, window coverings, lighting etc, while we do some more important structural work to the house. If money weren’t an issue, I’d gladly replace all this tile with something a little more neutral, but for now we have to make some of the more permanent fixtures work.
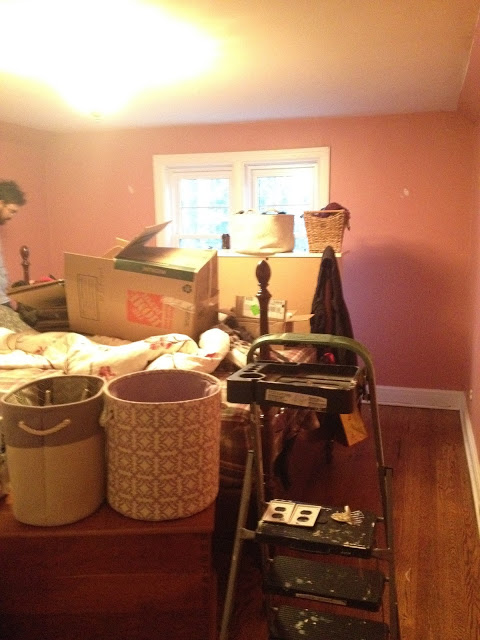
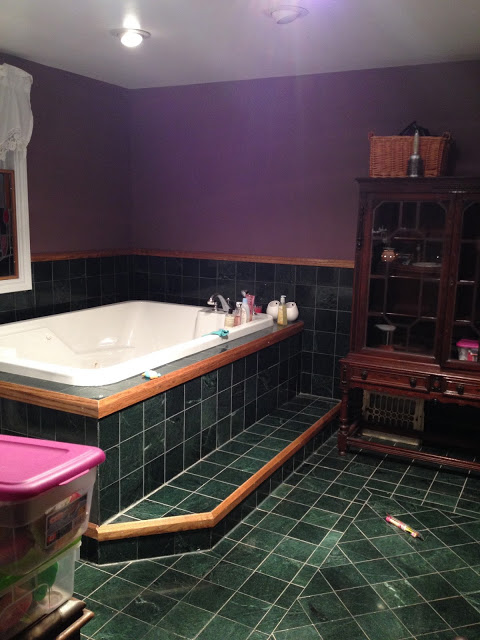
The purple wall colour really made the green pop.
Hi kitty!

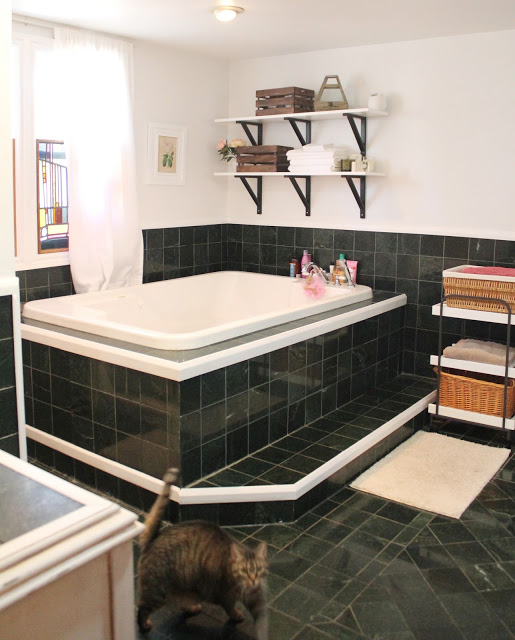
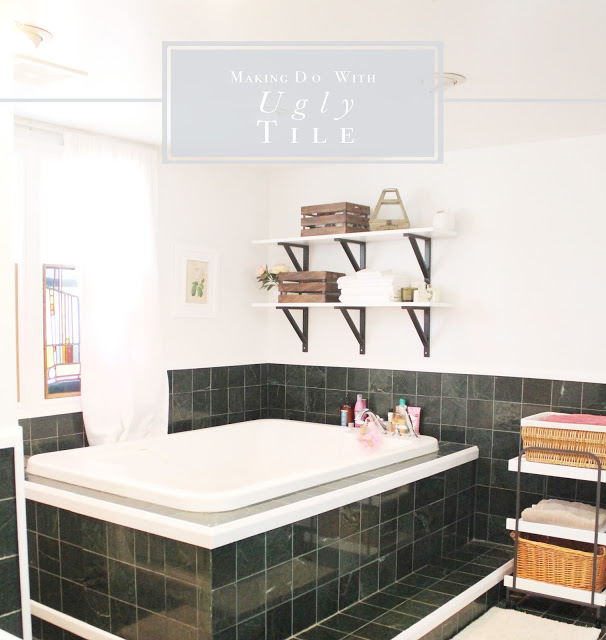
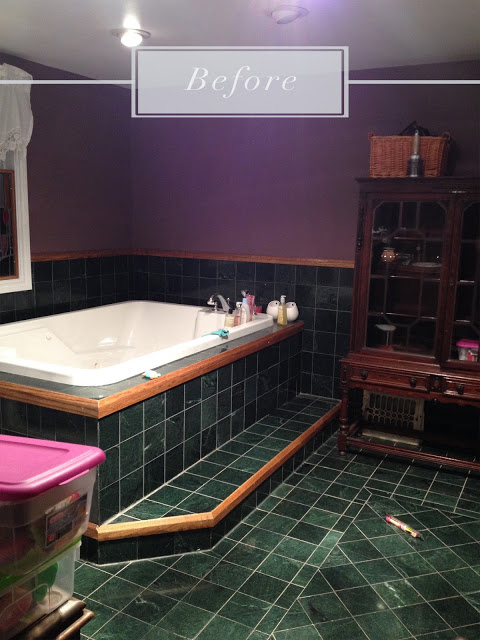
This is our main bath. On one hand it is amazing. There is so much space, and if you know me, you know I love to bath. Baths are my thing, so a room that is almost entirely bathtub is pretty amazing. Before you say “but doesn’t it cost a fortune to fill?” we pay a set charge for up to a certain amount of water, and we never go over that amount, so other than the awful environmental impact of using so much water, it’s not a huge money drainer. That being said, eventually we’ll put in a more reasonable sized tub…. for now, I’m enjoying swimming laps during my evening bubble bath.

This room also has a shower and a sink. There is a small powder room just off of it. To me, it’s a little strange that there is no toilet in here, but also kind of nice.

This room also doubles as a laundry room. It is just off of our family room which is super convenient when I’m watching Isabel and doing laundry. The washer and dryer are currently housed behind glass sliding doors (just to reflect more of that green tile, I swear), and I hope to replace those with some sliding barn doors.

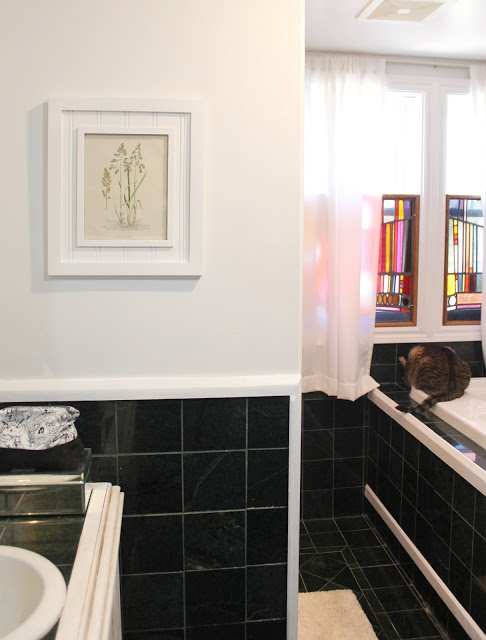
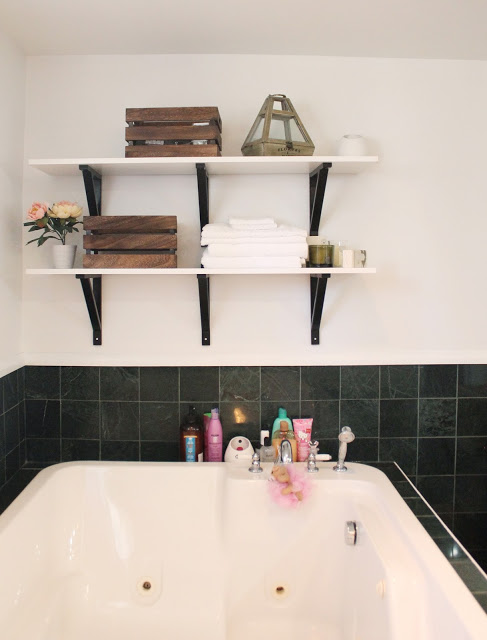
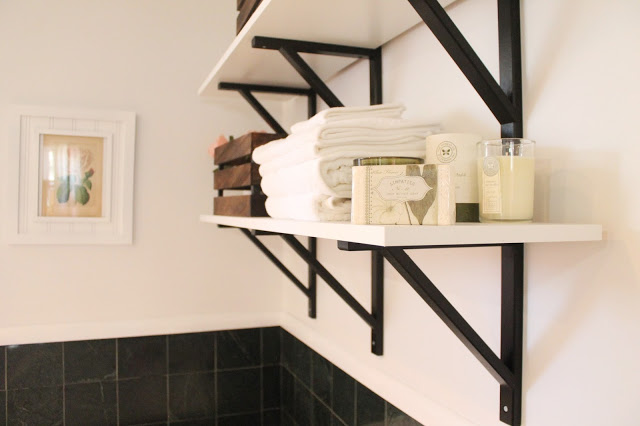
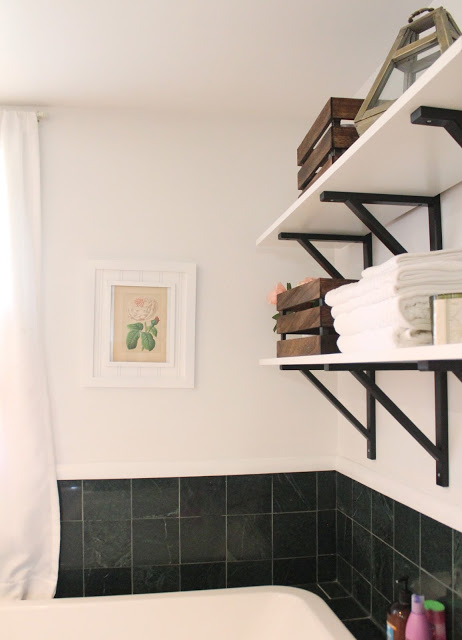
The green marble tile is a challenge. However, I don’t hate it the way I hated the yellowy-gold floral tile in my old bathroom. This tile is new-ish, it’s clean, and now that my walls are painted bright white, it almost takes on a black-ish shade. Painting out all of the oak trim really helped to neutralize the room.

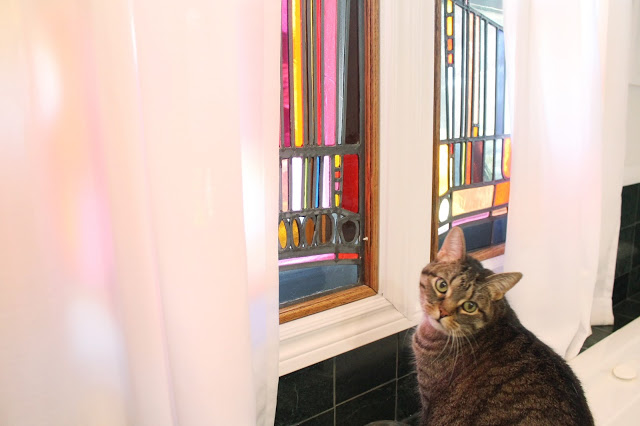
Kitty is showing off our pretty stained glass windows.

Yup, even the top of the vanity got tiled.

I’m exceptionally happy with how this room looks now. It has some nice fixtures, like the big tub and steam shower, but the tile is definitely not my taste. I’m happy with how the white paint has toned everything down and will be content living with this room as is for the next several years. I would eventually like to remove all the tile and replace it with something more neutral, install a toilet and new tiled shower and vanity. The room itself is huge, and I believe it used to be a bedroom, so there is so much opportunity to have a super amazing bathroom in here.

Some people had suggested I paint the tile, but there is so much tile in here, I’d worry about it scratching or scuffing. While I’m not loving the colour of the tile itself, scratched or scuffed tile would bother me even more. For me, as long as things are clean and in good shape, I can usually survive with something a little less fashionable.

The small powder room next door to this room also has some questionable tile – mauvy purple with flowers. It’s on my fall to-do list… one room at a time.

Updating our 1930’s kitchen.

Home
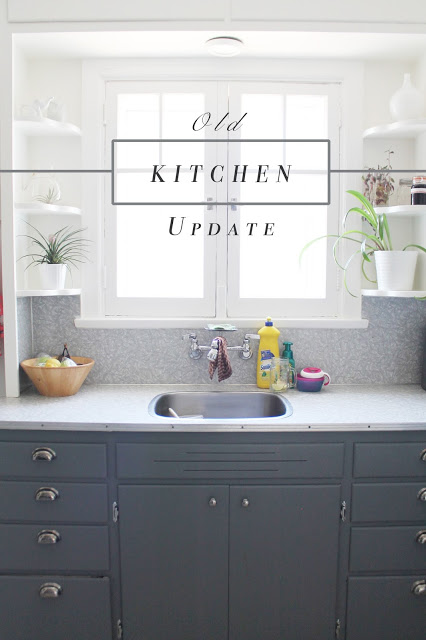
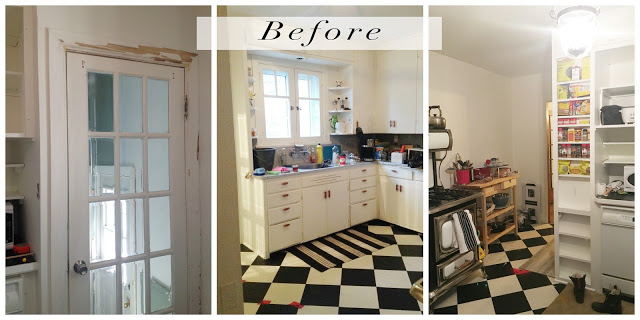
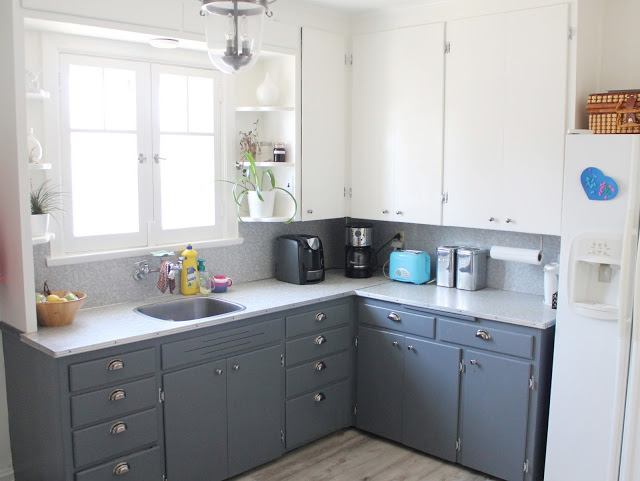
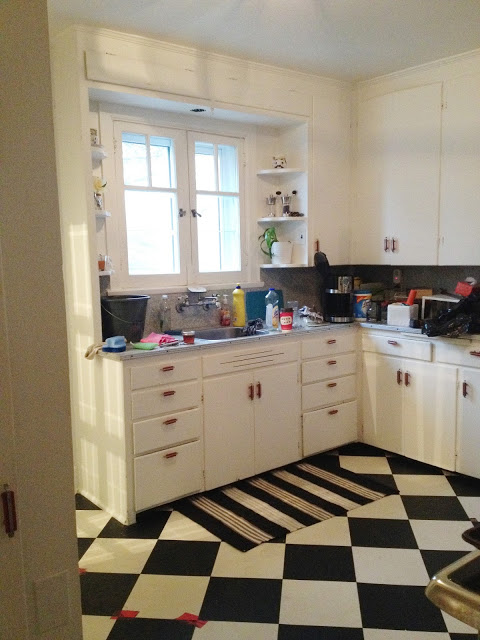
The kitchen in our new house was in pretty rough shape when we first saw the house. There had been some water damage across an exterior wall (which has since been repaired) which was torn down to the studs, and the flooring was starting to come up due to it’s age. There is still a lot  that I would like to do (new appliances, new countertop), but for now we’ve tidied it up with some paint, lighting and flooring on a pretty tight budget. I really love this room now. We have so much more counter space for preparing meals, and there is even a little breakfast nook (which we have yet to furnish!).

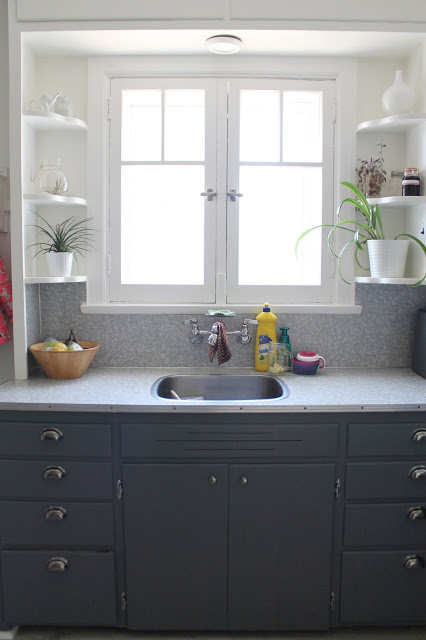
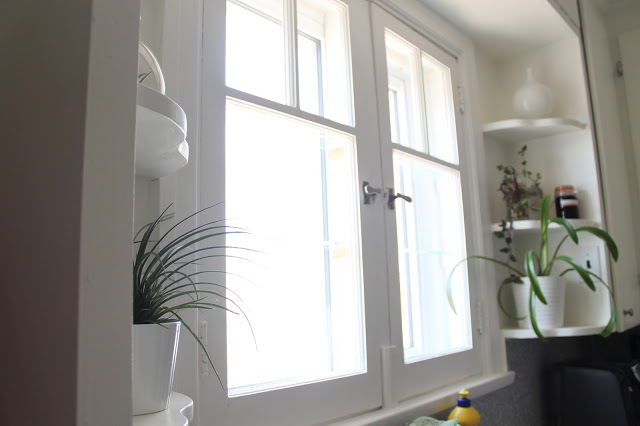
Our sunny kitchen window.

Buying the house and doing the major repairs, like replacing the furnace and taking down the chimney, sucked up a lot of our resources. We didn’t want to get into any debt prettying up the place, so we’ve chosen projects that we could DIY.  We removed all of the cupboard doors,  removed the antique hardware, filled  the holes and sanded them down, then painted our cupboards in a two-tone colour scheme with white up top and grey-ish blue down below. We took a lot more time and care painting our cupboards this time around than we did in our old house. Let me tell you, painting cupboards is an ordeal. It is not a quick and easy project. It is long, annoying, and grueling. Be prepared to have your canned goods and dishes strewn throughout the house for weeks.

One of the most annoying parts of the paint-job was that the hinges had been painted over. We had to chip away the paint in order to fit a screwdriver into the screws. That alone took us a day, at least…
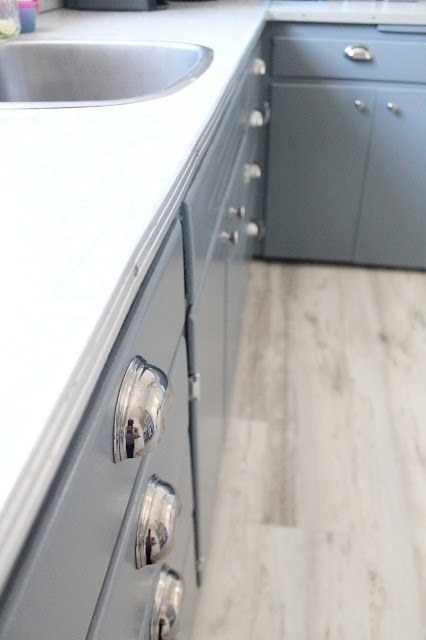
We replaced all of the vintage red hardware with new chrome cup pulls and knobs from ikea. We also had to replace the hinges. Hardware adds up, but it made a bit change.
We replaced a small piece of the countertop over the dishwasher. It wasn’t even really made of countertop material, just some plywood with old tile on it. My parents recently renovated their kitchen and had a piece of wood countertop left over from their island they installed, so we were able to get that for free! I would like to eventually replace the rest of the countertops with the same, and tile the backsplash. I’m particularly proud of this little piece of countertop because I personally demo’d it. That sucker was screwed it good.

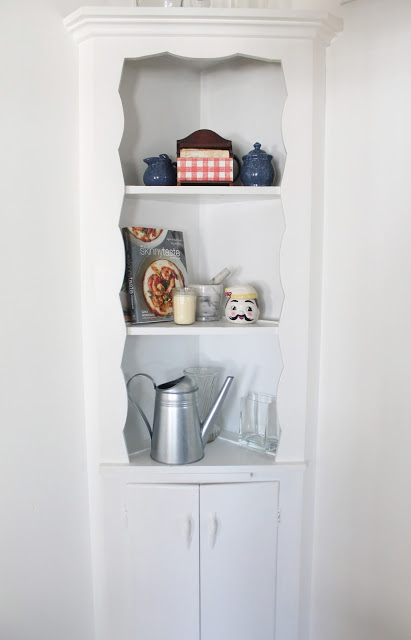
A little built-in in our breakfast nook

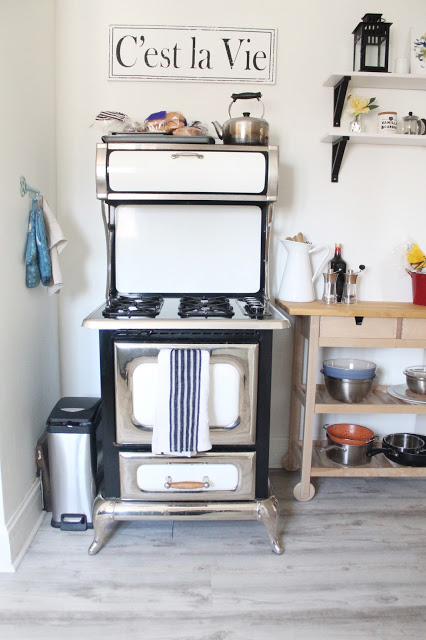
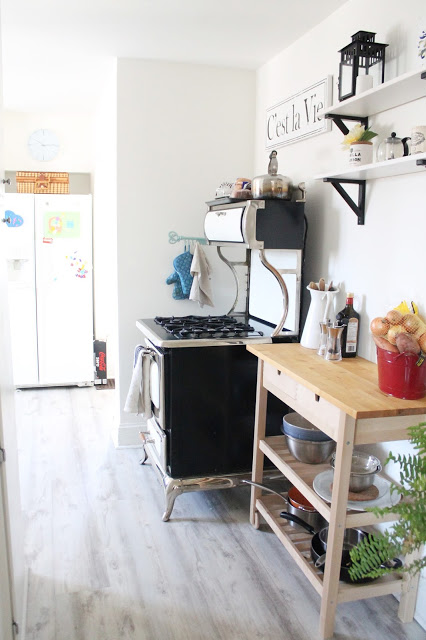
One of the things I’ve had the hardest time adapting to is our new range. First thing, just look at it. How the heck do you use that thing? I actually had to read the manual. Second, it’s a gas cook top. I’ve only ever cooked on electric, and as a result burned ever grilled cheese sandwich I made for the first two months living here.  At first I really did not like this range, but it’s really grown on me!

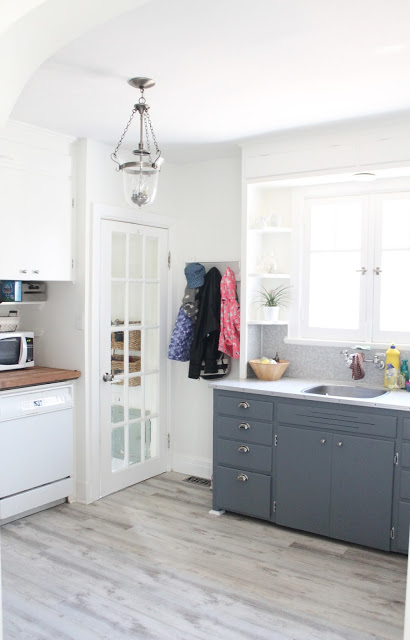
I really agonized over the flooring for this room. The rest of this house has hardwood (except for the extensively tiled bathrooms). I had originally envisioned tile, but we are dealing with a pretty lumpy floor and did not want to get into a new subfloor. We ended up choosing vinyl plank flooring, which was easy to install and is really easy to maintain. Dan and I are getting really good at laying quarter round.

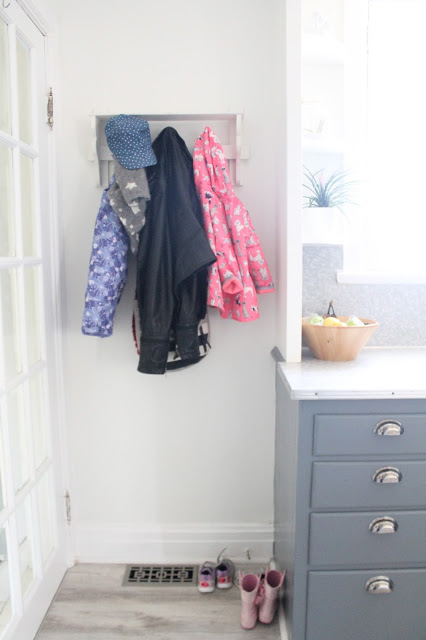
A little place to hang our hats.

 I am happy to have kept many of the original features of the house, like the tall cupboards, but am glad it has a more updated look.  I’m also really happy the work is done (though I just remembered we still have to paint the trim… ugh).

I keep thinking back to our little apartment we shared in Orillia. We literally had one little block of counter space, which was usually filled with dirty dishes.  Now it feels like we have so much room. The four of us (don’t forget Oliver!) can be in here comfortably with room to spare, and Dan takes up a lot of space so that’s saying something! (Love you, Dan, but you are super tall)

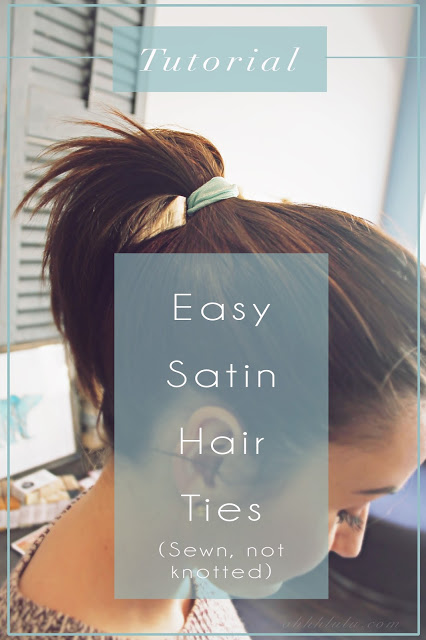
Easy FOE (Fold Over Elastic) Hair Ties that are sewn NOT knotted!

Tutorial

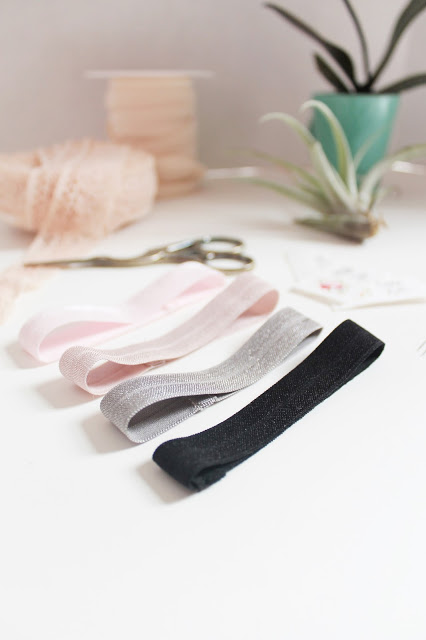
I have a lot of fold over elastic kicking around, and I often end up with little bits and pieces that I hoard away. I also lose things, particularly hair ties, so I’ve found a quick and easy way to use up those small bits of elastic to make hair ties that are amazing
Fold Over Elastic is nice and stretchy, with good recovery and the satin finish doesn’t snag your hair. They are also nice and thick so if you often find your hair getting wrapped up in traditional elastics (like I do), this may just solve your problem. You’ve probably seen the knotted version of these hair ties, which are well and good, but I wanted mine to have a more polished finish.
How to make sewn not knotted FOE Hair Ties!
1. Cut a length of elastic about 8″ long. I’ve got super thick hair, so if you have finer hair, you may want to cut it a little shorter.

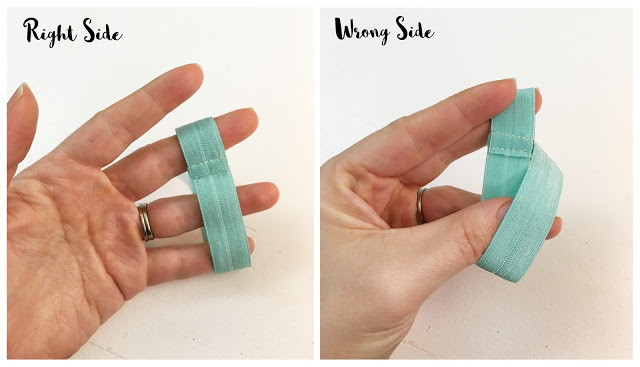
2. Fold the elastic in half, with the right sides (shiny side) facing and stitch together using about a 3/8″ seam allowance.

3. I snip back one edge of the Fold Over Elastic by about 1/8″. I sometimes lightly singe the end with a lighter (please be careful if you choose to do this!), though I don’t find that the elastic generally frays too badly.

4. Fold the seam allowance down so that the shorter end of the seam allowance is covered by the slightly longer end. Top stitch through all layers, being sure to backtack at the beginning and end of your seam. 

And that’s it! It takes just a minute to make them and you’ll never buy a hair tie again.  Wrap a few around a printed piece of cardstock, and they make a great addition to a handmade gift. It’s also a great way to use all of that amazing printed FOE that I’m seeing all over Etsy (check out Peak Bloom, just as one example!).
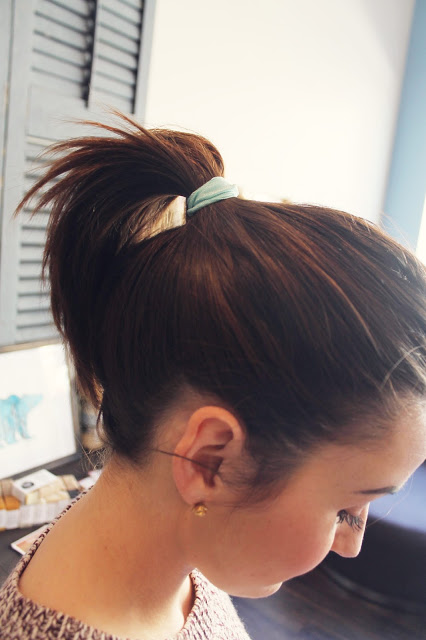
Thanks to my beautiful friend, Susie, from Changing of the Garnet for modeling my little elastic for me!

New Shipping Rates for Sleep Masks… plus upgrades.

Uncategorized

Checking things off my to-do list one thing at a time.
I’ve just reduced the shipping rates to the US on my Sleep Masks under $30. I had previously only been shipping these to the USA via Tracked Packet, which was great because it came with tracking, but also not so great because it was fairly expensive for a relatively inexpensive item. So I’ve decided to add a more inexpensive method of shipping to the US, that does not come with tracking. You can still opt for the Trackable method though!
I’ve also added some upgrades for faster shipping within Canada and Internationally.
Shipping from Canada is expensive and there is no getting around it, but I hope this will provide you with a few more options! Shipping is seriously one of the biggest hurdles I face as an online seller based in Canada. Our rates are more than double what things seem to be in the US, or in Asia. It can be hard to compete! I’ve only extended my $8 US shipping to my under $30 sleep masks at this time. It becomes too much of a gamble for me to risk losing more expensive items! It’s not just the cost of the materials that I am then out, but my time in making replacement items. I seriously envy my US Etsians who are able to offer tracking and insurance at a more reasonable rate…

A few more kits

Uncategorized
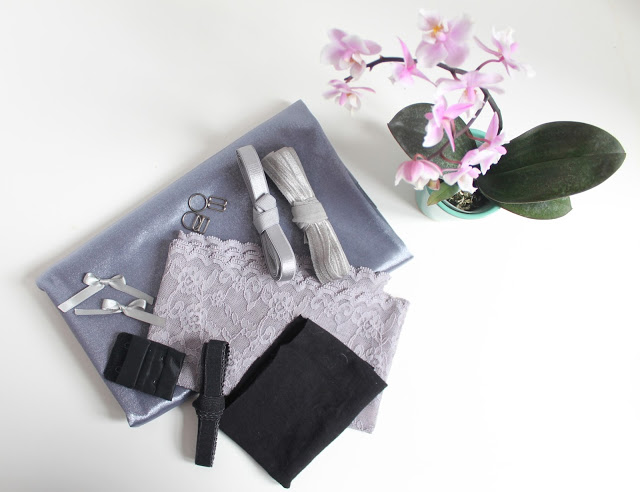
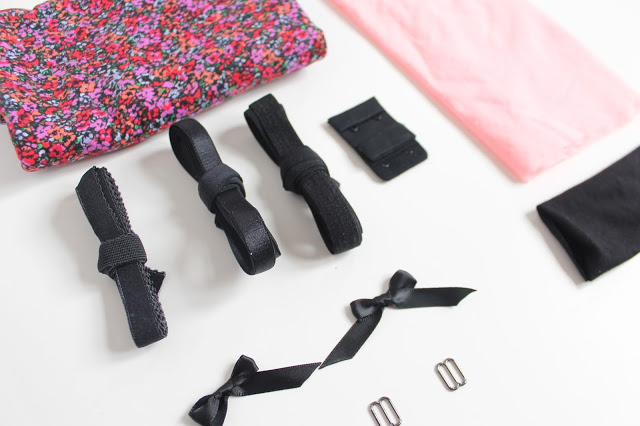
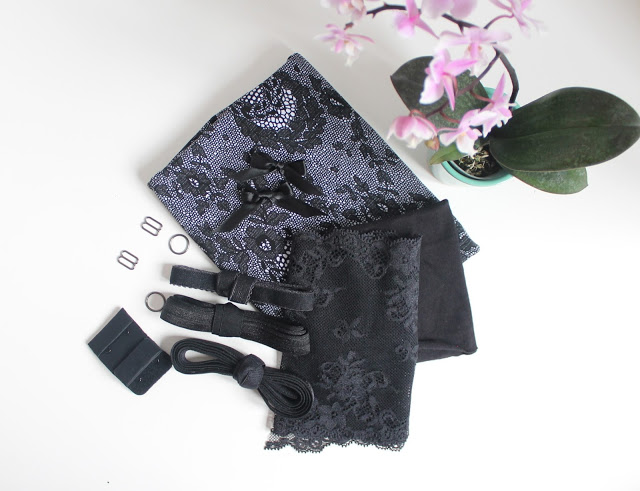
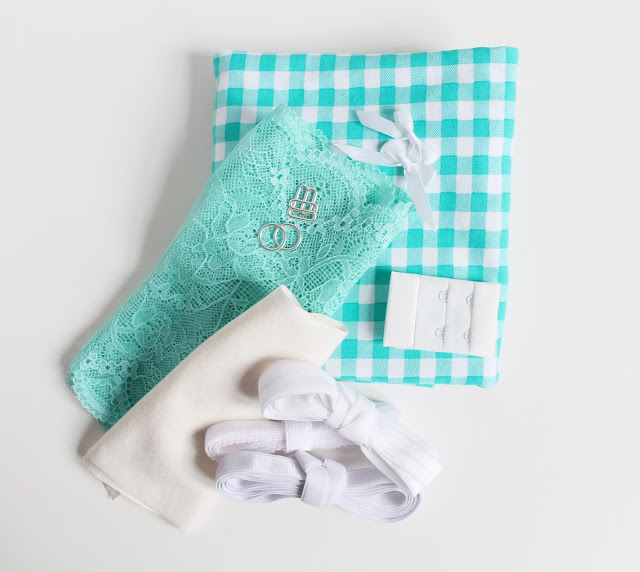
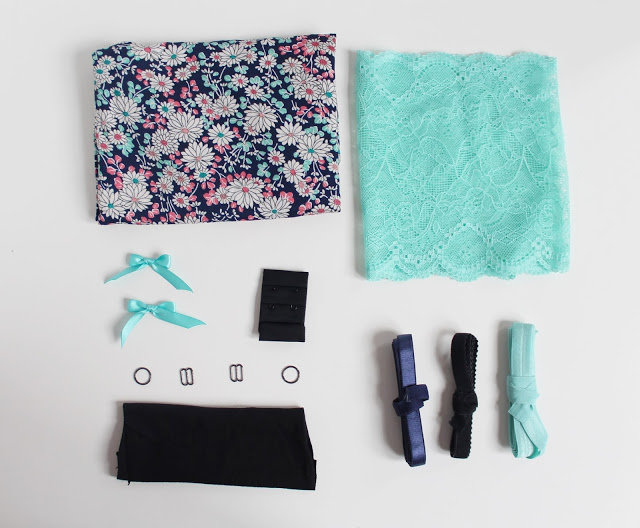
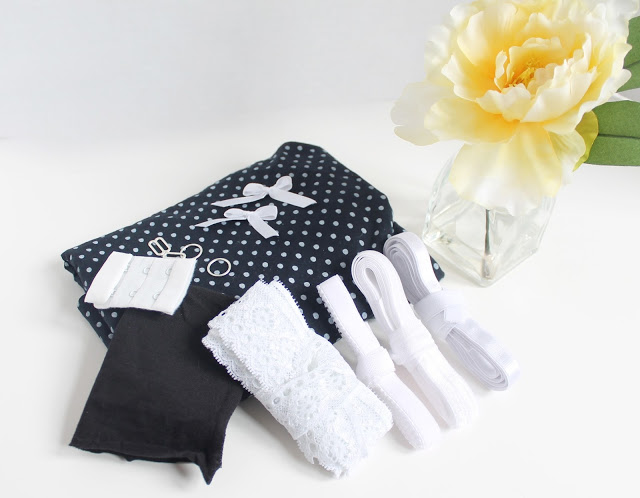
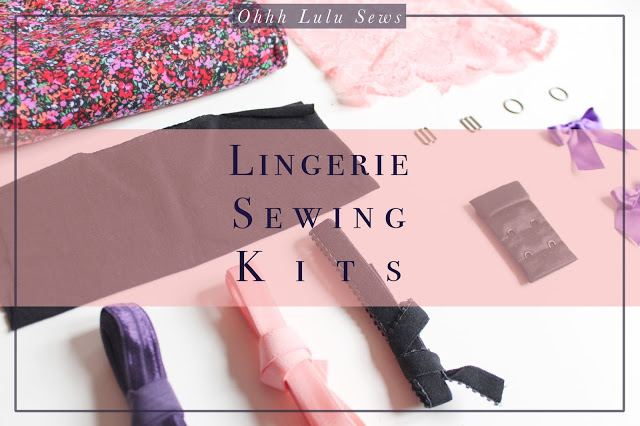
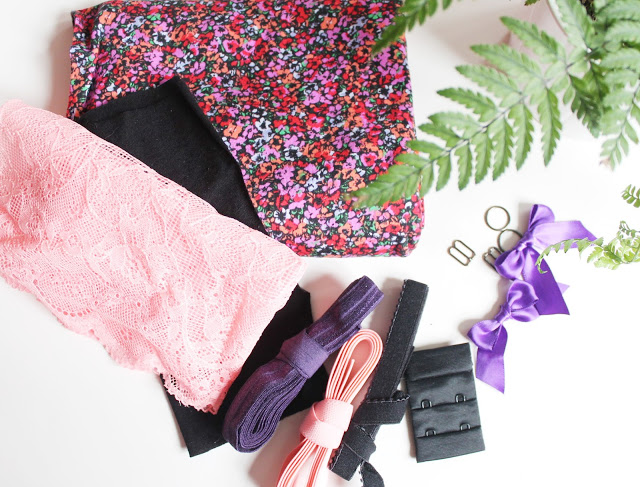
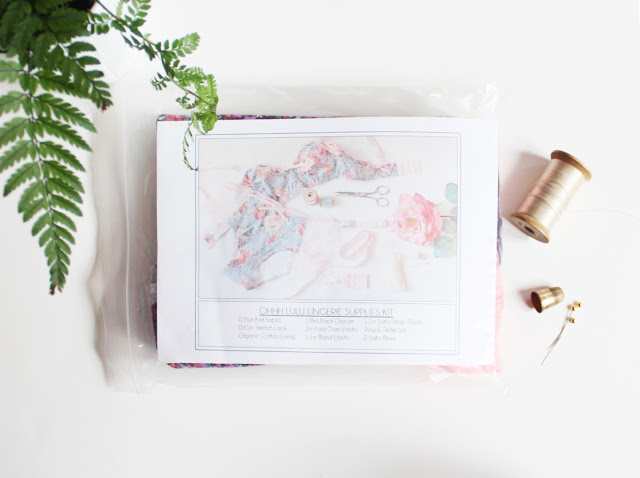
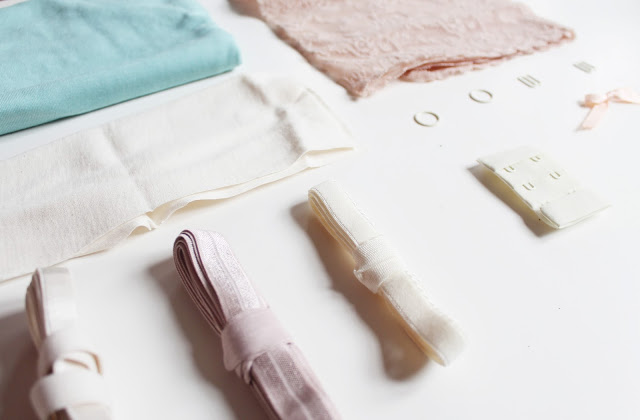
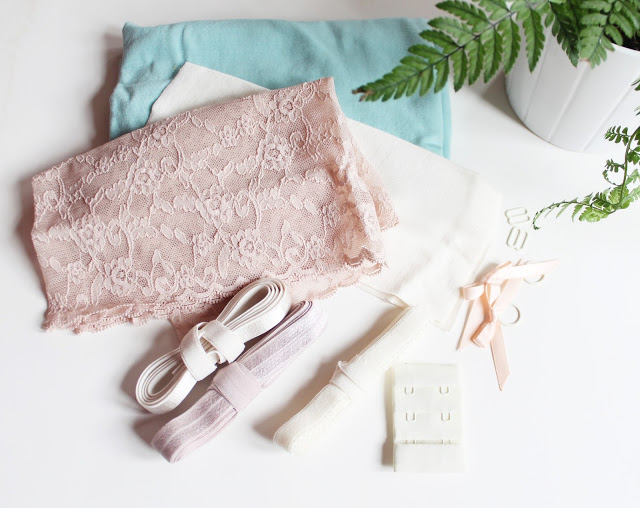
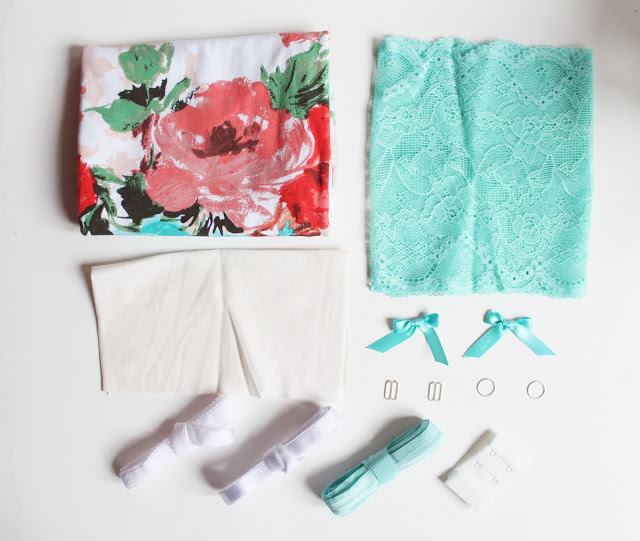
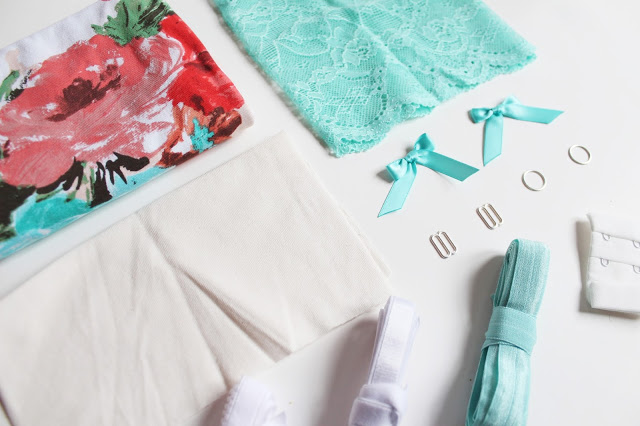
That last batch of Lingerie Sewing Kits sold out within an hour or two, so I put together 9 more in a variety of prints and colours. There is just enough fabric to sew a Grace & Jasmine set, or pretty much any bralette and low-rise panty combo.  The kits come with everything you need, excluding the pattern, thread, and sewing machine needles! They even have a little piece of organic cotton jersey for the gusset lining.
Amethyst Satin & Lace Kit

Modern Floral in Black, Purple and Coral Lingerie Kit

Black Lace Print Lingerie Set

Mint Gingham Cotton Lingerie Kit
Daisy Floral Lingerie Sewing Kit

Classic Pink Satin and Black Lace Lingerie Kit

Rosebud Lingerie Sewing Kit

Navy and White Polka Dot Lingerie Sewing Kit

New Old House Tour: The Good, the bad, and the ugly.

Home

I want to start this post by saying “I love our new house.” It really is beautiful with lots of old-fashioned charm. That being said, it has a lot of “issues.” Some of them cosmetic, others a little more serious.

This is our second house purchase. Our second old house purchase. Our second old, neglected house purchase, because that’s up our price range. A lot of the stuff we are doing feels like old hat – like replacing old wood supports with metal jack posts-  while other things feel a little more overwhelming (our whole chimney situation). I hope to do a series of posts about the work we are doing in our house, as it’s something that I really enjoy! I hope you do too.

We kind of moved on a whim, but had been considering relocating for a while. We (mostly me) had some negative experiences in our old neighbourhood and the idea of moving out of town was becoming more appealing. Also, after Isabel was born we were starting to find our starter house a little small, especially since my office had taken over the Master Bedroom. Our yard was tiny, we were next door to a parking lot, on a very busy street. We were just ready for a step up.

I kind of happened upon this house one day when I went out for lunch with my cousin. When I saw the outside I immediately needed to see the inside, so I talked to Dan and we went to see it that night! On the drive back to our house that night, we talked about how we both could envision Isabel learning how to ride her bike in the nice, long driveway, or playing in the spacious backyard. So, after getting some second opinions, we bought it.

As I had mentioned in an earlier post, the purchase didn’t go quite as smoothly as with our first house. I’m still a little irked but in the grand scheme of things, it all has worked out in the end.

Over the last 4 months we have been putting so much work (and money!) into the house. The previous owner had done a lot of upgrades but I think over the last few years a few things got a little out of hand, so I’ll start with what’s Bad. As you can maybe tell, the exterior needs some clean-up and paint, but the biggest problem was the Chimney. In December we had a new furnace installed that wall vents instead of chimney vents so that we could tear down the crumbling masonry. This was a very big job, and I was happy to pay someone else to do this for us!
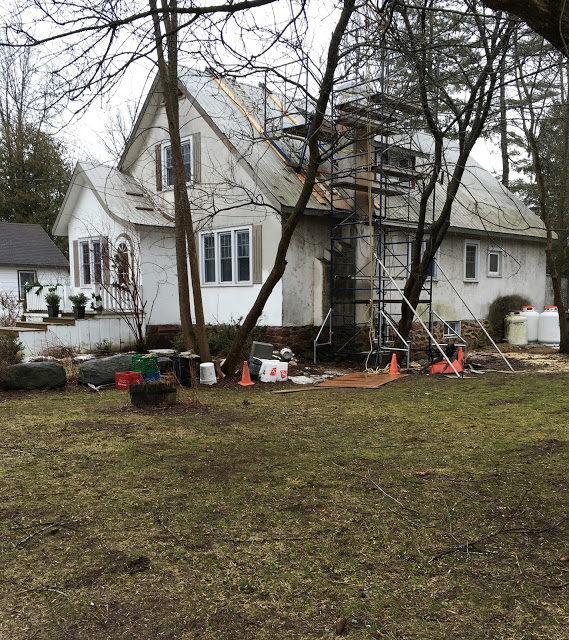
Scaffolding around our very scary chimney

The chimney was in such a state that there was some ice damage in the front room and the fire place will need to be entirely pulled out.  So far we have had the chimney torn down to the roofline and are pondering and saving for the next step. The nice thing about this house is that it is big enough that this room can be kind of blocked off for the time being. In our old house, every square foot was precious.

Bye-bye fireplace…

The new furnace and chimney demo were pretty costly for us but I’m glad to have them out of the way.  I’m still a little stressed about how we will finish the job, but it will get done! At least now we have stopped any further damage from happening inside.

The other, much less serious, but on the Ugly side of things is that every room is painted a colour. Like my favourite palette of Folk Art Acrylic Paint colours from the painting class I took in 1998. I like colour in my lingerie. I want my walls white, or perhaps a nice light grey. The house felt so dark and the rooms felt small with all of the dark coloured walls and woodwork. We’ve been working our way through room by room with a more neutral (ie. white) colour scheme and it is really brining out how big this place really is! I also like the original woodwork, and I find it stands out more on a neutral wall…
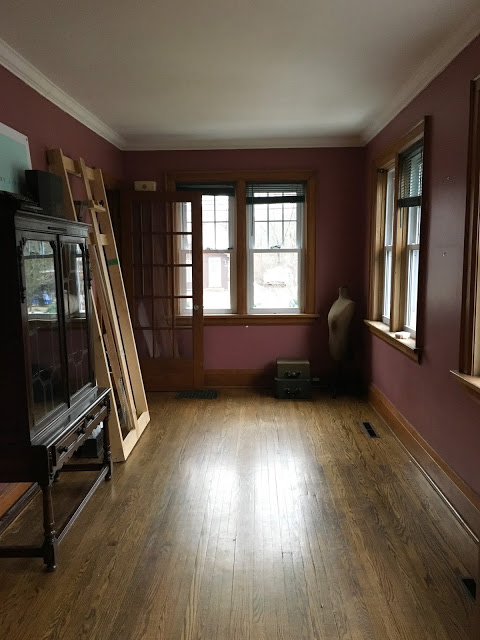
dreaming of turning this into a boutique/fabric shoppe.

Eye Spy with my little eye, a blur that looks like Dan.

The tile… oh the tile.

Aside from covering everything in a neutral coat of paint, we’ve also had to do quite a bit of work in the kitchen. I was able to give the original cupboards a fresh coat of paint, but the room needed new flooring ASAP.

Aside from painting and a bit of flooring, we’ve also had our dryer vents clean (do this! Seriously. dryer vent fires happen), had several large trees taken down that were overhanging our house (another very costly undertaking), replaced jack posts, repaired some plumbing, sealed a leaky window, replaced light fixtures… In other words, we’ve been pretty busy and still have a lot to do.

It feels a little overwhelming when you buy a house like that this needs some serious upfront repair, especially when you are DIY-ing and working with a limited budget, but this house has some great features (which is the Good part of this post): New windows, new wiring, new plumbing, huge deck, newly insulated, relatively new fixtures (though I would like to replace the tub for a more environmentally friendly, smaller version!)… It just needs a little TLC to get it back to where it should be.

One of the funny things that I love most about this house is it’s maze-like layout. I’ve had three people get lost going from the bathroom to the kitchen, and when I had my nephew over a few weeks ago we had the best time playing hide and go seek. There are so many great little hiding spaces… that’s what I love about this house. It’s fun. I feel like it will be a fun place for Isabel to grow up.

I think we are pretty much down what we will do inside for this year while we build our saving up again! There are extensive gardens that will need my attention for now, and the house is mysteriously only half painted, so we will need to clean the stucco and paint the woodwork. Now that we have finally been having some nicer weather, I’ve really enjoyed spending time in our beautiful backyard (which I will show you another day).

In my next post I hope to show you a little of what we have done inside!
Uncategorized

Everything takes me 10000x longer these days.
Isabel is in daycare 4 days a week, but they are relatively short days. It’s nice because she and I still get lots of time together, while still giving me time to focus on work.
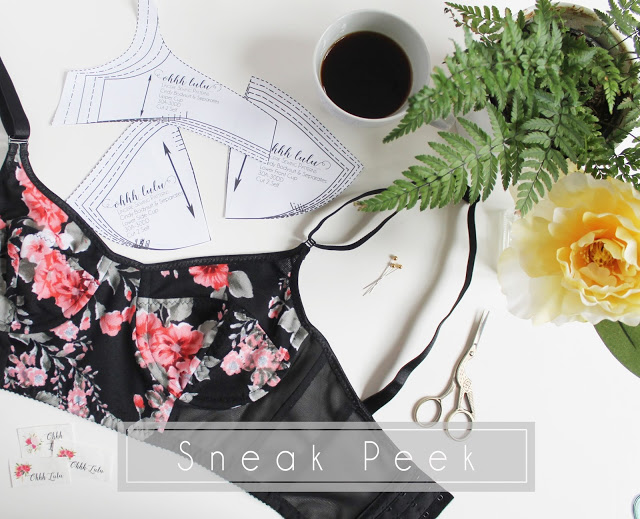
I’ve been working on a new pattern collection on and off since… October.  I’ve learned, since Isabel entered our lives, that things need to go at a different pace. I get frustrated sometimes because I have all these ideas and inspiration and motivation, but the time just isn’t there right now. When I feel like that, I always try to remind myself that Isabel will only be little for such a short time, so I’m trying to stay cool with a slower pace of life…
That’s not to say I’m not cramming as much into my work-time as possible!
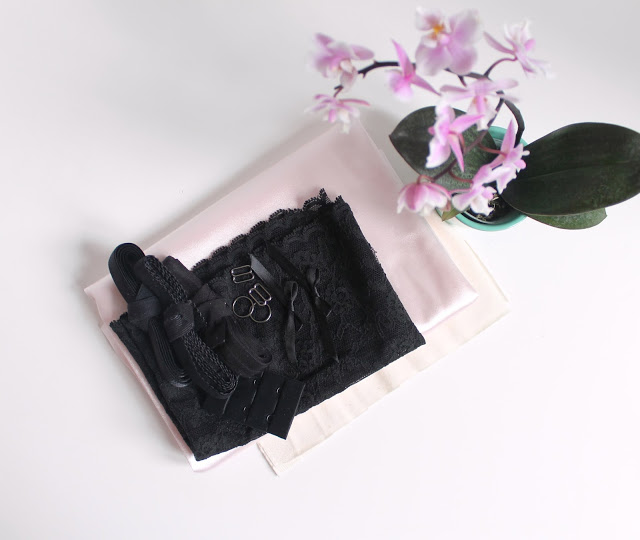
I’m really excited about this pattern collection because it includes some pieces that outside of my normal drafting comfort zone. I’m still trying to figure out a few complicated bits and pieces for one large pattern, but I’m really getting close to a new collection!
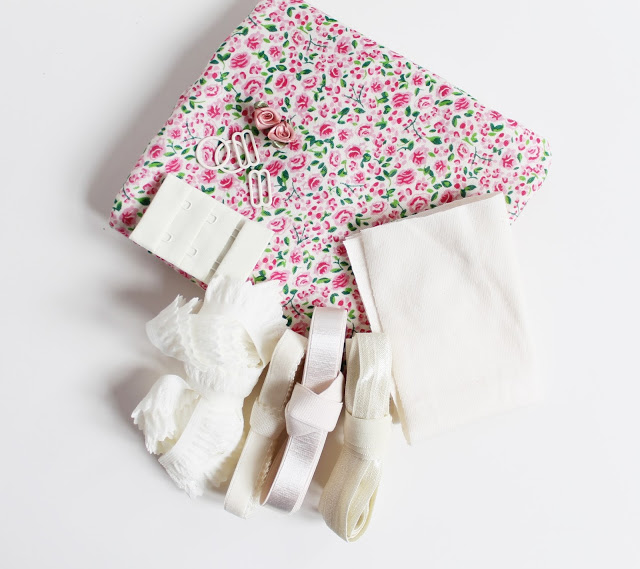
A few kits just landed in the shop…

Uncategorized
Last year I had the opportunity to teach a class at the Design Exchange in Toronto! It was fun and a gigantic learning experience for me. Teaching is something I really enjoy and I hope to do a class again someday.
I had a few kits leftover from the workshop and have just posted them in my Etsy Shop. There are only 3 Fabric/Notion kits and 1 Notions kit! So if you are interested, don’t wait, snatch ’em up now!
Current Kits Available:

Black and Coral Floral

Shop Kits

Seafoam and Champagne Kit

Seafoam and Champagne Kit

Abstract Floral

Abstract Floral

If the demand is there, I’ll make up more kits as I have the time!

Shop all Kits by clicking HERE.

Non-lingerie making!

Uncategorized
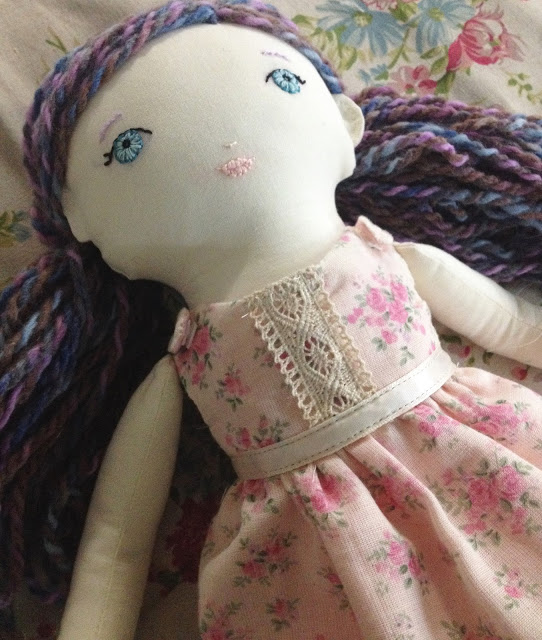
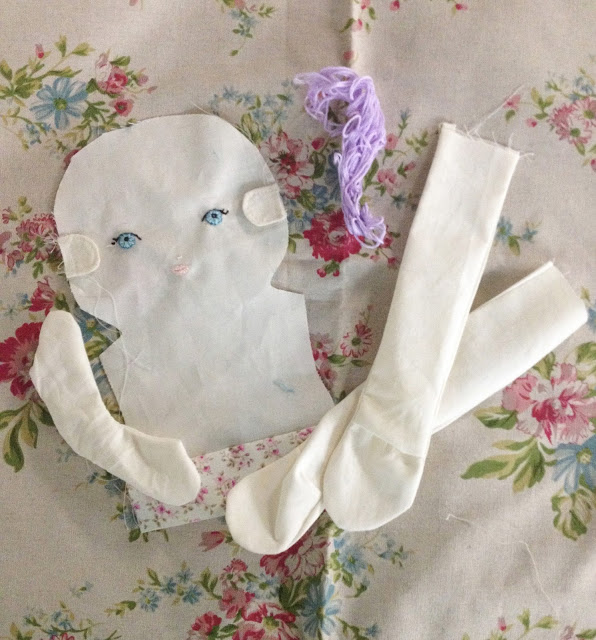
Have you ever tried doll-making? I had never really made stuffed toys, besides some witch legs last halloween, but I wanted to try to make Isabel a rag doll.
I wasn’t entirely sure where to start, so I bought a pattern on Etsy from Create Joy Make Stuff. I followed the directions exactly for the body, but decided to do yarn hair instead of felt. I also embroidered on the face, which was a real challenge for me, but I am happy how it turned out! I don’t have a lot of experience with embroidery so I did a lot of stitch ripping.  I found this blog post from Big Little to be really helpful. 

I embroidered a little french knot for a belly button. Isabel is obsessed with belly buttons. She always wants me to show my belly button to everyone in the grocery store…
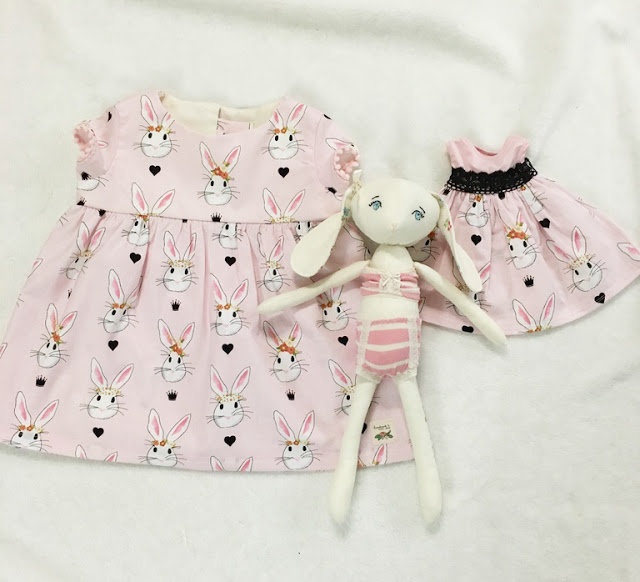
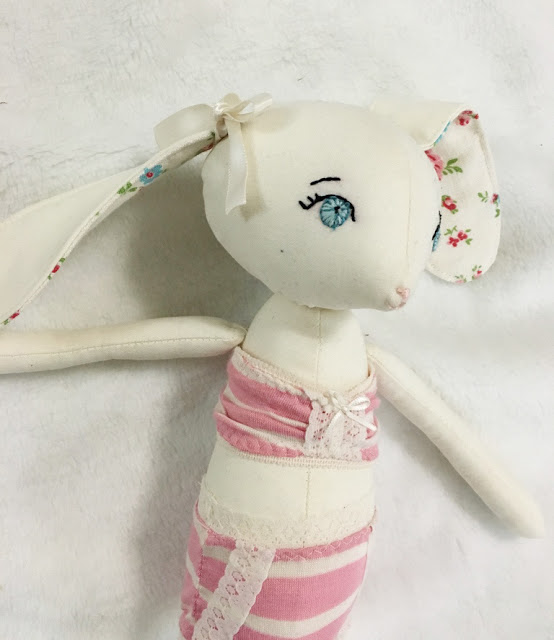
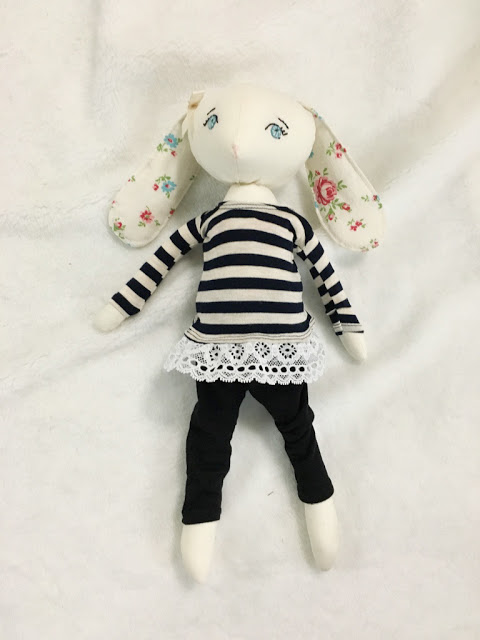
Anyway, I was SO happy with how the doll turned out that I decided I’d try another toy. This time I kind of made up my own pattern, using the doll pattern as a bit of a jumping point. Since it was Easter, I throught I’d make a bunny doll.

I made the tiniest little underwear set for her to wear, as well as a matching easter dress using a Riley Blake Bunny Print.  I used Heidi & Finn’s Pumpkin Spice pattern for Isabel’s dress. I really love this pattern! I want to make Isabel a ton of these. It has a comfortable loose fit, is easy to sew with three sleeve variations, and looks super adorable!

Bunny’s Top
Isabel’s top
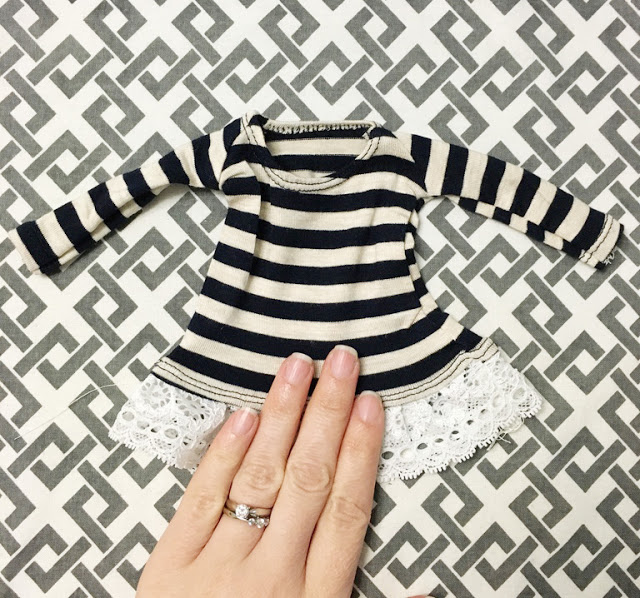
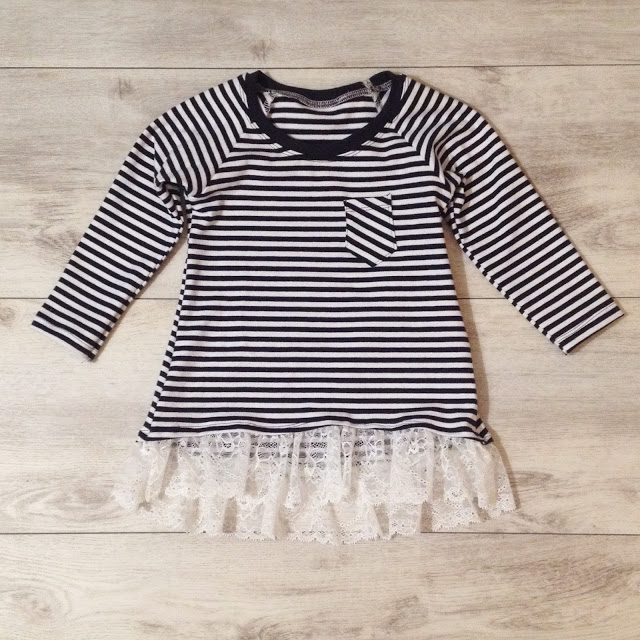
So I’m kind of obsessed with making them matching outfits now. I made a striped replica of a Brindille and Twig Ragland Sleeve Top I made for her earlier in the winter.  
Doll making is almost as addicting as lingerie making!