All Posts By

sarah norwood

Black Friday Discounts!

Sales

How is it already almost Christmas? What happened to fall?

Well, whatever! I’m a fan of the holiday season! Winter is time for me to feel ok about doing a little hibernating, going to bed early, getting a little lazy.

I know it’s Thanksgiving in the US, but those of us in Canada already celebrated a month ago. We’re in Christmas Holiday Mode here. There’s a Santa Claus parade down our street tomorrow, and I’ve already got my Christmas tree up! The joys of an artificial tree! I’ve also already got a head start on my Christmas shopping this year, hitting up some online black Friday sales.

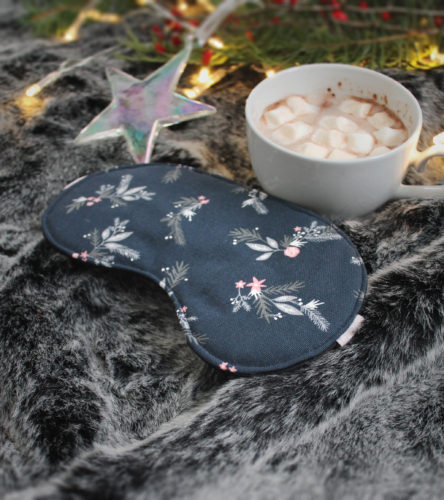
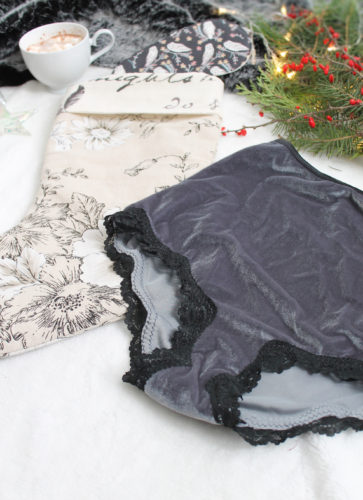
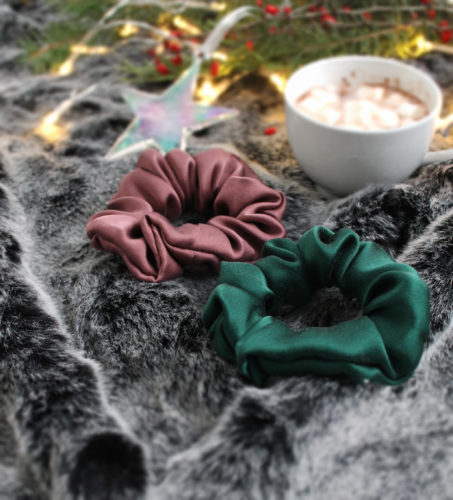
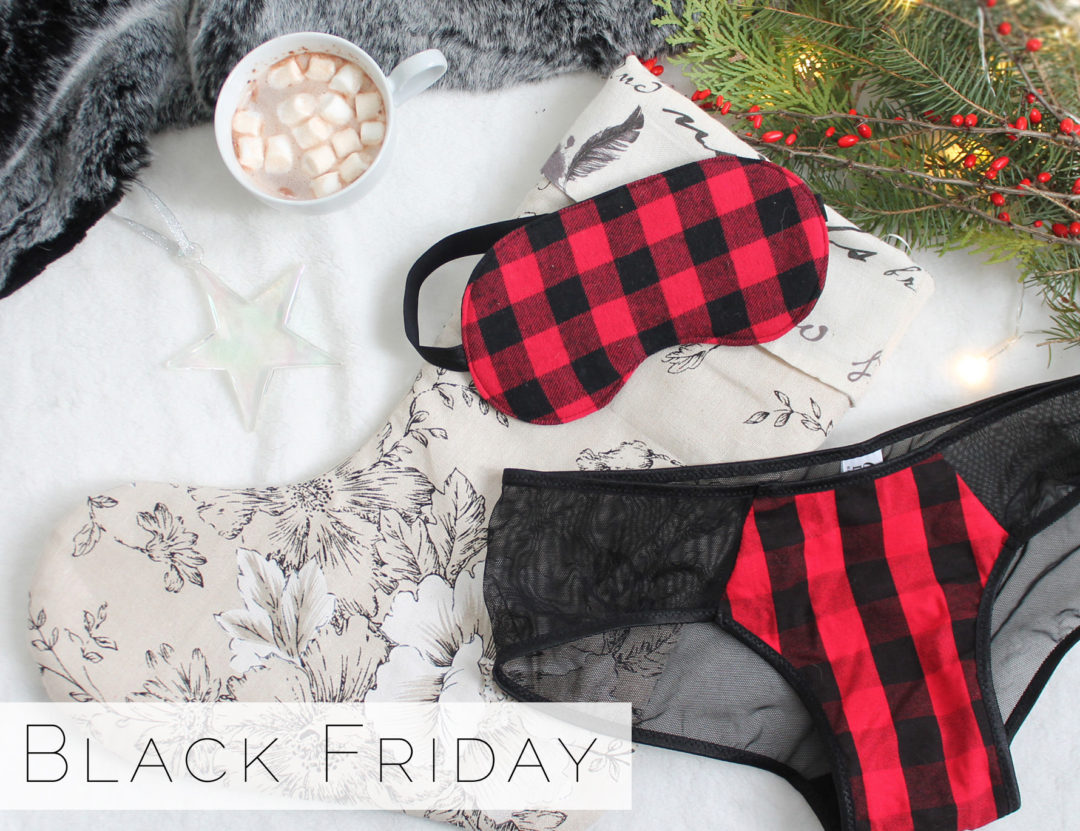
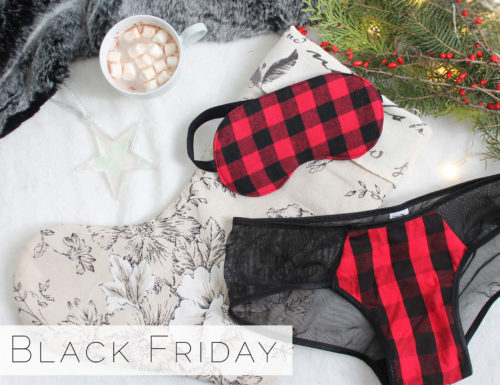
I’ve got some Black Friday / Cyber Monday deals going on in both of my Etsy Shops. Everything is already marked down by 20% on Etsy (and FREE domestic shipping!). If you’re shopping here, use coupon code BlackFriday20 to take 20% off all digital sewing patterns…

Shop Lingerie HERE

Shop Sewing Patterns on Etsy HERE

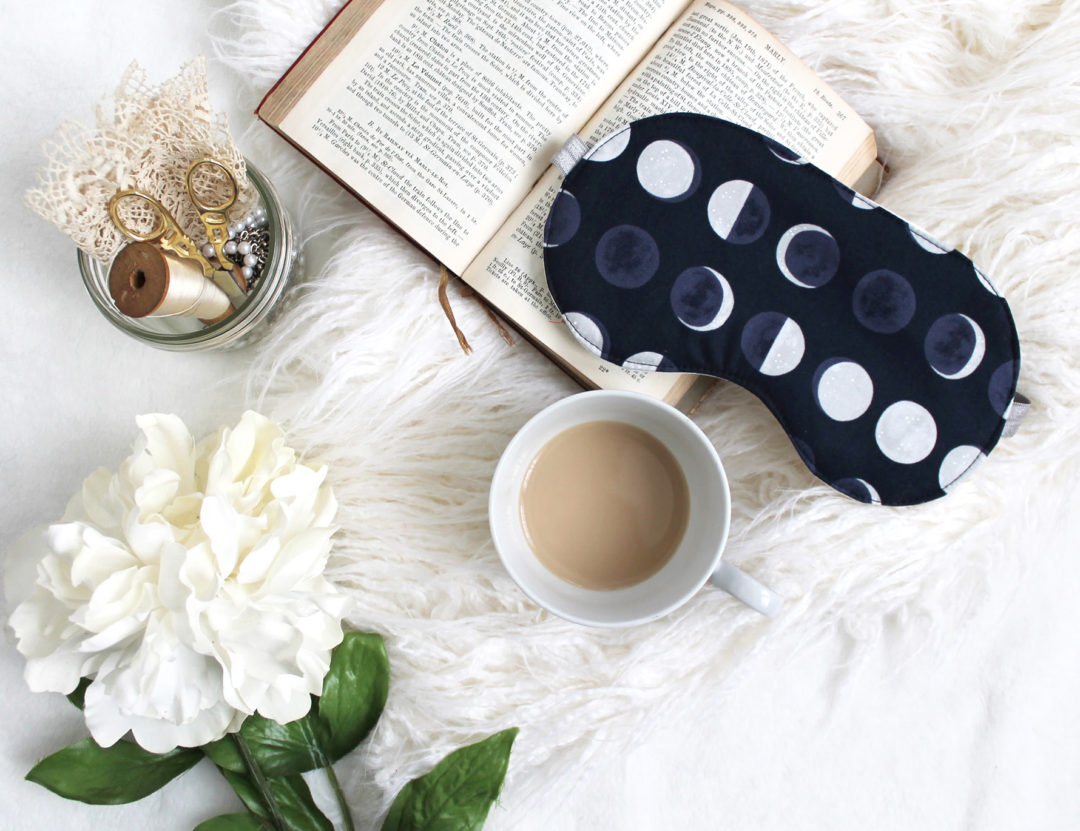
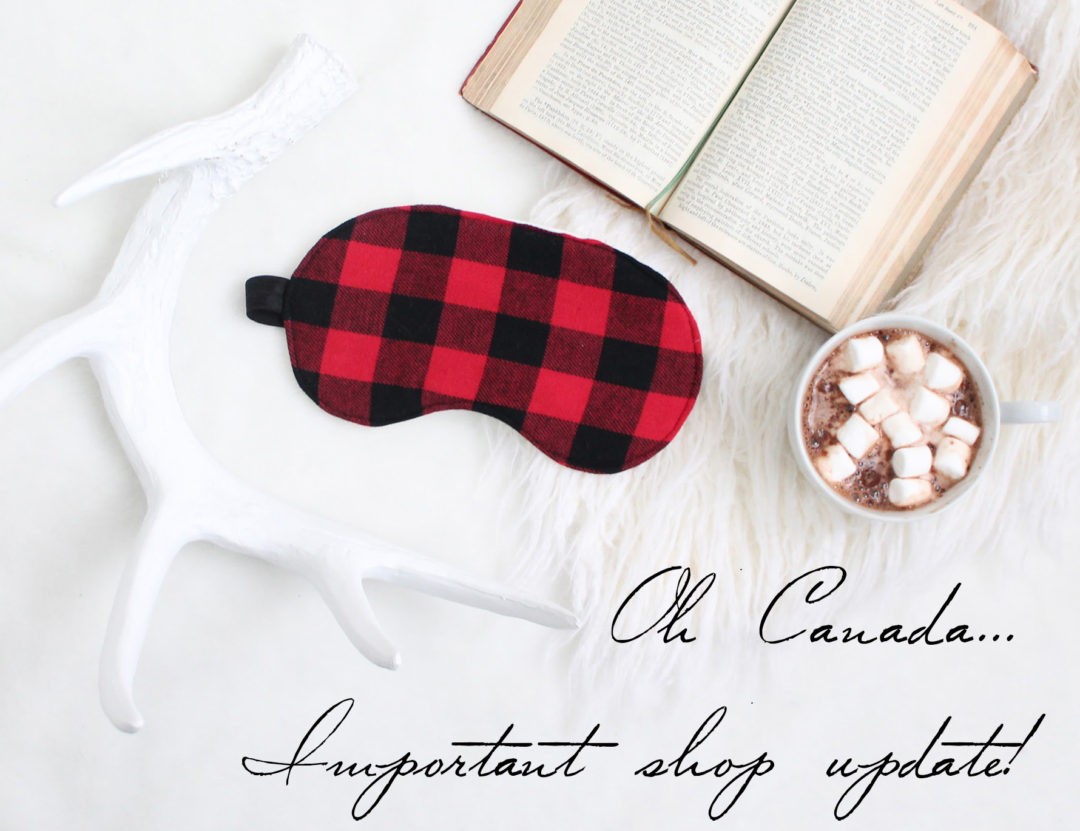
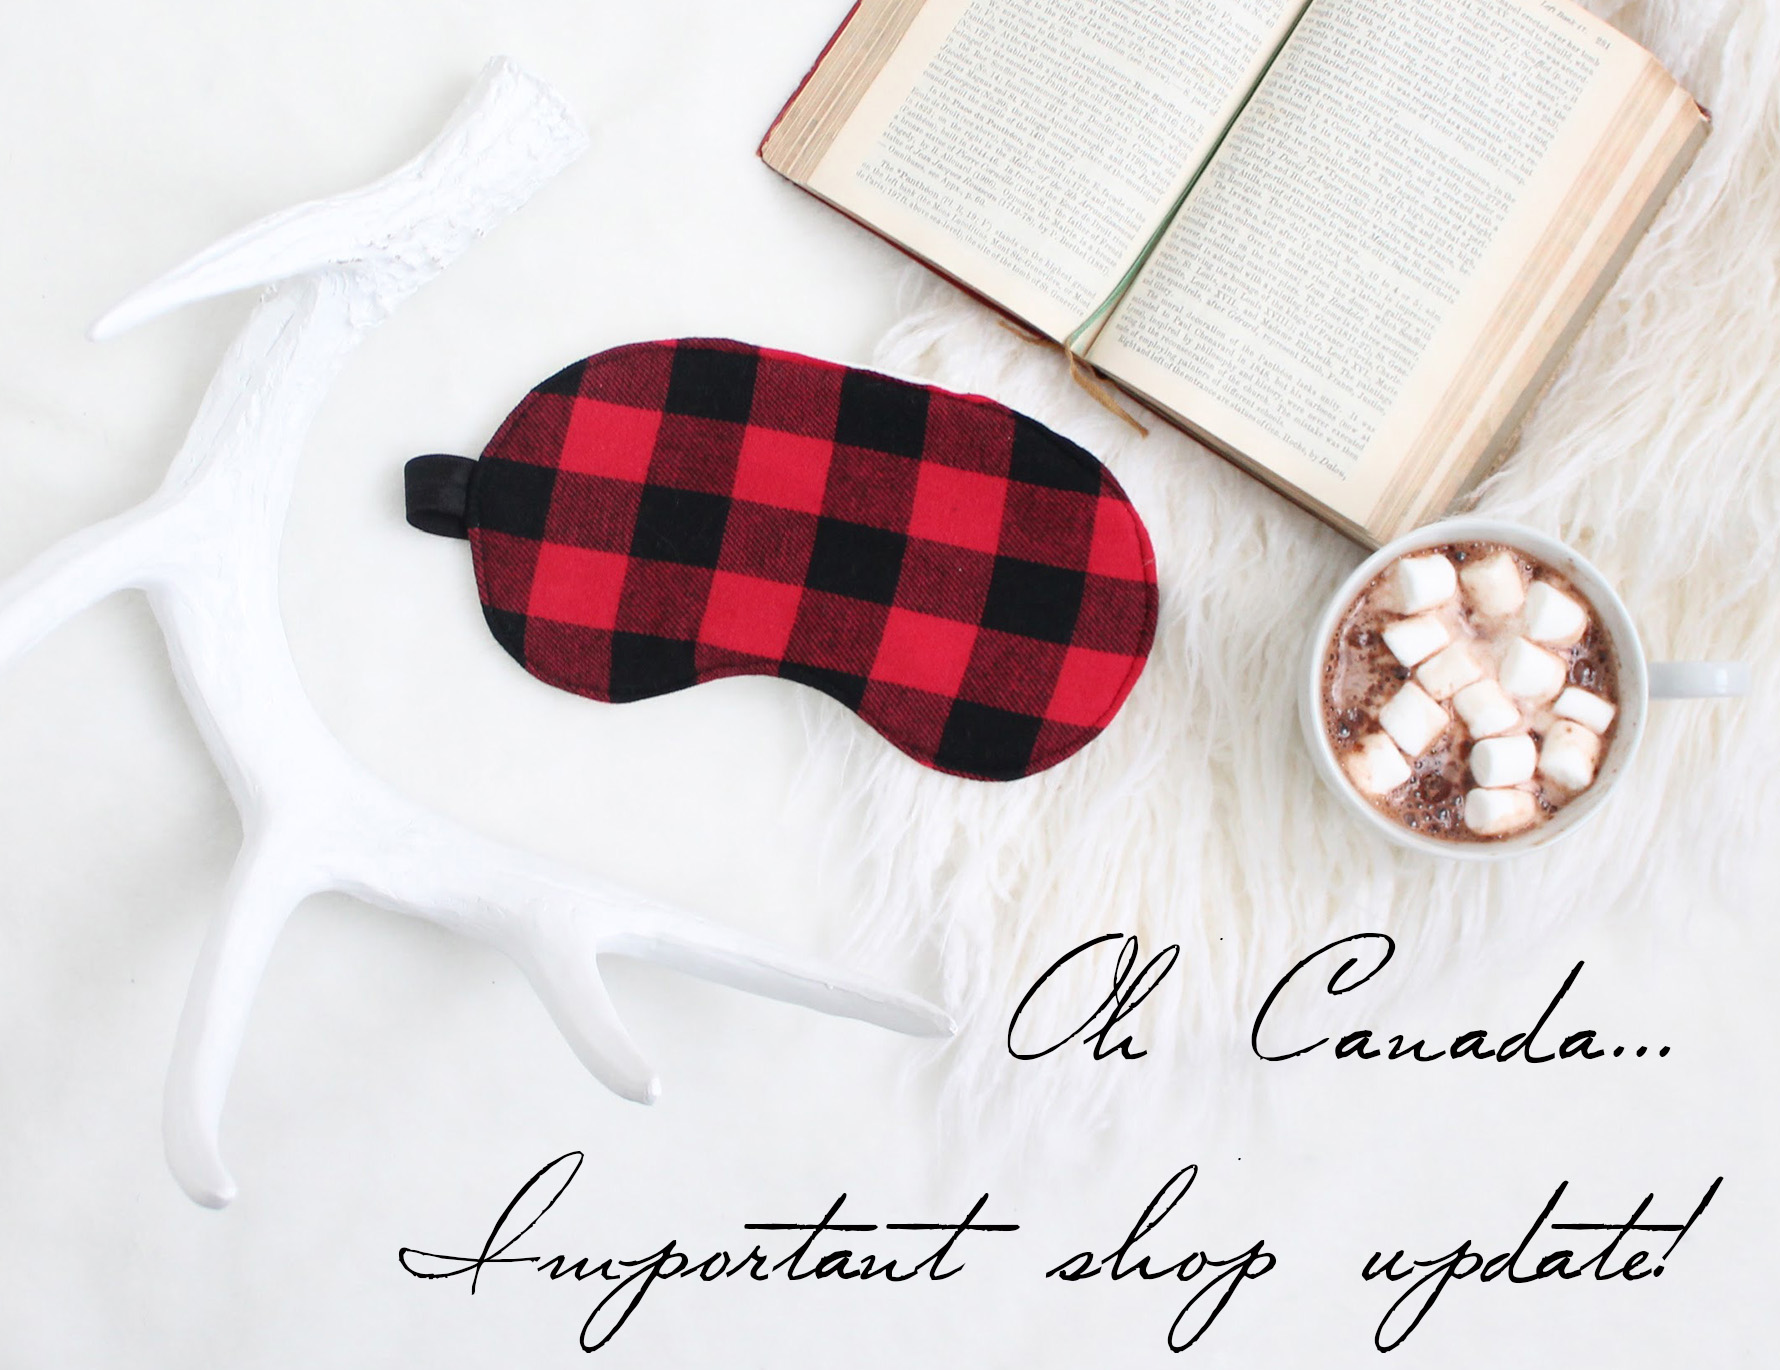
That brings me to my next thought. What are you sewing this holiday season? I’ve had some requests for sleep masks from family, and I’ve got a super special handmade surprise for my Mom and Mother-in-Law.

How to use Boning for Added Support in Bras

Sewing Patterns, Tutorial, Uncategorized

One of the reasons I started making wire-free bras is because underwires, no matter what size I wear, end up giving me terrible chest and back pain by the end of the day. I just love the relaxed comfort of a soft bra.

That being said, sometimes you want to find ways to give your wire-free bras a little more structure. There are lots of different ways you can do this, from sewing them with wider band and strap elastic, to adding some light sew-in foam. Over the summer, I finally got around to experimenting with something I’ve been wanting to do for a while: adding boning to the sides of my Jasmine Bras.  Personally, I’m not a big fan of foam bras for myself. For me, a lightweight lace bra is my go-to, but I wanted to add a little more vertical structure.

What is boning?

Boning is best known for it’s use in corsetry, but it’s used in everything from longline bras to wedding dresses to swimwear! Basically, any garment where you need some vertical structure to prevent a garment from folding in on itself, OR when you want to create a garment that shapes the body, you’ll want to use boning.

There are a few different types of boning:

Rigelene / Sew-in boning – very lightweight plastic boning that can be sewn through and does not have a casing.

Plastic Boning – heavier than rigilene boning and often comes with a casing. Easy to cut and sew, but can form permanent bends when used in corsets or shaping garments.

Flat Spring Steel Boning – this boning is very rigid and great for use where a lot of vertical structure is needed, like on either side of corset laces.

Steel Spiral Boning – very flexible but strong steel boning made out of flattened coiled steel. This boning is great for use down side seams of corsets or structured evening dresses as it will bend around the curves of the waist and hips.

Although there are many ways to “install” boning, I usually like to use a casing. You can buy a tightly woven casing meant specifically for boning which I highly recommend using as it will prevent the bones from working their way through, but if you’re experimenting and are not ready to commit to purchasing supplies, bias or twill tape are good alternatives.

Most fabric stores will stock plastic and/or rigilene boning. You can find metal boning at larger bra and corset making supply shops, like Bra-Maker’s Supply.

For this particular bra, I used small pieces of Flat Spring Steel Boning and cotton bone casing, however I’ve made myself a couple of other bras using Plastic Boning that I like just as well. Truthfully, the bones are so small in this variation that either works well.

Installing the bones.

I assembled my Jasmine Bra in lace according to the pattern instructions.
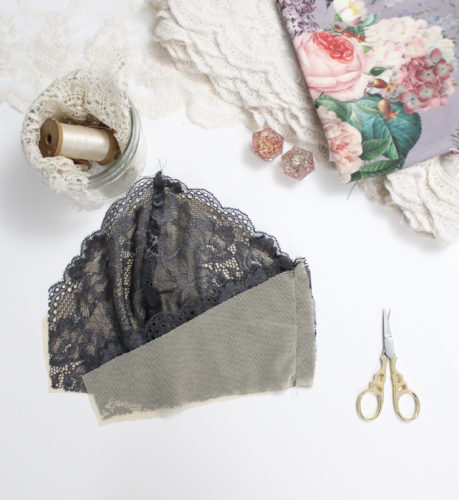
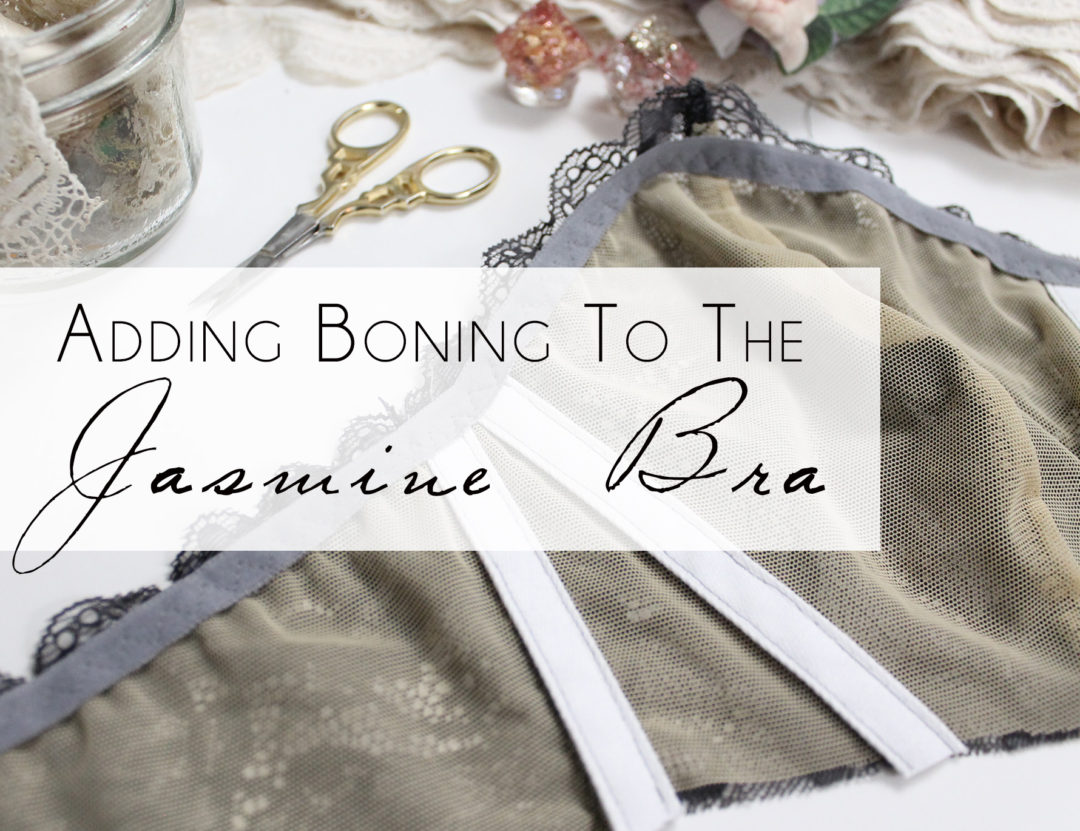
Before finishing the seam allowance on the side seam and applying the upper elastic, stitch a length of bone casing to the seam allowance, along the side seam stitching line.
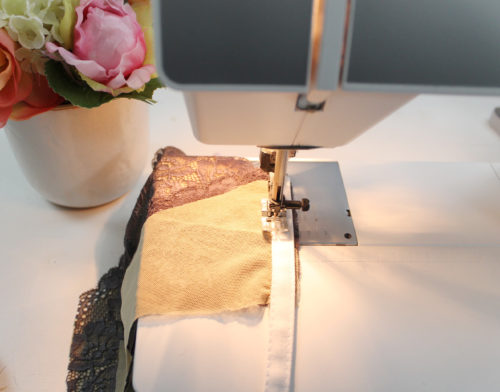
Trim back the seam allowance to approximately 1/4″.
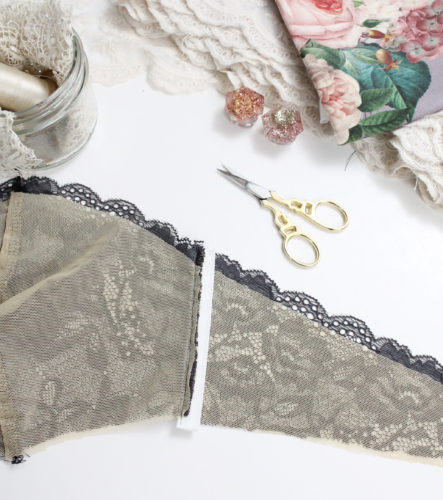
Fold the casing down and top stitch in place along the opposite edge.
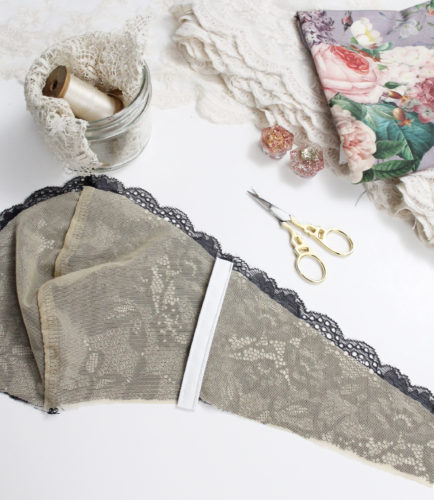
You now have a casing stitched to the bra side seam that will soon house your boning!
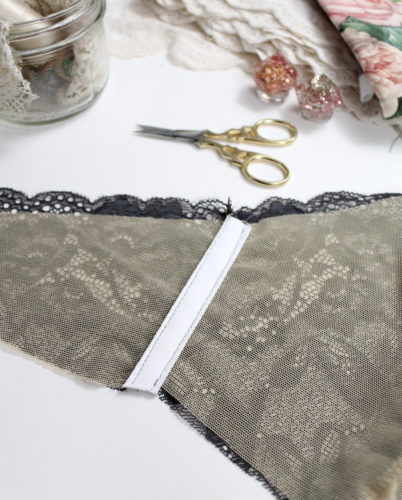
I decided to sew a second length of casing beside the side seam, running slightly on the diagonal. My goal  was to have it slightly follow the side of my breast.
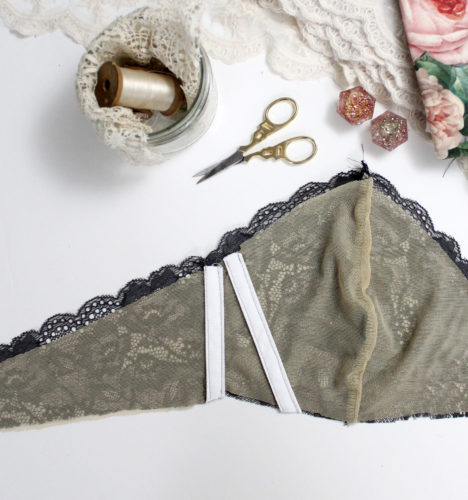
Finish your upper edge according to the pattern instructions.
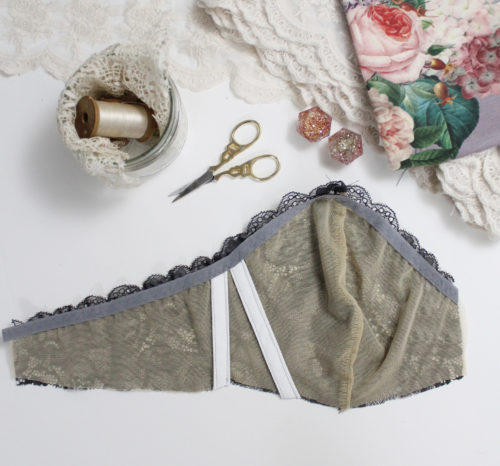
Measure out your boning so that it is at least 1″ shorter than the length of the casing. Remember, you need to leave enough room to stitch on the band elastic.

If you are using plastic boning, round off the ends of the boning and file down any rough or sharp bits. If you are using metal boning, finish the ends with metal boning tips. This will smooth out the ends of the boning so they won’t poke through.
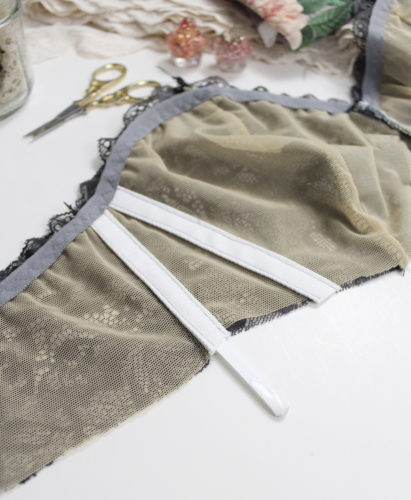
Insert the bones into the casing, making sure you have left at least a 1″ gap at the bottom. From here, you can complete the assembly of the bra.
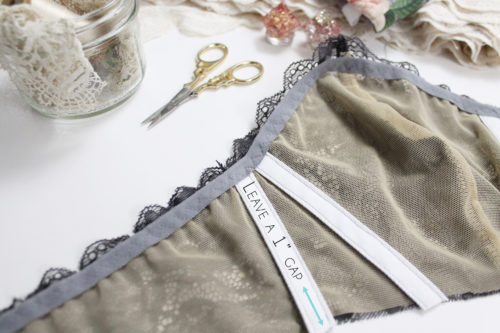
A very important note.

When you are ready to sew on your band elastic, please stitch very carefully past where your boning is. If you are using plastic boning, you may find that your sewing machine will just stitch through the boning, but if you have chosen metal, your sewing machine will spit needle shards at you.

Finishing Up.

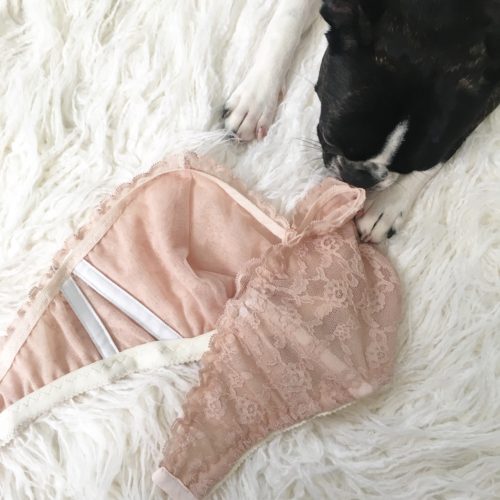
Adding boning this way doesn’t change the overall look of the bra, but it does add some vertical structure which can help your bra stay more up-right while still being comfortable. Here’s another one I made, this time in a neutral beige lace (which had yet to have it’s straps sewn on). Leah thought it looked great! And honestly, it’s my current favourite bra.
 

Bridal Boudoir Collab x Afterglow Images

Design Diary, Lingerie

I’m so behind on so many things!

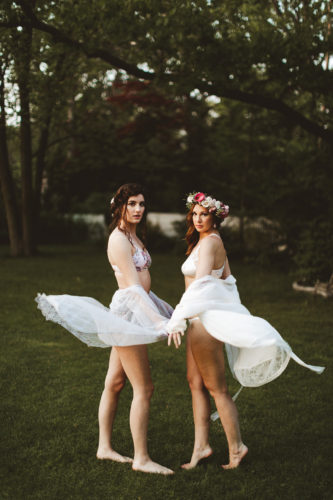
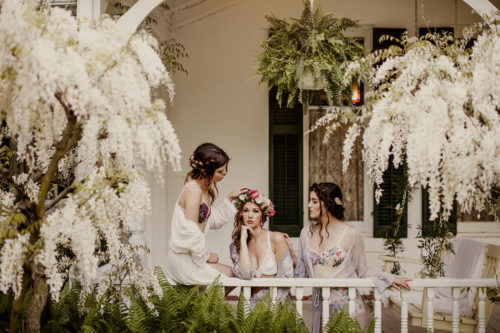
Over the summer, I had the opportunity to collaborate with Afterglow Images from of Niagara Falls, ON. Honestly, browsing through their wedding portfolio made me want to say “I do” all over again!
I always say I want to do more of the collaborations, but I often find it hard to set aside the time to prepare garments for specific shoots, especially if they are short notice… but it is really worth the effort.  Afterglow did an amazing job styling, and the venue was absolutely gorgeous!

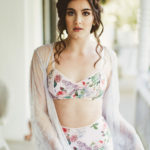
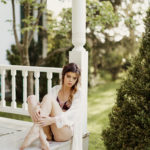
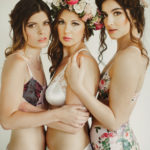
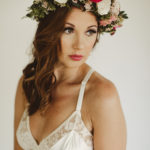
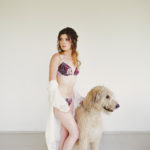
The pieces featured in the shoot are the pink floral Midsummer Lingerie Set (made with fabric I designed!), the ivory satin & lace Lily Set, and grey & burgundy floral Belladonna Set.


Photography, Decor, Styling: Afterglow (https://afterglowimages.ca  IG: @afterglowimages)
Lingerie: Ohhh LuLu (https://ohhhlululingerie.com  IG: @ohhhlulu)
Robes: La Vie en Rose (https://lavieenrose.com IG: @lavieenrose)
Hair: Beyoutiful Brides (https://www.beyoutifulbrides.com  IG: beyoutifulbrides)
Makeup: Victoria Jaski (IG: @victoriajaskimakeupartist)
Florals & Flower Crown: Roses & Twine Floral (www.rosesandtwinefloral.com  IG: @rosesandtwinefloral
Sweets: Sweet Avenue Cakery (www.sweetavenuecakery.ca IG: @sweetavenuecakery)
Models:  @elizabethschonmodel @maddyover @kristen_elliott
Venue: Grand Victorian (http://grandvictorian.ca)

October Makes: Halloween and Birthday Parties!

Personal

October = so many crafts!

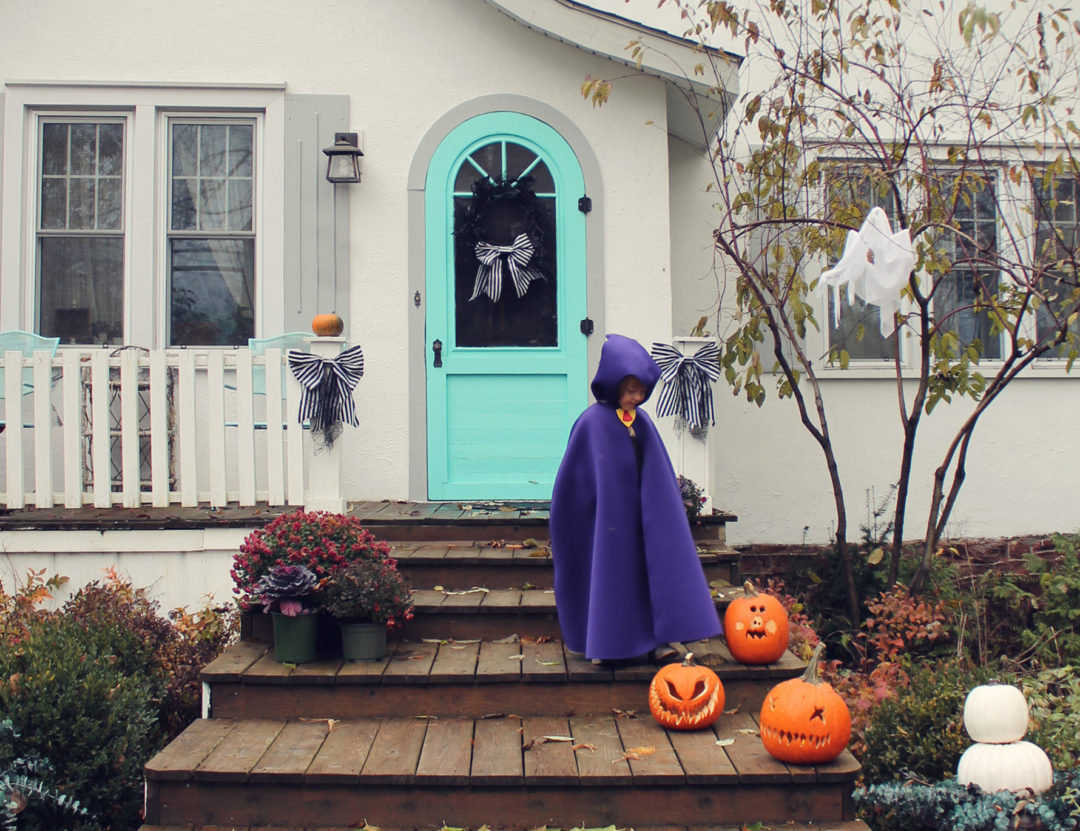
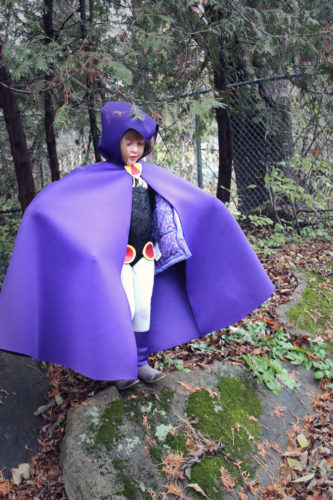
Isabel made a semi-last minute costume decision. Originally she wanted to be a witch, but she’s been watching Teen Titans Go with her Dad and decided Raven was a way cooler costume.

I figured it would be easy enough, and the sewing was! I used a basic gymnastics leotard pattern for the bodysuit, some plain grey leggings, and made the belt and “gem” closure out of glittery foam from the dollar store.

Finding purple fabric for the cape turned out to be ridiculous! I have two large fabric shops near me and neither of them had anything except for purple broadcloth or really over-priced velvet. I ended up ordering some neoprene from fabric.com which ended up being perfect for the cape!


I took the picture and just moments after she fell in the dirt and got her costume dirty, which lead to a full blown melt down. She insisted she didn’t want me to clean the costume, she just wanted it to be the way it was before! It’s tough being 4!

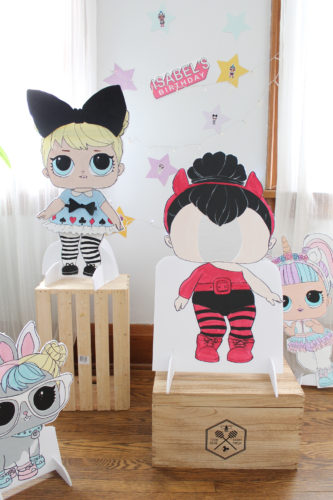
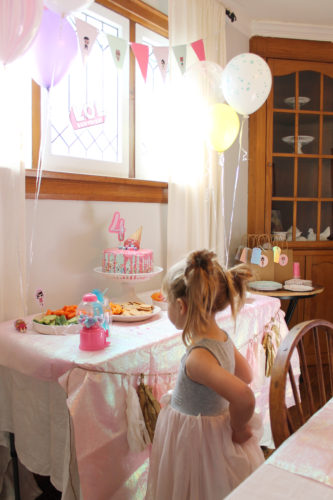
Speaking of being 4, we just celebrated her birthday. She’s really into LOL Dolls (I know, the over packaging is terrible), so we did an LOL Theme. Isabel was able to help me out putting stickers on glittery stars that we cut out and hung up around the house. I made big LOL doll cut outs that were ridiculously fun to make. I used a projector to trace the shapes on foam core then painted them with acrylic paint. I made one of them with removable clothes and accessories that attach with with velcro, which we used to play “pin the clothes on Curious QT.”

I’m really loving this age. She’s so funny and has lots of fun ideas. She decided she wanted a bubblegum cake, so I made a trusty old boxed cake with buttercream frosting with a little bit of bubblegum flavouring in it. Not such a hit for me as I’m more of a chocolate cake girl, but Isabel loved it!

Funny enough, despite the piñata, cake, treats, and games, the kids favourite thing was doing a colouring contest. We ended up doing three rounds! My favourite thing that I made was the party favours. I made bath bombs with surprises inside.  I have to admit, my first attempt was a total fail. I added too much liquid and the bath bombs just kept expanding. So I started from scratch and the second round worked perfectly!

Occasions like these make me so glad I’m crafty and have some basic photoshop skills. Pretty much all of the basic supplies are dollar store purchases that I was able to craft into something fun and cool. I re-use a lot of our decorations each year too. I hate hoarding too much “stuff” so I always try to make the most of it.

I really love this time of year because it gives me lots of time to do crafty things that aren’t lingerie related. Between birthday parties, Halloween, and making Christmas gifts, I have lots of opportunities to make different things…

Which leads me to my question for you. What are your favourite things to make for holiday gifts? Slippers, sleep masks, and make-up bags are always a go-to for me. For Isabel, I always make her clothes and little stuffed toys. Any suggestions for projects I should try this year? What’s on your holiday “to make” list?

Halloween Sale and Some Recent Custom Makes

Lingerie, New Items, Personal

October is just the best month! We celebrate Thanksgiving here in Canada, which is my favourite meal of the year, it’s my beautiful daughter’s birthday which always means lots of fun crafting, celebrating and cake, and it’s Halloween!

I just love this time of year. I love the shorter days and cooler weather… and I love all of the spooky stories and folklore that go along with the season. I get to indulge a little extra in my love for all things creepy and paranormal. It’s just a time of year where I feel like celebrating. But low-key celebrating.

I always run a bit of a sale around Halloween. If you’re like me, I like to do lots of sewing this time of year so it’s a good time to stock up on patterns. So, in my pattern shop, everything is marked down by 15%. No coupon needed in my Etsy shop, but if you’re shopping here, use coupon code TrickOrTreat at checkout.

In my lingerie shop, I’m doing free shipping on sleep masks and hair accessories!

Over the past few months I’ve worked on a few fun custom orders as well as a little sewing for myself. I just finished up Halloween Costumes as well as a few halloween dresses for Isabel which I’ll show you a little later. Isabel initially wanted to be a witch this year, which I was pretty excited about, but she changed her mind a couple of weeks ago and decided to be Raven from Teen Titans Go. I just finished up the cloak today and it turned out pretty good despite a little bit of my disappointment… At the same time I’m excited that she is beginning to develop her own interests and assert her own personality! And she was absolutely adorable when she tried her costume on.

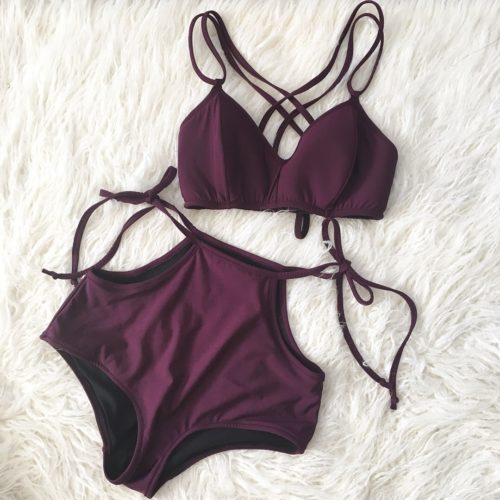
I made this swimsuit for myself at the end of August. My cousin just put in a pool at her house and Isabel and I were down there pretty much every weekend. I used my Jasmine Bra pattern to create the top. It’s made with sew in foam padding and criss-cross straps at the back. The bottoms are my Ava Pattern, with ties instead of adjustable straps. This look was pretty easy to create. If you check out my tutorials on sewing swimwear finishes as well as how to add padding to the Jasmine Bra, you’ll be able to recreate a similar effect.

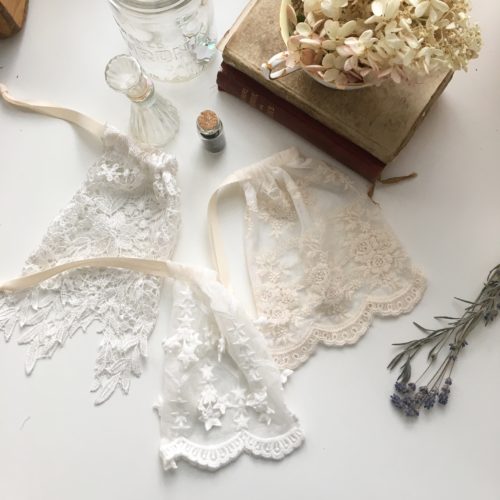
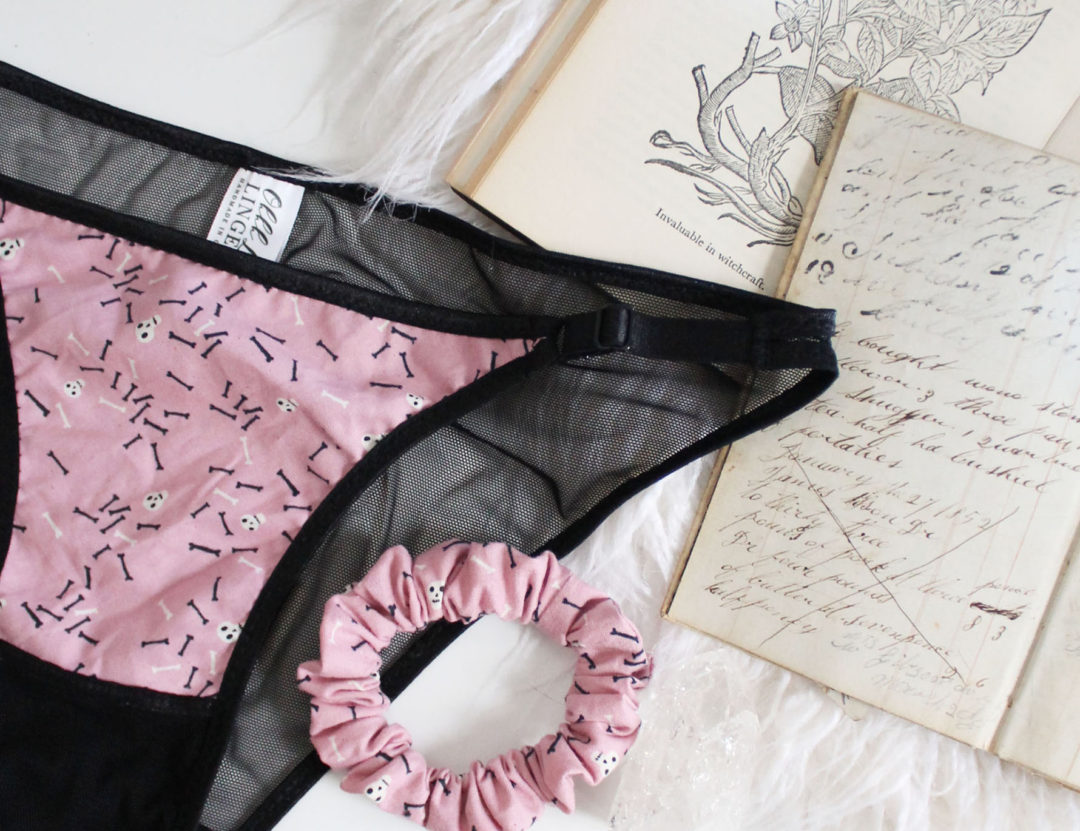
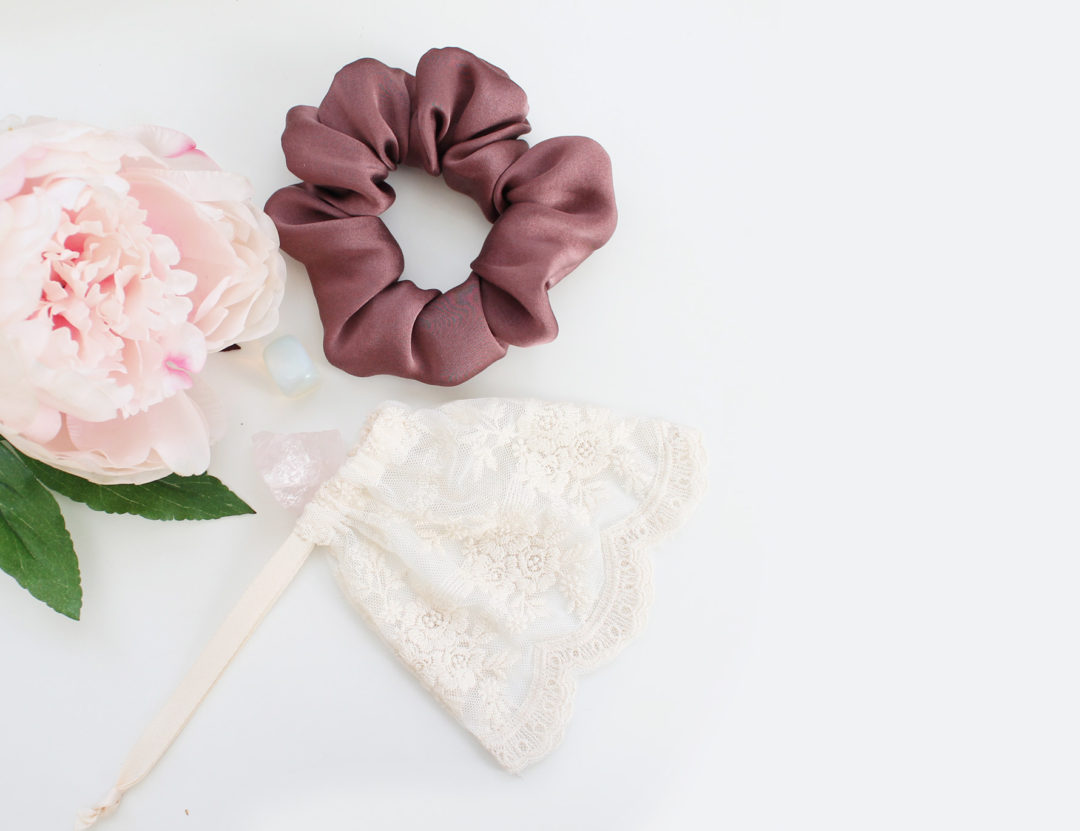
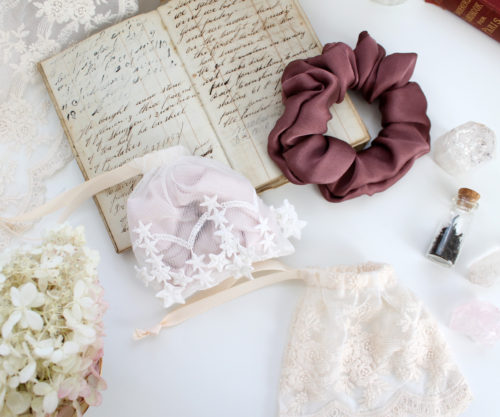
I’ve been using up all of my bits of too precious to get rid of lace to create this little pouches for my silk scrunchies. I seriously love these bags. I’ve used everything from wide venice lace to embroidered mesh.

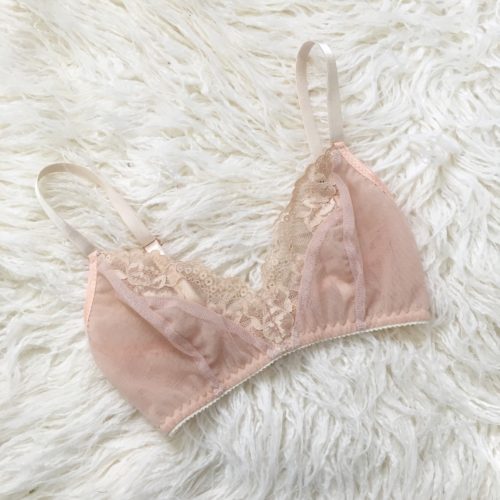
I sent out this pretty peach bralette for a customer last month. I’m really into neutral bras and I love how this came together.

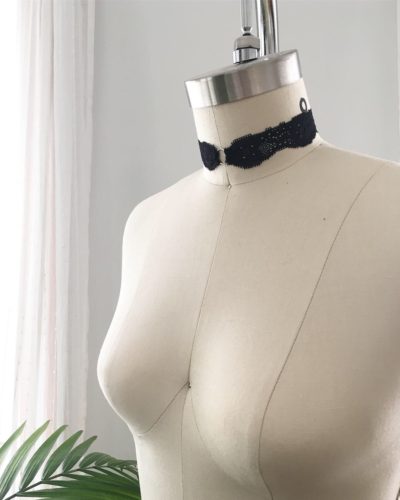
The same customer also requested a lace choker. I added a small silver o-ring to the front and a silver clasp at the back.

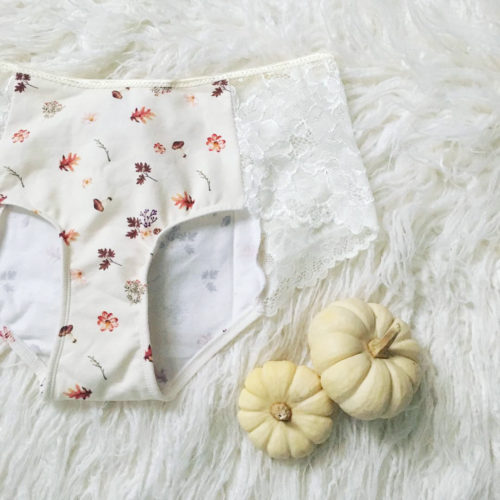
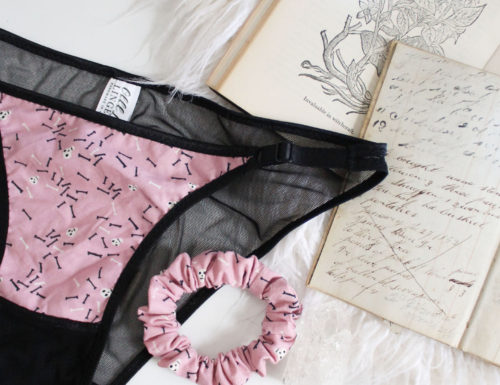
And… Just last week I sent out this adorable pair! I used up every last bit of this pretty autumn-inspired fabric. I just love the little mushrooms. I hope the recipient loves them as much as I do!

Now that the weather has really started getting cooler (we woke up to snow on the ground this morning), I’ve got my heart set on making a couple french terry sweatshirts, thermal Hunter Panties with matching Jasmine Bras, some silk lounge pants, and silk pillow cases for myself.

Easier Free Downloads & New Lingerie

Lingerie, New Items, updates

One of the hardest parts of running a business for me is trying to figure out all of the behind the scenes stuff. Making lingerie is the easy part! Figuring out how to get it out to the world is hard.

I’m also terrible at outsourcing jobs that are really above my pay grade… So, I end up DIY-ing almost everything… To be honest, I like a lot of the odds and ends I get to do! The only downside is that sometimes it takes me a while to really figure it out, like the currency change I made yesterday.

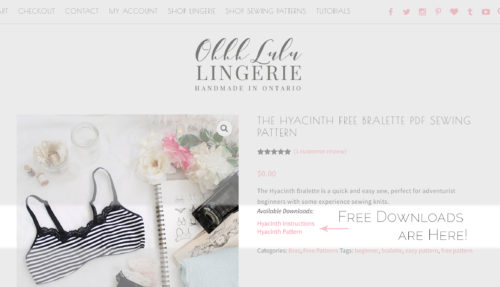
This morning I worked a bit behind the scenes to streamline the download process for my free patterns. Previously, you had to go through a checkout process even for my free items which I know was super annoying. You no longer have to do this. On each free product page there are download links provided so you can simply download my free patterns and templates without checking out or creating an account. I hope this makes it easier for you to access!

I’m really trying to streamline my websites a little better. Right now everything is kind of disjointed. So that is one of my projects over the coming weeks.

Last week I finally got around to checking this off my to do list:

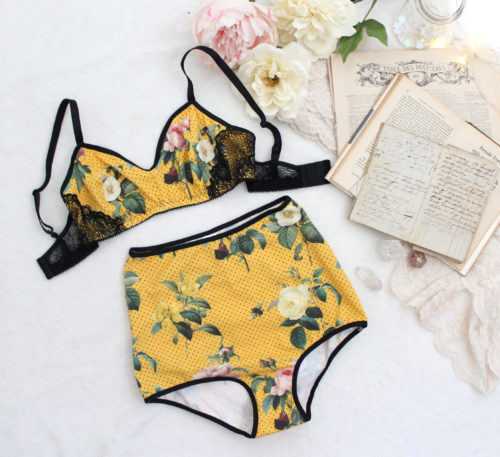
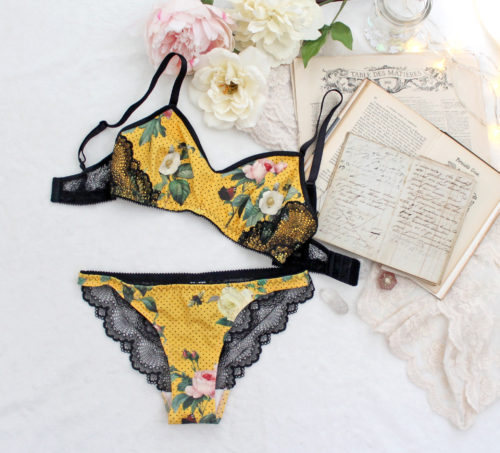
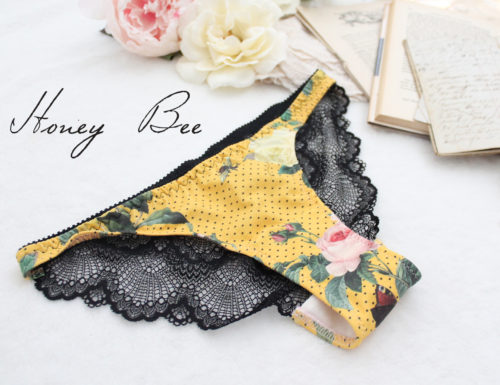
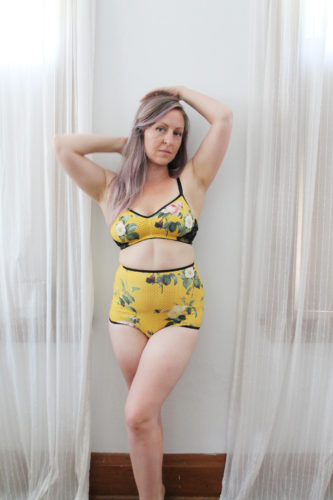
I’ve finally listed my floral honeybee set! I was feeling in a bit of a slump a while back and started writing back and forth to Nichola from Knickerocker.  Both of us were feeling the pinch on Etsy and feeling like we were having a hard time standing out. We decided to take on a bit of a creative challenge. We picked a theme (bees) and each designed a lingerie set around it. It was a super fun project! I decided to create a custom fabric using antique floral images and little honey bees on a polkadot background. It seemed natural to pair it with black lace. I absolutely love how this print turned out.

This shade of yellow is one that I love but never felt I could wear well. But, I felt great in this set!

You can shop all of the ‘Honey‘ pieces on Etsy (and remember, my prices are now in Canadian, not USD, so they may look a little different than what you are used to!).

Important Currency Changes

Uncategorized, updates
I’ve been mulling this over for a while and I have decided to switch currencies in my Etsy shops, as well as my standalone shops, from US dollar to Canadian.This won’t be a big change for most of you. It may look like my prices have increased, but they’re roughly the same. They are just in CAD instead of USD. In a few instances, prices have lowered, but for the most part  I’ve tried to keep them within $0.25, mostly due to rounding.  If you are a shopper on Etsy, you may not even notice much of a difference since Etsy is set up to automatically show you prices in your currency.If you are a US customer, this will likely work in your benefit as the Canadian dollar fluctuates. For my Canadian customers, the total price you are paying will stay the same, you just won’t have to worry about any exchange rate.I understand this can be confusing at first and I apologize for any potential sticker shock if it looks like my prices have jumped by a few dollars! They haven’t… it is just the currency difference. I promise!I’m hoping this will make life easier as far as bookkeeping goes for me!

Something Spooky and New

Design Diary, Lingerie, New Items, updates

You know me, I can never sit still so I’ve gone and created something brand new!

Actually, this has been a long time coming and just the start of a new platform for Ohhh Lulu Lingerie.

I’ve been working behind the scenes on a standalone (non-Etsy) shop for my Lingerie for months now, but wasn’t sure in what direction I wanted to take it.

For a few years now, I’ve had the goal of having a ready made line of lingerie that was at a slightly lower price point. I originally had the goal of creating a factory produced line that I could sell to retailers, but I still am struggling to find a Canada-based producer that will work with my relatively low quantities… not to mention I still haven’t actually wrapped my head around how I’d do it.

So, I’m still not there yet…

But, over the last several weeks I’ve worked on creating a selection of pieces that are ready to ship, but in limited sizes. The bralettes I’ve created are light support and great for lounging, but they aren’t the made to measure bras you’ll currently find in my Etsy shop. The bras in my Etsy shop are customized for your cup size and shape, whereas the ones in my ready made collection are a few sizes fit most.  This, and my fabric choices (which are mostly solids), are how I am creating my lower price points. That being said, they are still super cute and comfortable pieces. They are all styles that I love wearing myself!

Currently, I’ve got my Etsy shop and Ready Made collection separated, but I think I will eventually work on migrating the items from my Etsy shop over to this new storefront. The truth is, I’m having a hard time standing behind Etsy ever since they broadened their definition of “handmade” to include factory made items (yes, even items in factories are made “by hand”, but I don’t think when customers buy something that is marketed on a “handmade platform” as “handmade”, that they will assume it comes from a factory. It’s just sketchy marketing if you ask me).  Recently, they’ve changed search ranks to favour sellers with free shipping and short turn around times… which for me is hard since shipping (with tracking) in Canada is expensive! Seriously, I spend an arm and a leg on shipping Free shipping on every order is not something I can’t afford to do… Secondly, because I customize the fit on all of my bras and panties, offer custom designed items, and because of the amount of orders in queue, I can’t ship made to order items out in a day or two. Not to mention they’ve just upped their fees. I just can’t compete on that platform anymore, and I have some moral objections to the way the company is running now… So I’ve been looking for my escape for a while.

I’ve dabbled with ready-made items in the past but have never stuck with it. So, I’m going to see how these items do and if they do well, I’ll keep it up…! I still have more pieces to add but was excited to get these few things off the ground… especially my limited Halloween items!

I’ll be working on migrating over scrunchies and sleep masks this weekend and into next week, and maybe a few made to order items as well.  I really like the navigation of my new shop, as well as the the order processing and fulfilment methods.

You can shop my Ready Made items HERE!

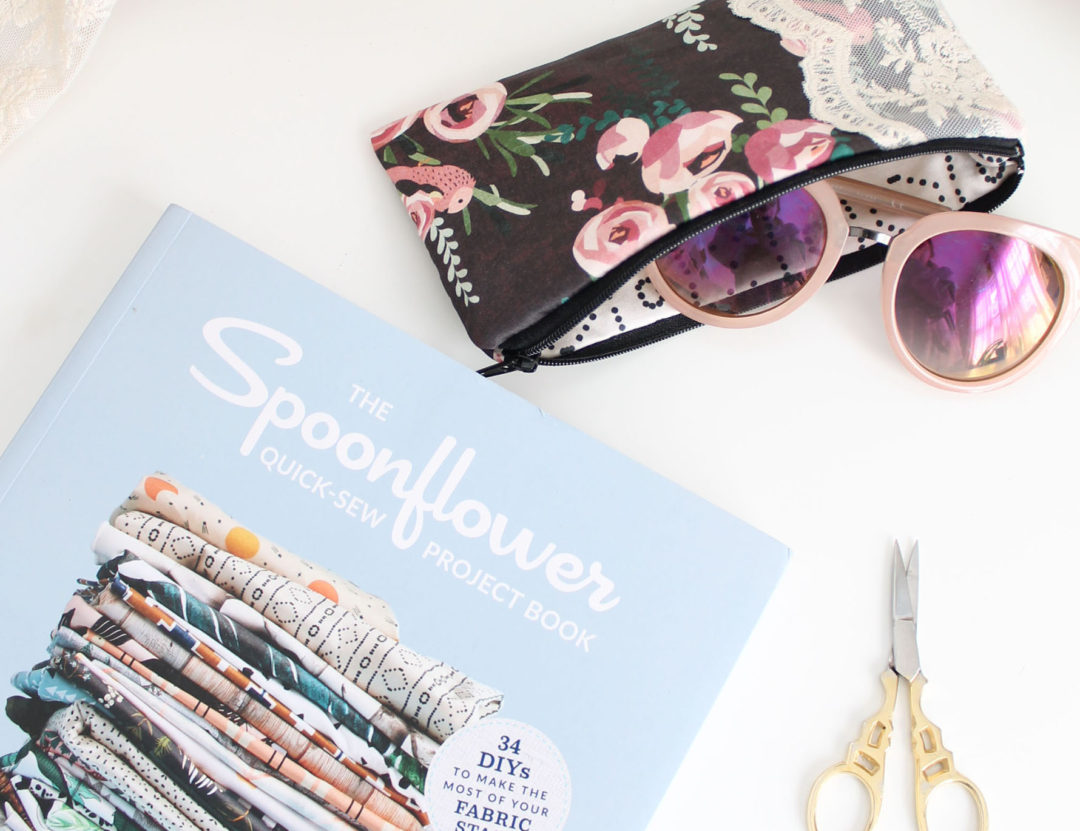
Test Driving the new Spoonflower Quick-Sew Project Book!

Reviews, Sales

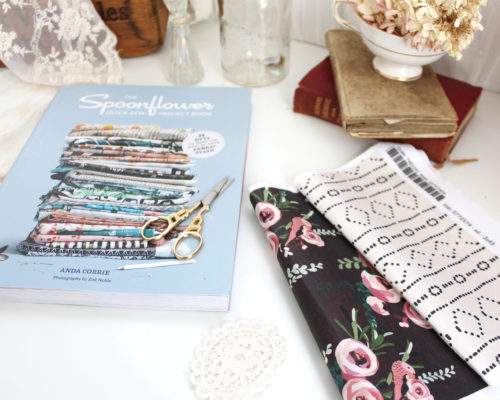
I was provided with a copy off the Spoonflower Quick-Sew Project Book in exchange for my honest review.

I don’t often do reviews on my blog, but when Spoonflower let me know that they were publishing a book of DIY projects, I knew I wanted to get involved (and that it would be amazing).

I discovered Spoonflower fairly late in the game, but quickly became totally addicted to their fabrics. I’ve lost countless hours browsing through all of the designs and dreaming up my own prints. Aside from the fact that you can find basically any print of your dreams, I love the fact that I can work one-on-one with and support other indie designers through Spoonflower!

The Spoonflower Quick-Sew Project Book couldn’t have been released at a better time. With the holidays coming up, I’m always trying to think of creative gifts to make and this book is absolutely full of them. My absolute favourite thing about this book is that they include projects that require very little fabric…

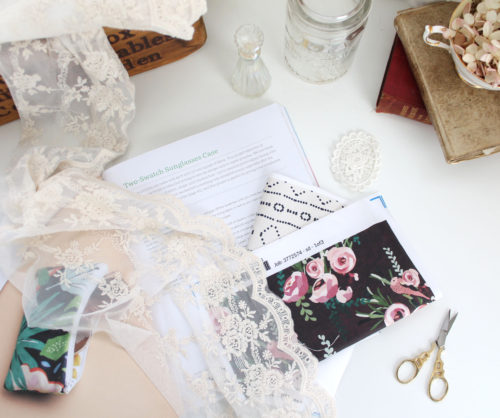
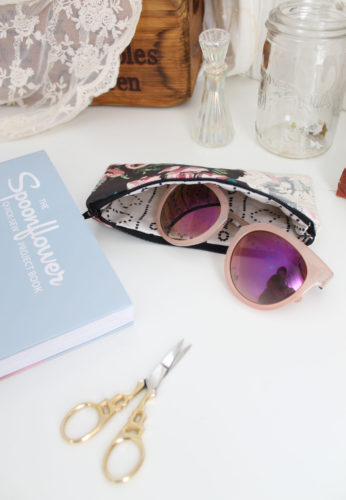
In fact, I was able to test out one of the projects that required only 2 8×8″ swatches, a scrap of quilt batting and a zipper!

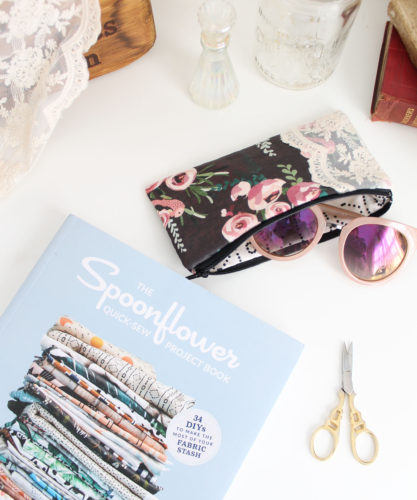
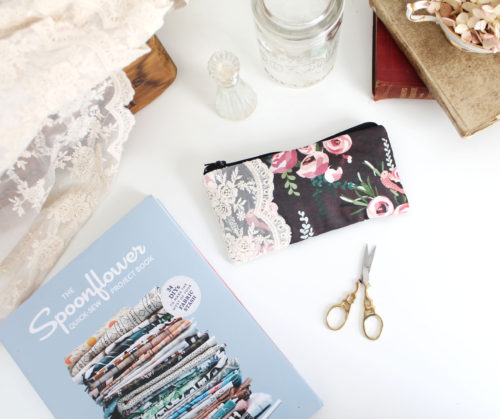
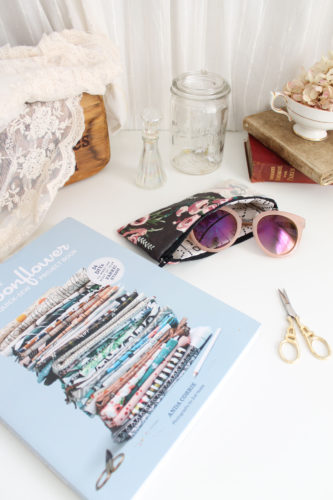
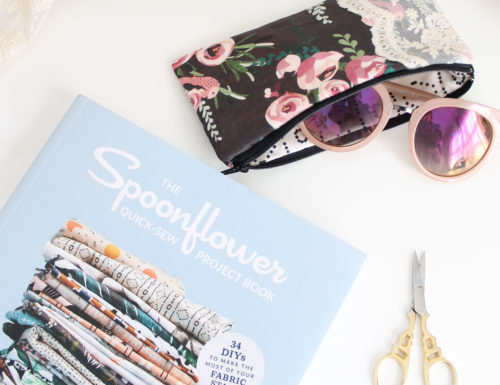
I used the instructions provided in the book to create a 2-swatch sunglass case. I selected two prints from one of my favourite designers, Holly Zollinger. Here’s a little tip, if you find a print you love but find the scale too big for your project, send the artist a message. I’ve had prints re-sized a few times for different projects (like my dollhouse!).  I used Holly’s Cyprus Floral for the exterior and the Bebe Mudcloth for the lining. For both, I went with the Cotton Sateen fabric. I like this fabric because it’s easy to work with and has a nice smooth finish.

Make it your own

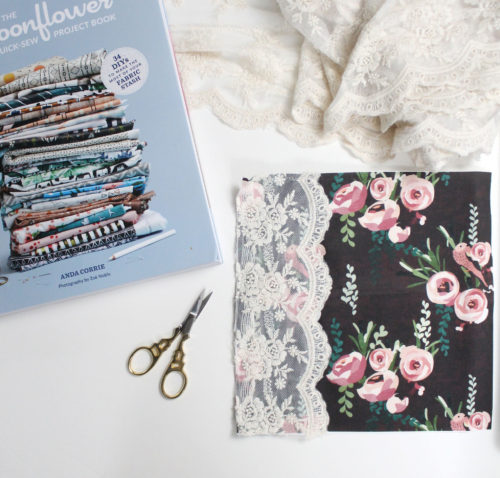
To add a little detail to my sunglass case, I cut a strip of scalloped lace the same length as my exterior piece of fabric. I then used a zig-zag stitch to attach the lace directly to the right side of the fabric. Lace overlays and appliques are an easy way to add a bit of interest. Just stitch them on prior to putting together your bag. I ended up doing an asymmetrical lace overlay, but there are lots of ways you could do it. Just play around by placing the lace over the fabric!

The instructions included in the book were easy to follow and came with easy to understand photos. In no time I had a finished, one of a kind sunglass case.

For more inspiration, you can see how others have whipped up this easy to sew sunglass case over on the Spoonflower Blog .

A Gift for you!

Spoonflower has generously offered my readers 10% off using coupon code QuickSewOhhhLulu10.  The offer expires December 31, 2018 and is valid on one order of fabric, wallpaper and gift wrap.

I’m definitely going to be making more of these for Christmas gifts this year. I’ve also got my eye on the Fleece Mittens and the Travel Case patterns provided in the book!

You can get your hands on a copy of the Spoonflower Quick-Sew Project Book HERE!

NEW! Buy a Scrunchie, get a complimentary lace pouch

New Items

New this weekend, if you buy a scrunchie it will come shipped in a handmade lace pouch. I’ve been having fun making these out of small pieces of lace that I’ve been hanging onto.

All of the bags are different so mail day will be a real surprise!

Shop all scrunchies here (and yes! Black is sold out again!)