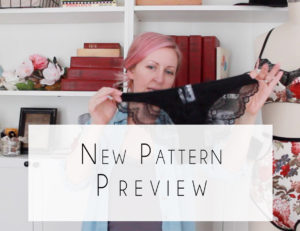
I just posted a quick YouTube video to discuss some new item’s I’ll be releasing very soon!

I just posted a quick YouTube video to discuss some new item’s I’ll be releasing very soon!
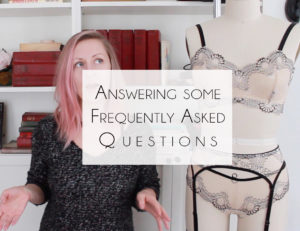
I’ve wanted to do a FAQ for a while. I always kind of thought I’d write one, but then I had the idea of doing a video! I’m slow to catch onto vlogging but I totally see the appeal. It’s a quick and easy way to share ideas.
My FAQ video goes over just a few questions I receive on a fairly regular basis. I ramble on quite a bit… I’m really good at tangents, but I’m hoping there will be some helpful info in here for lingerie-makers and lingerie-lovers alike.
I. Love. Lace.
I went on a lace buying binge before christmas and recently received some real treasures in the mail. When I opened the package, I literally gasped with excitement.
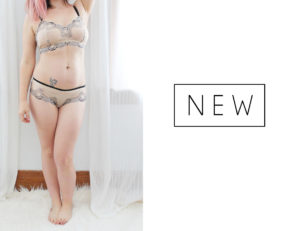
I’m really digging two-tone lace. This grey lace has the slightest bit of sparkly pink in it. Pink & grey is one of my favourite color combinations. I absolutely love this set.
This champagne & black lace is a close second to the grey lace in my books. The delicate black motif along the scalloped edge just looks so classic. I remember a time when I’d cringe at beige… I’m a recent beige-convert.
I’ve been challenging myself to continually add new items to my shop. Taking photos and putting fabrics together are two of the things that really fill my heart with joy – so I’m trying to always make time for that.
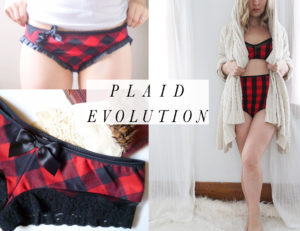
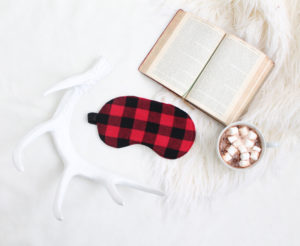
I wonder if I’ll ever get tired of buffalo plaid?
When I first started making lingerie, the first thing I made that made me really say “wow! I’ve done something awesome” was my first pair of red and black flannel undies. They had a satin ruffle around the leg, a large off-set bow, and ruffles on the bum. They weren’t the most practical undies, but they were cute!
From there, I moved onto a modern french knicker with black lace edging. I still really like this cut. You might recognize it! It’s the Bryony pattern.
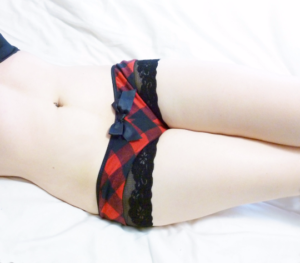
One of my many incarnations of Buffalo Plaid Undies.
The next incarnation of the buffalo plaid set was a simple flannel bra and hipster panties. I paired the flannel with black lace…
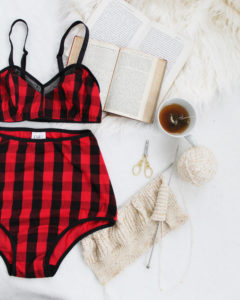
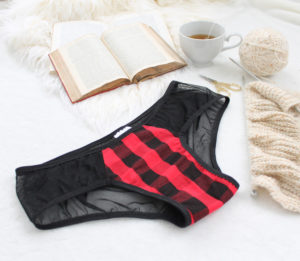
So, I’ve been doing the plaid undies thing for a while now… I was so excited when I realized I was now able to get buffalo plaid in a cotton knit!
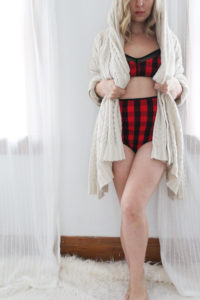
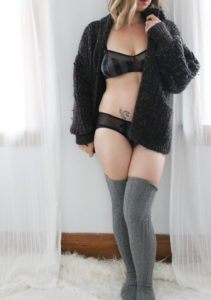
I think these new plaid sets are the best so far… they aren’t flannel, but they are so comfortable. I absolutely love the low-rise undies most.
When I spoke to Rachel from Maker Style a while back, we talked breifly about how our styles have changed over the years. I definitely would say I’ve developed a more modern, minimalist aesthetic. When I first started designing, my focus was on making things as elaborate, complicated and filly as possible. Over the last couple of years, I’ve come to learn I feel most comfortable in the most simple things. Simple lace undies, comfortable cotton bras (but in fantastic prints), staple black leggings, staple oversized top.
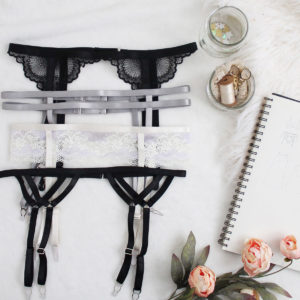
So, I really like this garter belt. The Cora tutorial does not come with any pattern pieces, but measurements and instructions on how to make a variety of elastic strap garter belts. You can make these in a variety of widths of elastic, which will slightly change the overall look, but I’d recommend not using anything less than 1/2″.
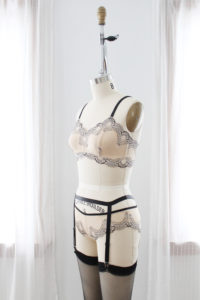
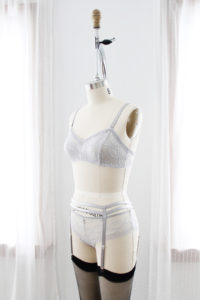
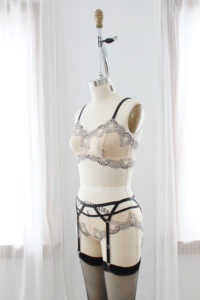
I’ve actually released this in two versions. There is a full tutorial for $2.99 that will walk you through all of the styles. Then, I have a FREE version that will walk you through how to sew the Lace-V style.
Out of all 5 styles, I think the single strap version might just be my favourite!
Do you ever re-visit fabrics?
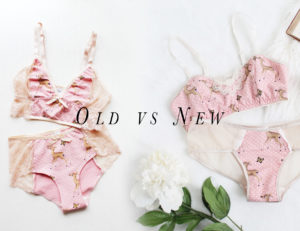
I bought this doe printed french terry before Isabel was born (I remember this because I made her a newborn dress out of it!), and really fell in love with it. I loved it so much, I ordered several more yards.
Two years ago, I released a lingerie set using the Doe Fabric. I paired it with champagne scalloped lace and did my classic hipster and longline bralette.
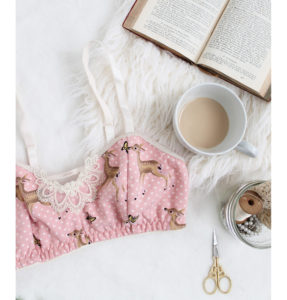
I was going through my fabric stash a couple of months ago and re-discovered it. I decided it was time for a revamp.
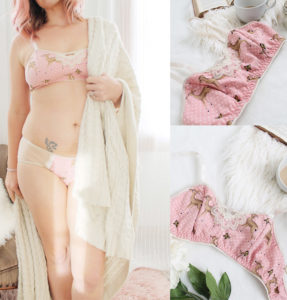
This time I paired it with simple beige mesh on the bottom and a small lace applique on the top. I think I prefer this new incarnation of the ‘Doe’ Set.
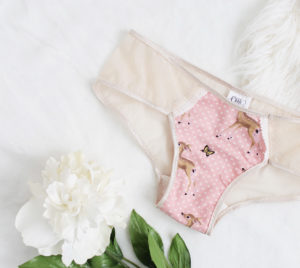
I like reinventing old styles. I find it to be a fun design challenge. I often draw so much of my inspiration from the fabrics themselves, that I like to find interesting ways to coordinate or display a print or colour.
The Doe Bra and Panties are available individually or as a set in my Etsy Shop.
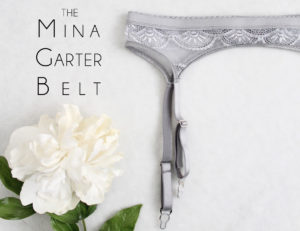
I’ve had bad luck with ready-made garter belts in the past. It seems to me their are either cheesy, 80’s versions that don’t really hold our stockings up, or they are overly structured, verging on corset-wear. I wanted to create something that was simple, modern, and versatile.
Introducing the Mina Garter Belt!
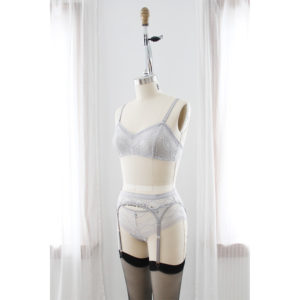
The Mina is a simple 4-strap garter belt. It is quick to put together, with only 2 short seams. The pattern walks you through two waist finishes, as well as how to sew and attach garter straps.
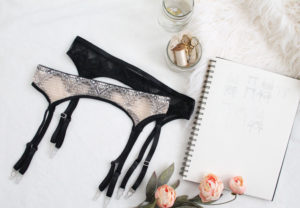
I’m also going to be releasing this item Made-to-Order very soon, so keep an eye on my Lingerie Shop if you are keen to have me make one for you.
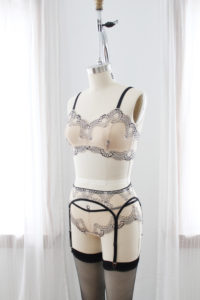
I just love the simplicity of this garter belt. I’ve made several out of a variety of laces. The simple cut really lets the fabric stand out, which is a design feature I’m really digging these days…
You can purchase the Mina Sewing Pattern HERE or through my Etsy Shop.
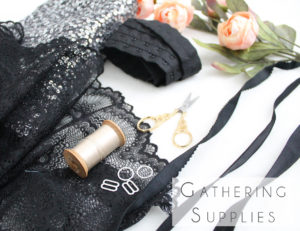
Lingerie-making requires some specialty supplies. If you’ve ever wondered why lingerie is so expensive to buy, it’s because there are a lot of bits and pieces that go into a single piece of lingerie! All of those pieces, as well as the labour involved add up!
Because I also sell made-to-order lingerie, I generally don’t give out the exact names of my suppliers. I like to keep some things a little private. However, I’ve purchased from nearly every big supplier online! So I’m happy to share some of my favourites with you.
As I mentioned earlier, this sew along is going to move along quite quickly. I know that many of you will need to order supplies, which can take some time. I’m hoping that you’ll be able to catch up once you receive everything you need.
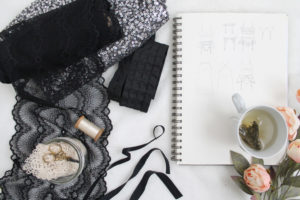
Fabric
You’ll need to select a stretch scalloped lace fabric. I’m recommend looking for something at least 18cm (7″) wide. Buy the required amount as indicated in the patterns, plus an extra yard or so for the elongated band.
You will also need some sort of lining for your bra and or the front sequin panel of your panties. I like to use a simple stretch mesh. You can purchase it in a skin-tone shade for a nude look, a contrast shade to help your lace pop, or go tone on tone.
We’ll be adding a sequin panel to the front of the panties, so you’ll need to pick up some sequin fabric (or specialty fabric of your choice). This doesn’t necessarily have to be a stretch fabric. As long as it’s not too heavy, almost any specialty fabric will do. My local Fabricland and Lens Mills stores both cary sequin fabrics, but if you need to source online, fabric.com is a great resource. If you’re looking to source locally, try browsing second-hand and vintage shops for old formal dresses.
The last bit of fabric we will need is a small piece of cotton jersey to line the gusset. Any cotton jersey will do, even an old t-shirt!
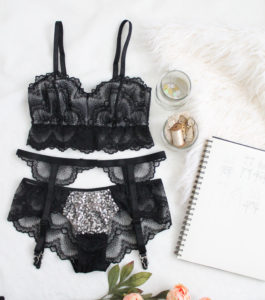
Elastics
We’re going to need a variety of elastics to complete this set.
Strap Elastic – this is the elastic we will use to make our bra straps and the Cora version of the garter belt. I used 1/2″ elastic for my straps and 5/8″ for my garter belt. I actually also used 1/2″ strap elastic on the waistband of the Mina version of my garter belt. Which ever size you choose is up to you and your personal preference.
Neckline Elastic – this elastic will run along the inside of the bra, so pick something soft. I just use a regular 3/8″ wide knit elastic. I like to make sure this elastic feel soft and is not scratchy, since it will lay against the skin.
Band Elastic – this elastic will go along the underbust seam of the bra, and can be also used on the waist edge of the Mina garter belt. Band elastic comes with one plush side – this is the side that lays against the skin. It also usually has a decorative edge running along one side. I’m going to be adding a 3/4″ band elastic to my bra, but 1/2″ tends to be the standard.
Waistline Elastic – I’m using fold over elastic. It works best with the sequin fabric we will be using, since it will bind that potentially scratchy edge.
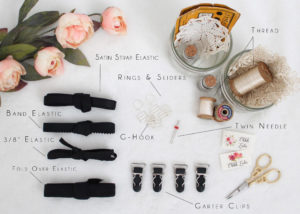
Other Findings
We’re going to need some basic hardware to complete our set.
First, we’ll need bra strap sliders and rings. I’ve used two rings, and a total of 7 sliders between my bra and garter belt. Buy rings and sliders in the same width that you purchased your strap elastic.
Because we are adding longline band, we’re going to have to use hook and eye tape instead of a traditional hook and eye closure. You can get hook and eye tape with a single, or triple column of hooks. I’d recommend going with the triple column.
The Cora version of the garter belt closes with a simple G-hook, while the Mina Version closes with a hook and eye closure.
We also are going to need 4 garter clips. Buy these in the same size that you purchase your strap elastic.
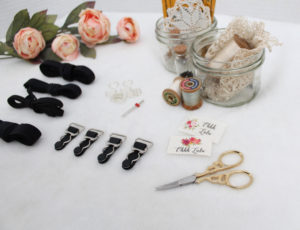
Misc. Supplies
Make sure you have ball-point needles on hand for your sewing machine. These are ideal for sewing stretch fabrics. We will also be using a twin needle. Of course, buy some thread to match and make sure you have a pair of good, sharp scissors.
Of course, we are also going to need patterns. I’m using the Jasmine Bra, Claudia Panties, and I’m making two garter belts: the Cora and the Mina. I’ve created pattern bundles which you can purchase directly here, or through my Etsy Shop. Remember to use coupon code BeMine to receive 15% off until January 16, 2016.
I think that just about covers everything! I know that this is a lot of stuff, so I’ve made a printable checklist for you. I’ve made it as generic as possible so hopefully you can use it for other lingerie-sewing projects in the future!
Download the list here:
Where to Buy Lingerie Making Supplies
Now you’ve got your list, you need to actually find the stuff. Here are a list of shops I recommend.
Tailor Made Shop (USA)
Blackbird Fabrics (Canada)
Bra Makers Supply (Canada)
Sew Sassy (USA)
Lace Heaven (USA)
Sewing Chest (UK)
Vena Cava (UK)
I hope you find this to be a helpful resource! I’m really excited to get started but will wait a few days for everyone to organize their supplies. If you have any questions, I will do my best to answer them here. If you want to share your makes and progress on social media, use the hashtag #ValentinesSewAlong and/or #SewingWithOhhhLulu .
I’m trying something new… a Giveaway on Instagram! I haven’t done giveaways much over the years, but I am so in the holiday spirit this year that I wanted to share with all of you the only way I know how… with pretty lingerie!
The giveaway is happening on Instagram. Here are the rules:
The giveaway is open internationally. A winner will be drawn at random after the contest closes on Dec 28th at Midnight. I will announce the giveaway winner on Instagram on December 29th 2016.
Good luck everyone! And happy holidays! This has been a transformative year for me. It’s been difficult and scary. I’ve faced some of my weaknesses, some skeletons in my closet, had some disappointments, but I’ve overcome so much. 2016 was a rough year for a lot of us (I’m looking at you Hillary). I think we’re all ready for some good cheer and fresh starts… and some pretty new lingerie.
This is my favourite pattern ever (besides the Jasmine bra). I think I may have actually already made 100 of these, maybe even more!!! I am obsessed.
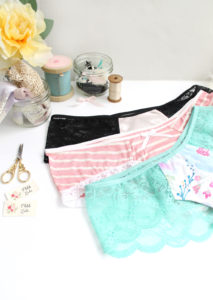
So, what is it that I love about this pattern, you ask? This pattern has the one thing I strive for in a pattern: versatility. You can achieve so many different looks with this one easy pattern. Included in the instructions are directions on how to sew them with a pretty lace back with picot elastic around the front OR plain elastic edging, or sewn entirely out of knit fabric with simple lace trim entirely around the legs. But, you can also edge these in fold over elastic, picot elastic, and while these are drafted for stretch knits, I’ve even made them with a silk charmeuse front!
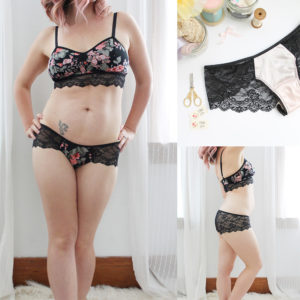
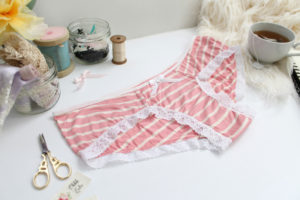
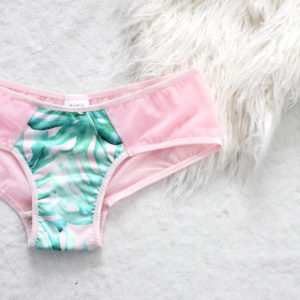
Quick and Easy Directions for a Woven-Fabric Front.
If you want to use a woven fabric on the front I suggest using a light weight woven with a good bias stretch. Silk Charmeuse is ideal, but you could experiment with other fabrics too. I’d imagine a light flannel or lightweight cotton would work as well. Whatever you choose, the hip/back portion has to be sewn out of either stretch lace or stretch knit fabric.
All I do is fold my fabric at a 45 degree angle. This way you can place the “cut on fold” piece against the bias-fold. This is a quick and easy way to cut small bias cut pieces, without tracing the patter piece out mirrored.
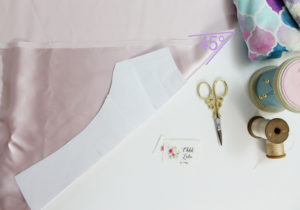
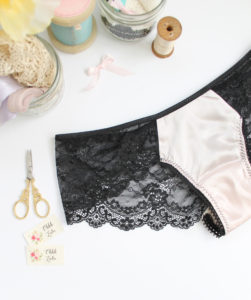
You can purchase the Claudia Panties Here, or through my Etsy shop.