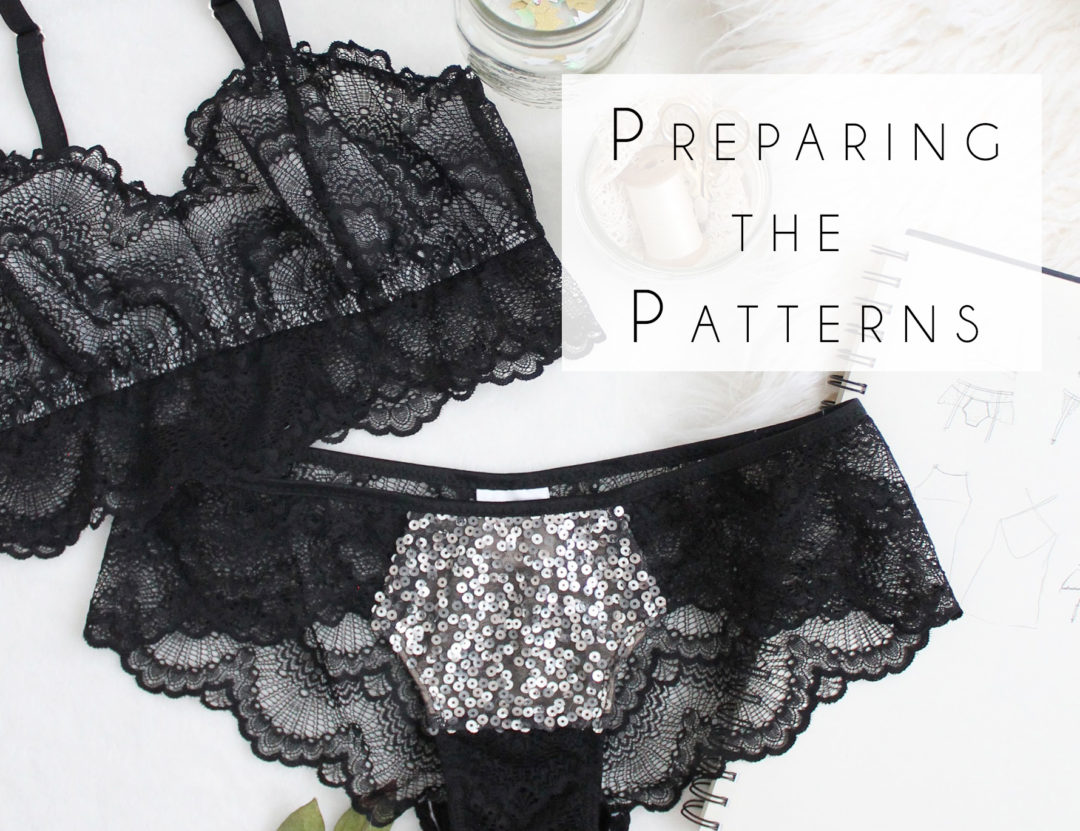
If you’ve ordered your supplies online and have to wait for them to arrive, now is a good time to print & assemble your patterns.
As a reminder, you’ll need the following patterns if you want to make a similar set:
- The Jasmine Bra
- The Claudia Panties
- Either the Mina or Cora Garter Belt Pattern (just a reminder that I have a FREE version of the Cora Tutorial in my shop right now).
You can buy these patterns individually, or as a complete Bundle. Just a reminder, they are also available on Etsy, if you prefer to shop there.
Print your patterns making sure that you have selected “no scaling” in your printer options. Measure the 1″x1″ square to make sure it has printed correctly.
I think I picked this tip up from Marie at A Stitching Odyssey, but a quick and easy way to trim the margins is to use a paper cutter. I can’t believe I didn’t think of this sooner… it has saved me so much time, and you can cut multiple pieces at once! My patterns come with a little scissor indicator showing you which margins to trim.
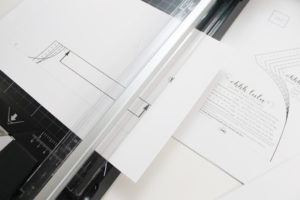
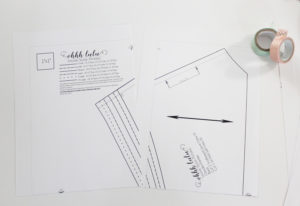
Once the appropriate margins are cut, you can tape your pages together, using the alpha-numeric indicators as a guide.
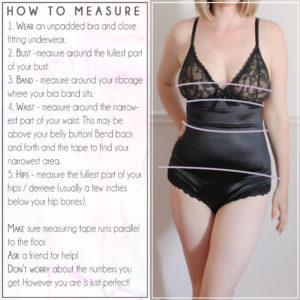
Cut out your pattern pieces in the size that closest corresponds to your body measurements. If you’re not sure how to measure, this infographic might help you out.
I highly, highly, highly recommend you sew your patterns up using some inexpensive test fabric first. You can even just use regular old knitted elastic on your mock-up, and jersey in place of the lace on the back of the panties. You’ll just want to see how the patterns fit your body.
The Jasmine Bra
If you are larger than a D-DD cup, you’re likely going to want to make some minor pattern alterations. My bust size has varied a lot over the last 3 years. I’ve had two pregnancies, one baby, gained 30 lbs, lost 40 lbs, started running, and started weight training. I’ve gone from a 30FF to a 30G during my pregnancy, and now I have no idea what my actual cup size is, but I know it’s somewhere below an F because none of my RTW bras fit anymore.
I’m going to show you what I do for my measurements.
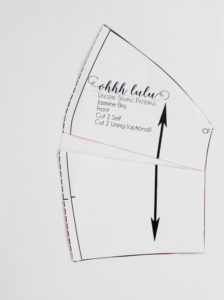
I currently have a 36″ bust, and a 29″ band measurement. I cut out a size small. I draw in a slash line at the appropriate apex of the bust extending to the side seam, and the centre front seam. The apex is the “highest” point of the bust.
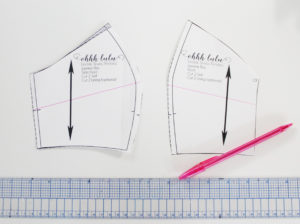
I cut along that line towards the Centre Front and Side seams.
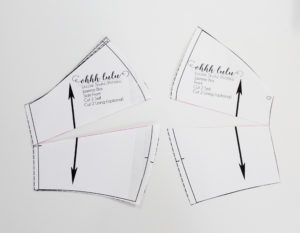
From there, I open up the slash by about 1/2″, and retrace my pattern piece. I find this is all I need to get a great fit. You may want to add more or less. You may also want to add some depth to the curve if your bust projects a lot. This is why it’s really important to test out a bra pattern first. Breasts come in so many shapes and sizes, and they change constantly with the changes in our life, so what worked for you last year, might not work today.
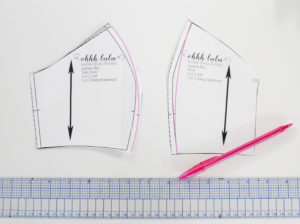
Alternately, if you generally wear closer to an AA-A cup, you might need to straighten out the curved seams of the cup. This is super easy to do. You may want to also shorten the cup just a tad.
All of that being said, please don’t let this scare you off. This pattern is so forgiving. I recommend it for anyone who is just starting to get into lingerie making because the fit is generally quite easy to get!
The Claudia Panties
The front of the Claudia Panties is all one piece. I really love this pattern because it is so flattering and comfortable. But, I wanted to be able to add some sequin fabric to it, without the sequins scratching! I didn’t want the sequins to run as far as the gusset, because sequins between the legs doesn’t sound like a good time to me… so, I’m adding a horizontal seam to the Panties Front.
Here’s how I did that:
1.Place your Gusset Lining pattern piece overtop of the Panties Front and draw a line where the straight edge of the Gusset Lining falls on the Panties Front.
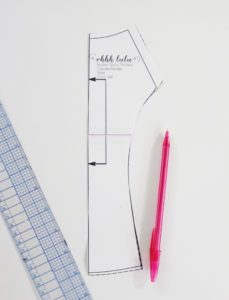
2. Cut the pattern along that line and trace them onto a separate piece of paper. Add 1/2″ seam allowance on either side of your cut line.
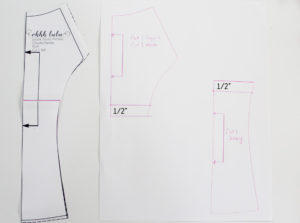
3. Add 1/2″ seam allowance along the straight edge of the Gusset Lining. I’m going to show you how to sew these so that all of the seam allowances are fully encased, so there are no scratchy bits!
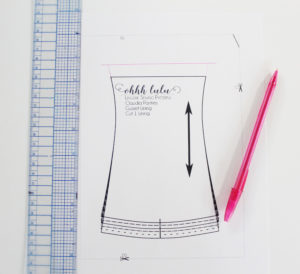
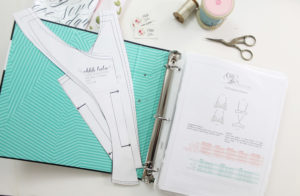
Now that we’ve made the pattern alterations, store your pattern pieces away until your fabric arrives! I store my patterns in plastic sleeves in a binder.
If you’re fabric is already here (lucky), You can go ahead and cut out your pieces for your Jasmine Bra as indicated in the pattern instructions. I’ll show you how to cut the band in a later post.
