Browsing Tag

diy

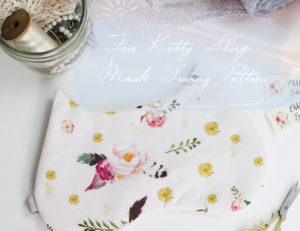
Free Kitty Sleep Mask Pattern & Last Minute Holiday DIYS

Sewing Patterns

I have been doing a lot of holiday gift sewing over the last month. I think nearly everyone on my list is getting at least one handmade item!  I’ve really enjoyed doing my gift sewing this year. It gave me an opportunity to branch out a bit from sewing underwear.

This is the first year in a long while I’ve really felt in the holiday spirit. I’m not sure if it’s seeing Isabel’s excitement, or just that I am in a healthier mindset, but I’m really excited for Christmas.

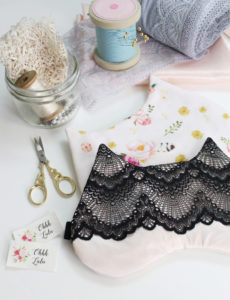
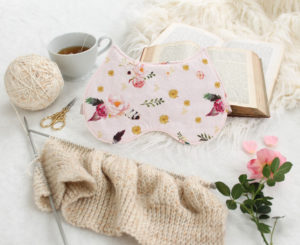
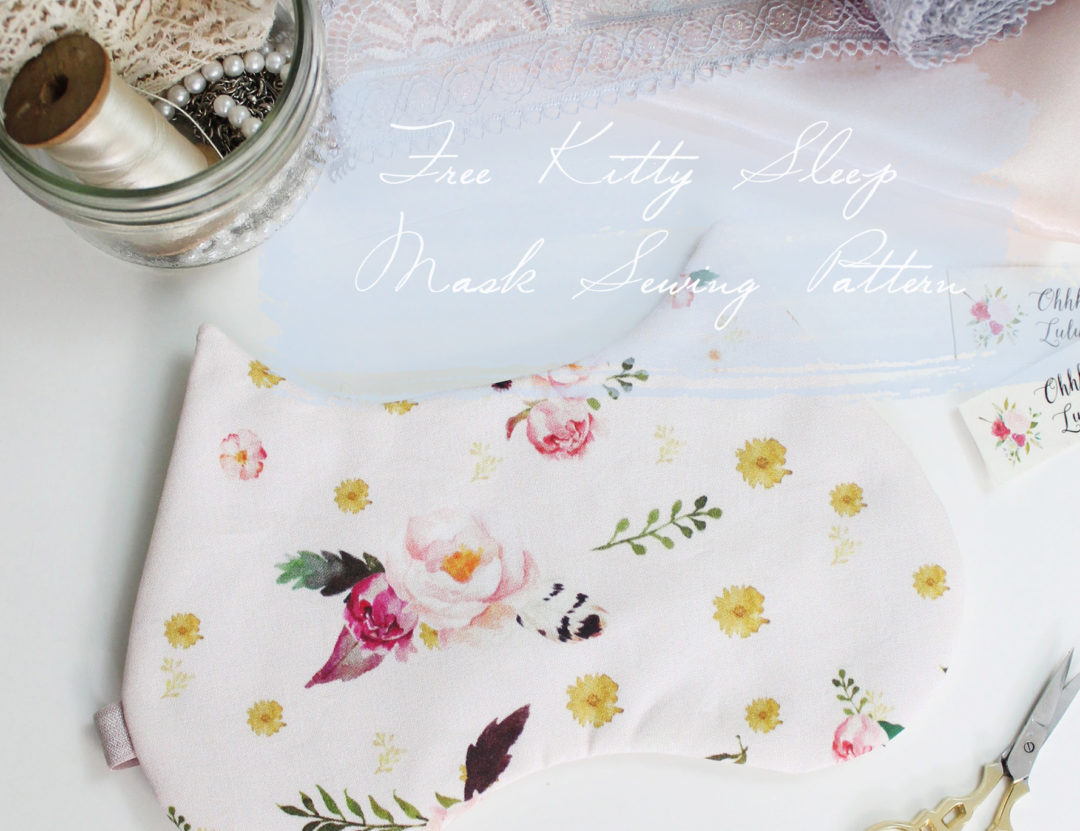
So, I thought I’d share some of the holiday cheer and offer up a FREE Kitty Sleep Mask Sewing Pattern. You can download it from my new pattern shop here: https://www.ohhhlululingerie.com/product/free-kitty-sleep-mask-pdf-sewing-pattern/ . You will be prompted to sign up for an account… don’t worry, it just takes a few seconds, and this way, you will be able to log in and access your pattern, along with any purchases you make from the website at any time.


The pattern will walk you through each step of the process, with some tips on using lightweight fabrics like satin and lace overlays. It’s a really quick and easy sew and is perfect for a last minute DIY gift.

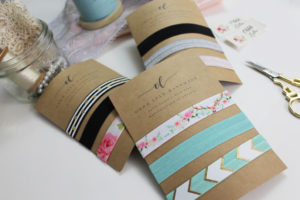
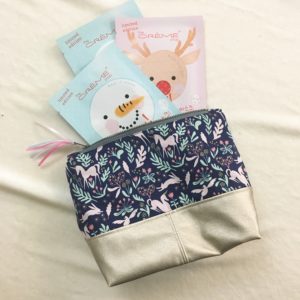
Aside from sleep masks, I’ve been making a few other things this holiday season… I’ve become a little addicted to making my FOE sewn NOT tied hair ties, displayed on simple cardstock backings, as well as make-up bags.  I really liked this tutorial from Craftster for making make-up bags. I’ve sewn dozens of these, some for myself, some for sale at Changing of the Garnet, and lots more for gifts!

I’ve made so many things and have a few more gifts left on my to-make list before Sunday. It’s crunch time now!

I hope you enjoy my new FREE pattern and hopefully it will help you with any last minute DIY gifts this Christmas.

Tips and Tricks for Sewing Scalloped Lace

Lingerie, Sewing Patterns, Tutorial

Lately I’ve become obsessed with scalloped lace. I’ve used a lot of it in my latest collection, and have a ton more lace on the way! I just love how pretty and delicate it is, while still being comfortable.

It can be tricky to find wide enough lace for panties or larger size bras. Here I’m going to outline a couple of tricks that I’ve learned along the way to make the most of what you’ve got on hand!

The first thing to be aware of is when you cut your scalloped lace, make sure you lay your lace out so that the scallops are evenly matched up. You want both sides of your panties or bra to be an exact mirror image of one another. When you sew your seams, the most important thing is to make sure that your scallops match up evenly. This may sometimes mean that your waist edge might be off a bit. Don’t worry – just focus on lining up the scalloped edge of your seam.

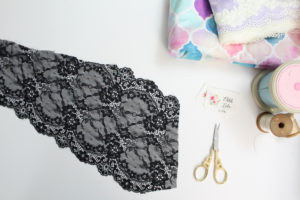
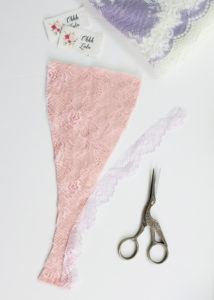
If your lace is a little too narrow for your panties pattern, you can easily piece the lace together to make up for the lack of width. Start by cutting out your pattern piece.

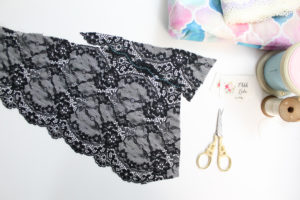
Grab a scrap piece of lace with a bit of scalloped edge. Layer it overtop of the too-short part so that the scallops overlap, kind of like a puzzle piece.

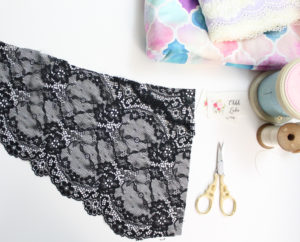
Use a zig-zag stitch to top stitch in place, then straighten out your edges.

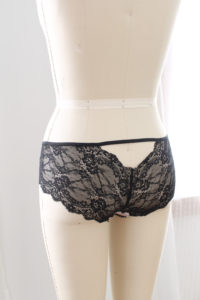
Alternatively, you can use too-narrow lace as a design feature! You can create interesting “cut outs” by just working with the width of lace you have. Here, I’ve just left the scalloped edge of the lace in place, then extended my waist elastic overtop to create a “peekaboo” back.

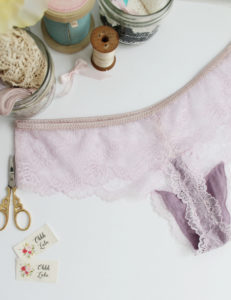
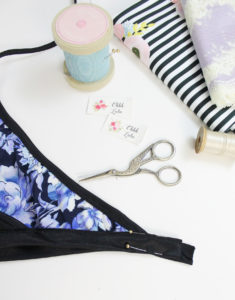
Finding trimming lace to match can sometimes be a challenge, even for myself who has access to wholesale lace suppliers. If you need some trimming lace in the same colour as the lace for the body of your panties, just cut off some of the scalloped edge of your lace, and use it exactly as you would use a trim. Just zig-zag it on, and cut off any excess that extends beyond your zig-zag stitching. I’ve done that with this pretty purple thong.

If you are having trouble finding stretch lace at your local fabric stores, I highly recommend looking online. Below are a few of my favourite resources:

Tailor Made Shoppe

Lace Heaven

Bra Makers Supply 


Pattern Hack: Strappy / Sporty High Waist Bikini Part 1

swimwear, Tutorial

StrappySporty

IMG_2024

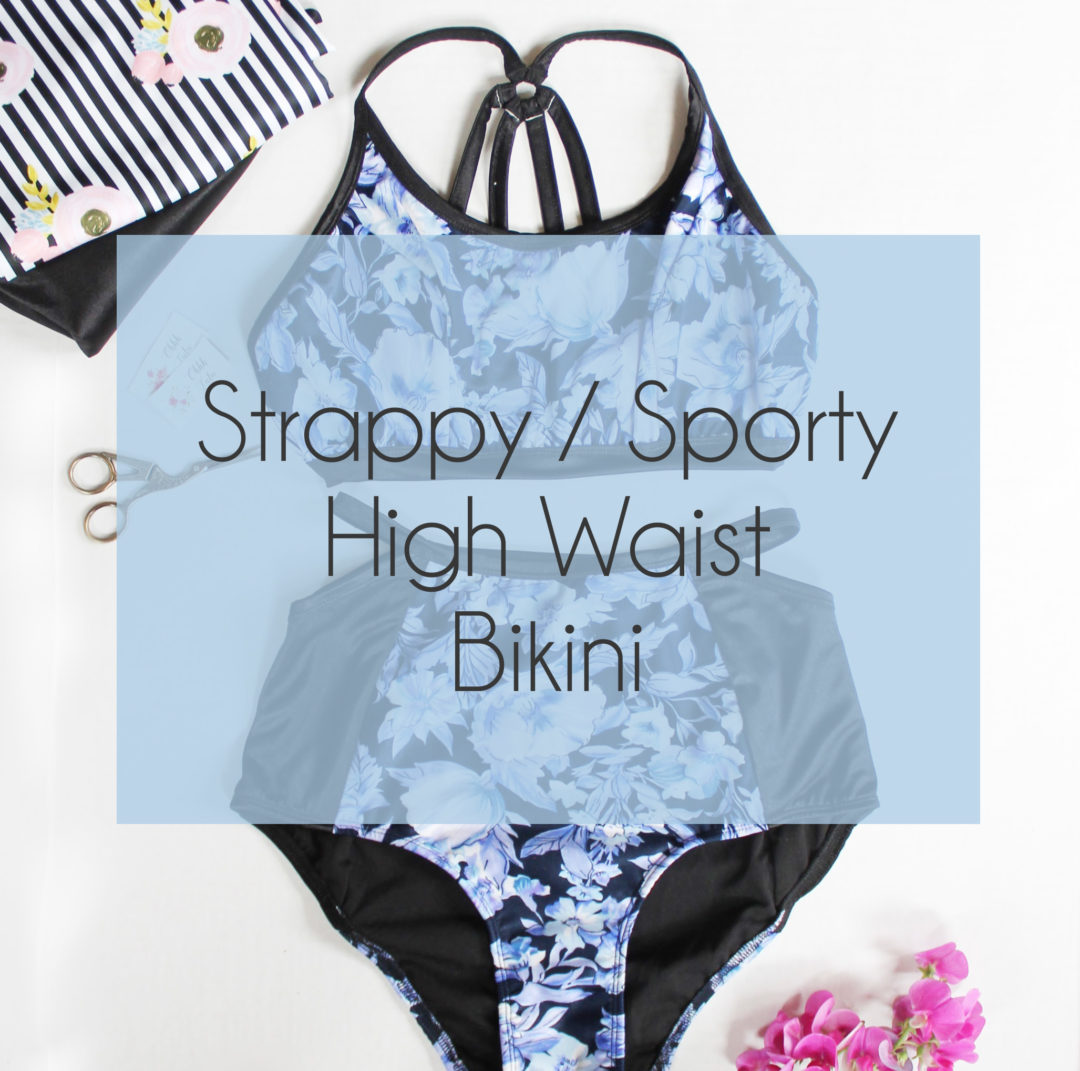
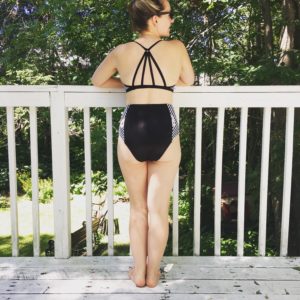
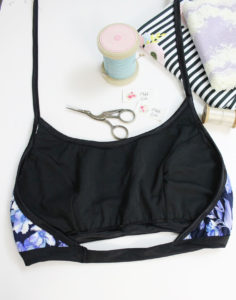
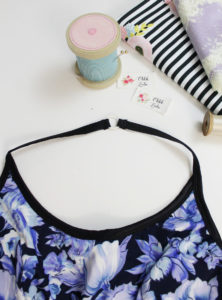
Since moving to Washago, I’ve been spending a lot of time at the beach with Isabel, which means I need a few new bathing suits. I’ve always found it difficult finding RTW bathing suits, since I have a full bust and like a fit with a little more coverage so that I can, you know, actually swim. At the same time, I want something that looks awesome.

So, I made this suit a couple weeks ago and it has had a lot of wear already! I used the Amber Bra for the top and the Panties from my Cindy Pattern for the bottom – I like them because they have  high cut leg, which I find more flattering for my petite stature.

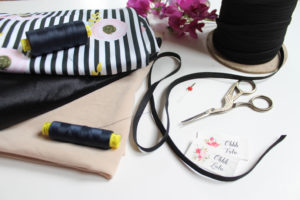
Aside from the patterns, you’ll need the following supplies:

  1. Swimwear Fabric -I used a print and a solid for binding
  2. Nylon swim lining
  3. 1/4″ elastic (you can use clear elastic)
  4. Twin Needle
  5. Two spools of thread
  6. 5/8″ (or larger) metal ring

StrappySportyMaterials

Directions:

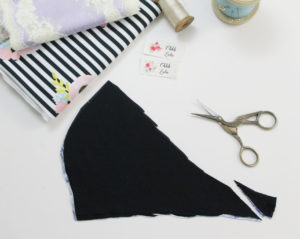
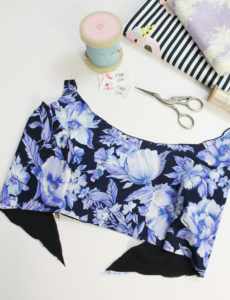
  1. Cut the pattern out of your swim fabric & lining. Taper the Side Back down to a point.

SS2

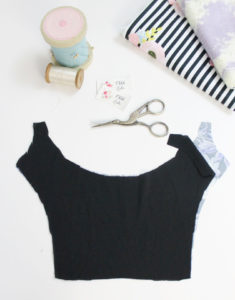
2. Baste the lining to the swimsuit front.

ss3

3. Pin the side front swimsuit fabric to the front swimsuit along the curved seam and baste together (right sides facing). Flip over and pin the swimsuit lining along the curved seam of the front swimsuit, so that right sides of the lining are facing and stitch together. This creates a totally encased seam and anchors your lining so you don’t get slipping between the two layers. Repeat on opposite side. If you are feeling confident, this can all be done in one step.

SS4

ss5

ss6

ss7

ss8

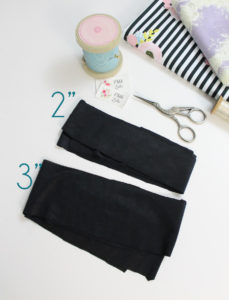
4. Cut a couple long lengths of your contrast fabric to create a binding. I cut two 2″ wide lengths (2″ by approximately 54″) and one 3″ wide length (3″ by approximately 30″) for my size small top.

ss9

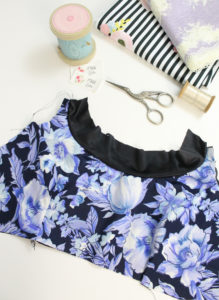
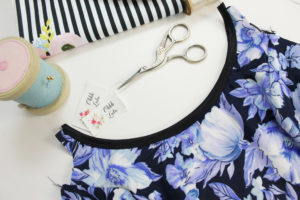
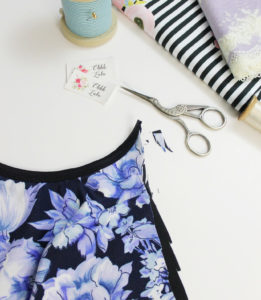
5.  With the right side of the binding facing the right side of the swimsuit top, baste binding along neckline using about a 1/2″ Seam Allowance. Gently pull on the binding to create a bit of tension to carefully contour the edge of the top.

ss11

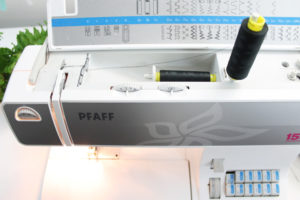
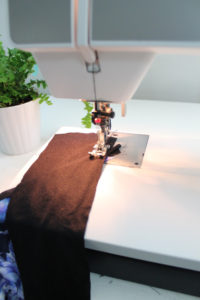
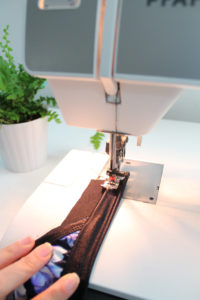
6. Load your sewing machine up with your twin needle and two spools of thread. Fold the binding towards the wrong side and top stitch in place using your twin needle. I do not double fold my swim biding. I just fold it back once and trim back the excess along the wrong side. This way is quick, easy, and less bulky.

twinneedle

ss12

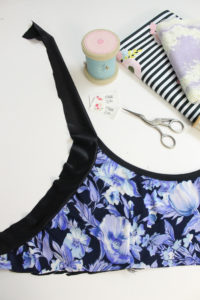
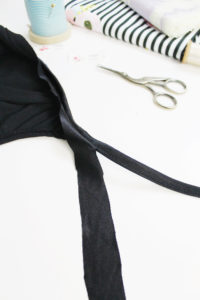
7. Trim the small strap tab back to a point. Apply the binding along the side in a the same manner as steps 5&6, but leave a 6″ long tail extending past the neckline. As in the previous step, fold the binding in half and use a twin needle to stop stitch. I do a single fold, then trim away the excess fabric.

ss13

ss14

ss15

ss16

Extra Credit: add some stability and strength to your straps by wrapping the binding that forms your neck strap around a piece of elastic. I am heavy chested and always find stitches in my swimsuit straps pop! Adding clear swimwear elastic (or something heavier) will help. (I’m really sorry I didn’t take pictures of this part! the next step will give you some idea of what I mean)

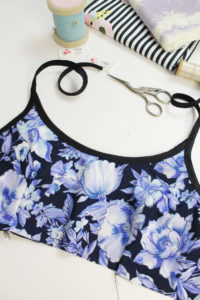
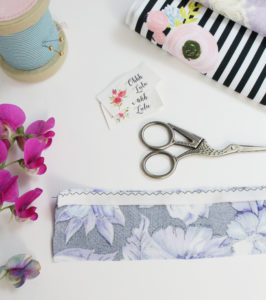
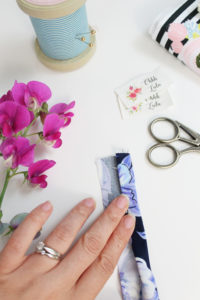
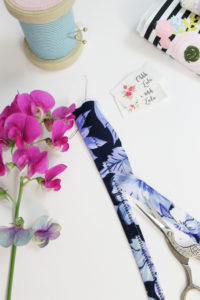
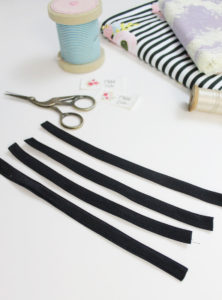
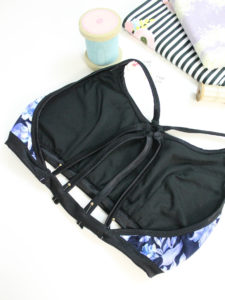
8. Now we are going to create the strap details for the back. I’m adding elastic to mine for some strength and stability. This is optional – you may opt to just sew a traditional spaghetti style strap/tube. I created by straps by basting a length of elastic to the wrong side of a strip of my binding. I folded the binding 3 times to fully encase the elastic. Using a twin needle, I stitched down one edge, then simply trimmed back the excess. This is a quick and easy way. You may opt to double fold your binding, but I find it gets a little bulky. I then cut the strap into 4 lengths of 8″.

strap1

strap4

strap5

strap6

ss21

9. I used the wider piece of biding to for my band. In the exact same method as in previous steps, baste the binding onto the lower edge of the top, pulling on the binding as you go to contour the bottom of the top. Fold to desired width, and top stitch in place, trimming back the excess fabric once you are done. Leave approximately a 1″ tail on one end and a 4-5″ tail on the other.

ss17

ss18

10. With the right sides together, pin and stitch band together.  Fold seam allowance to one side and top stitch down.

ss19

ss20

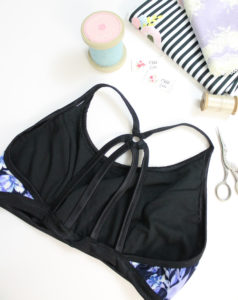
11. Wrap ends of strap around your metal ring and stitch in place using a tight zig-zag stitch.

ss22

12. Wrap one end of each of the 4 straps you made previously around the ring and stitch using a tight zig zag stitch. Pin the opposite end of each of the 4 straps evenly along the band. I used a tight zig-zag again to anchor them along the band.

ss23

ss24

Last year I posted a video demonstrating how to apply swimsuit binding. You can view it HERE.  To add more stability to the edges of your suit, you can add clear swimsuit elastic. I didn’t have any on hand, so I omitted it, and so far have found it to be just fine!

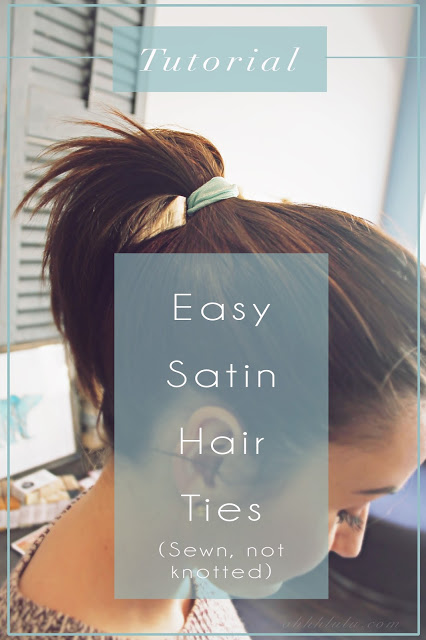
Easy FOE (Fold Over Elastic) Hair Ties that are sewn NOT knotted!

Tutorial

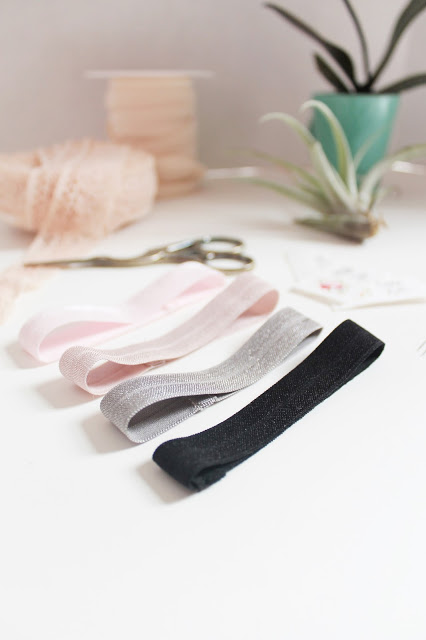
I have a lot of fold over elastic kicking around, and I often end up with little bits and pieces that I hoard away. I also lose things, particularly hair ties, so I’ve found a quick and easy way to use up those small bits of elastic to make hair ties that are amazing
Fold Over Elastic is nice and stretchy, with good recovery and the satin finish doesn’t snag your hair. They are also nice and thick so if you often find your hair getting wrapped up in traditional elastics (like I do), this may just solve your problem. You’ve probably seen the knotted version of these hair ties, which are well and good, but I wanted mine to have a more polished finish.
How to make sewn not knotted FOE Hair Ties!
1. Cut a length of elastic about 8″ long. I’ve got super thick hair, so if you have finer hair, you may want to cut it a little shorter.

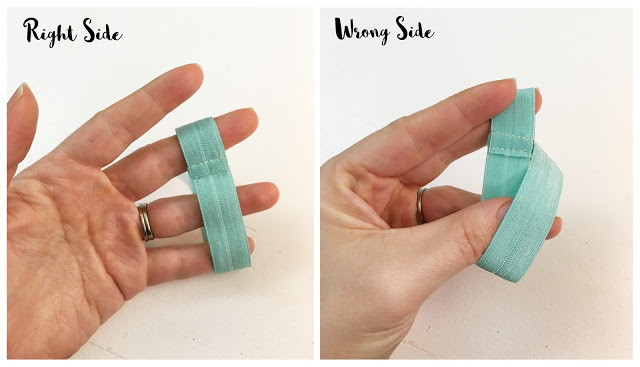
2. Fold the elastic in half, with the right sides (shiny side) facing and stitch together using about a 3/8″ seam allowance.

3. I snip back one edge of the Fold Over Elastic by about 1/8″. I sometimes lightly singe the end with a lighter (please be careful if you choose to do this!), though I don’t find that the elastic generally frays too badly.

4. Fold the seam allowance down so that the shorter end of the seam allowance is covered by the slightly longer end. Top stitch through all layers, being sure to backtack at the beginning and end of your seam. 

And that’s it! It takes just a minute to make them and you’ll never buy a hair tie again.  Wrap a few around a printed piece of cardstock, and they make a great addition to a handmade gift. It’s also a great way to use all of that amazing printed FOE that I’m seeing all over Etsy (check out Peak Bloom, just as one example!).
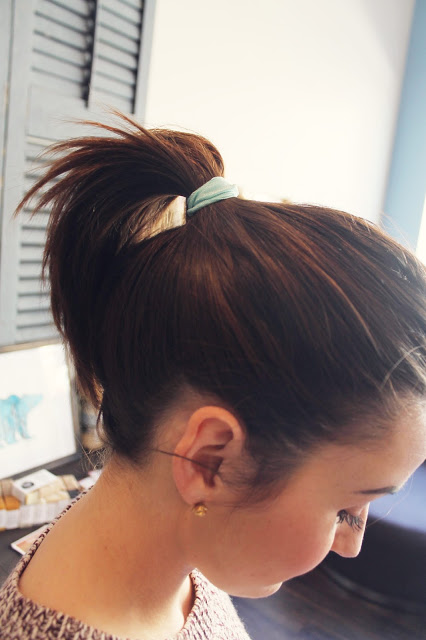
Thanks to my beautiful friend, Susie, from Changing of the Garnet for modeling my little elastic for me!

New Old House Tour: The Good, the bad, and the ugly.

Home

I want to start this post by saying “I love our new house.” It really is beautiful with lots of old-fashioned charm. That being said, it has a lot of “issues.” Some of them cosmetic, others a little more serious.

This is our second house purchase. Our second old house purchase. Our second old, neglected house purchase, because that’s up our price range. A lot of the stuff we are doing feels like old hat – like replacing old wood supports with metal jack posts-  while other things feel a little more overwhelming (our whole chimney situation). I hope to do a series of posts about the work we are doing in our house, as it’s something that I really enjoy! I hope you do too.

We kind of moved on a whim, but had been considering relocating for a while. We (mostly me) had some negative experiences in our old neighbourhood and the idea of moving out of town was becoming more appealing. Also, after Isabel was born we were starting to find our starter house a little small, especially since my office had taken over the Master Bedroom. Our yard was tiny, we were next door to a parking lot, on a very busy street. We were just ready for a step up.

I kind of happened upon this house one day when I went out for lunch with my cousin. When I saw the outside I immediately needed to see the inside, so I talked to Dan and we went to see it that night! On the drive back to our house that night, we talked about how we both could envision Isabel learning how to ride her bike in the nice, long driveway, or playing in the spacious backyard. So, after getting some second opinions, we bought it.

As I had mentioned in an earlier post, the purchase didn’t go quite as smoothly as with our first house. I’m still a little irked but in the grand scheme of things, it all has worked out in the end.

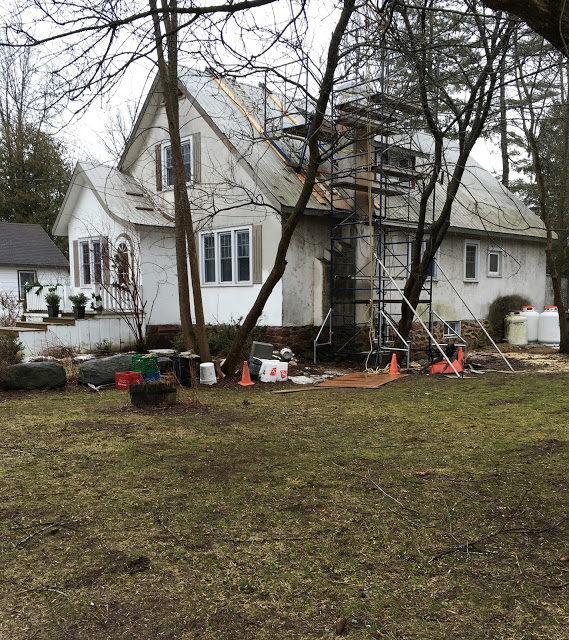
Over the last 4 months we have been putting so much work (and money!) into the house. The previous owner had done a lot of upgrades but I think over the last few years a few things got a little out of hand, so I’ll start with what’s Bad. As you can maybe tell, the exterior needs some clean-up and paint, but the biggest problem was the Chimney. In December we had a new furnace installed that wall vents instead of chimney vents so that we could tear down the crumbling masonry. This was a very big job, and I was happy to pay someone else to do this for us!

Scaffolding around our very scary chimney

The chimney was in such a state that there was some ice damage in the front room and the fire place will need to be entirely pulled out.  So far we have had the chimney torn down to the roofline and are pondering and saving for the next step. The nice thing about this house is that it is big enough that this room can be kind of blocked off for the time being. In our old house, every square foot was precious.

Bye-bye fireplace…

The new furnace and chimney demo were pretty costly for us but I’m glad to have them out of the way.  I’m still a little stressed about how we will finish the job, but it will get done! At least now we have stopped any further damage from happening inside.

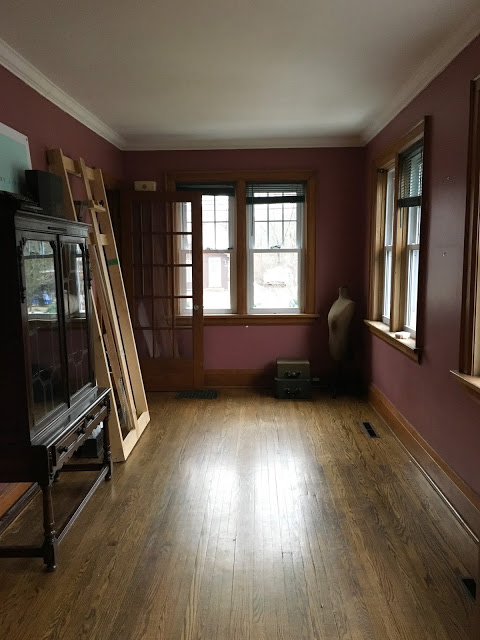
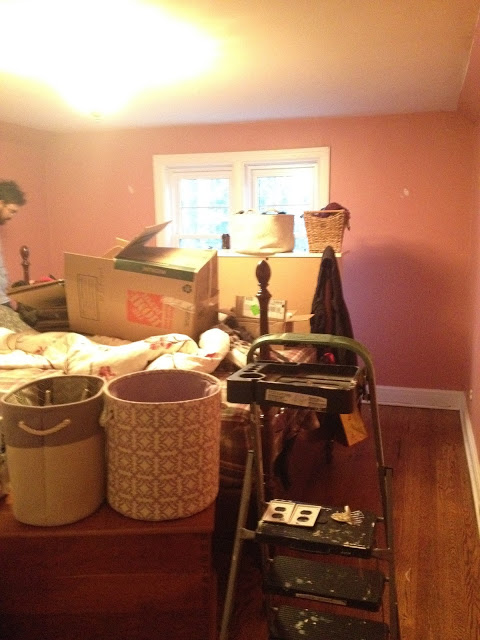
The other, much less serious, but on the Ugly side of things is that every room is painted a colour. Like my favourite palette of Folk Art Acrylic Paint colours from the painting class I took in 1998. I like colour in my lingerie. I want my walls white, or perhaps a nice light grey. The house felt so dark and the rooms felt small with all of the dark coloured walls and woodwork. We’ve been working our way through room by room with a more neutral (ie. white) colour scheme and it is really brining out how big this place really is! I also like the original woodwork, and I find it stands out more on a neutral wall…

dreaming of turning this into a boutique/fabric shoppe.

Eye Spy with my little eye, a blur that looks like Dan.

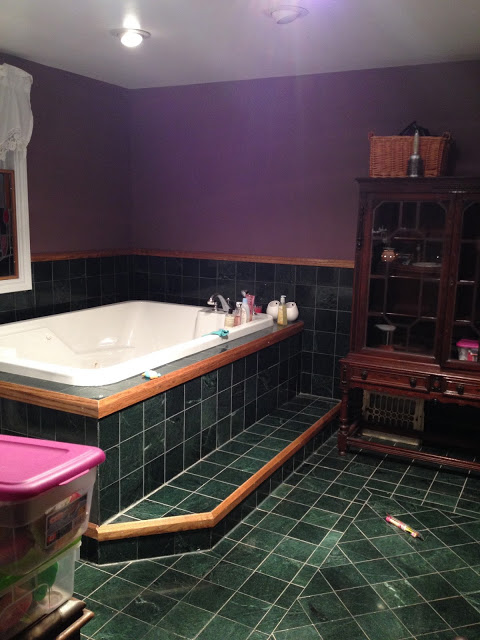
The tile… oh the tile.

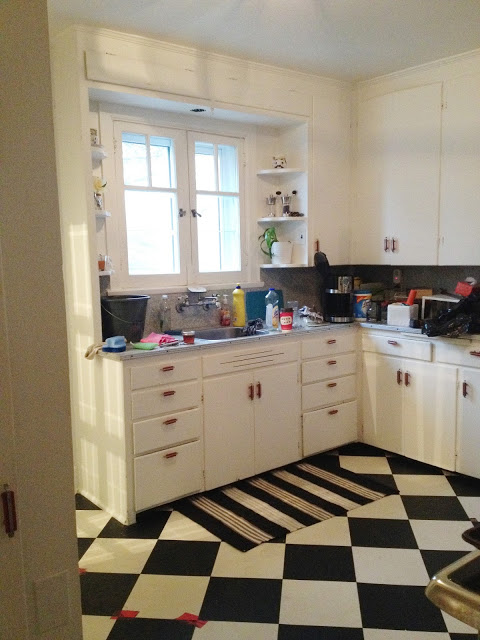
Aside from covering everything in a neutral coat of paint, we’ve also had to do quite a bit of work in the kitchen. I was able to give the original cupboards a fresh coat of paint, but the room needed new flooring ASAP.

Aside from painting and a bit of flooring, we’ve also had our dryer vents clean (do this! Seriously. dryer vent fires happen), had several large trees taken down that were overhanging our house (another very costly undertaking), replaced jack posts, repaired some plumbing, sealed a leaky window, replaced light fixtures… In other words, we’ve been pretty busy and still have a lot to do.

It feels a little overwhelming when you buy a house like that this needs some serious upfront repair, especially when you are DIY-ing and working with a limited budget, but this house has some great features (which is the Good part of this post): New windows, new wiring, new plumbing, huge deck, newly insulated, relatively new fixtures (though I would like to replace the tub for a more environmentally friendly, smaller version!)… It just needs a little TLC to get it back to where it should be.

One of the funny things that I love most about this house is it’s maze-like layout. I’ve had three people get lost going from the bathroom to the kitchen, and when I had my nephew over a few weeks ago we had the best time playing hide and go seek. There are so many great little hiding spaces… that’s what I love about this house. It’s fun. I feel like it will be a fun place for Isabel to grow up.

I think we are pretty much down what we will do inside for this year while we build our saving up again! There are extensive gardens that will need my attention for now, and the house is mysteriously only half painted, so we will need to clean the stucco and paint the woodwork. Now that we have finally been having some nicer weather, I’ve really enjoyed spending time in our beautiful backyard (which I will show you another day).

In my next post I hope to show you a little of what we have done inside!

Sarah & Ava Retro Swimsuit Tutorial Part 2

Tutorial
It’s time for Part Two of my Retro Bikini Tutorial. I’ve done a tutorial on how to sew the Ava Panties as Bikini Bottoms before. I did this version just a little differently. I wanted to add a contrasting band around the waist and omit the elastic around the legs. I have full hips and thighs, so these bottoms fit snug as they are. If you’re on the thinner side, you might want to add elastic or bind your leg openings like we did on the Bikini Top.
Instructions:
1. To make the waistband, I roughly measured the waist of the panties front and back. I cut a size medium, which had the same measurement for front and back. I then drew a straight waistband, which was 2″ wide with 1/2″ seam allowance on either side. I indicated cut 2 on my new pattern piece, as my front and back measurement was the same.

 2. Cut your fabric – I’m lining the entire thing.

3. Baste your front lining to the swimsuit front.

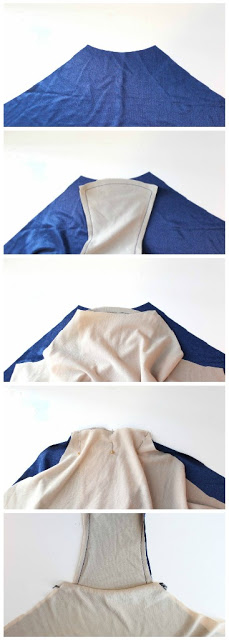
4. Like we did with the swimsuit, we’re going to sew the lining and swim fabric all in one motion. Begin by layering: Back Self (rightside up), Front Basted Self (rightside down), then Lining. Pin together if needed and sew your seam. Now your crotch seam allowance in encased between your layers.

5. Sew your side Seams and try them on. They should fit snug all over.

 6. Sew the waistband into a continuous loop. Fold in half and press with a light iron. Attach to the waist of the panties, lining up your side seams.

7. I top stitched down my waistband seam allowance using a twin needle.

8. To finish the legs I simply finished the raw edges with my serger, then turned the edges and top stitched them with a twin needle. You can also finish with a zig-zag stitched hem, bind the legs, or use elastic.

That’s it! I’ve found it takes some getting used to sewing swim fabrics. They are slippery and can be hard to manage. But, the more bathingsuits I make, the better they get!

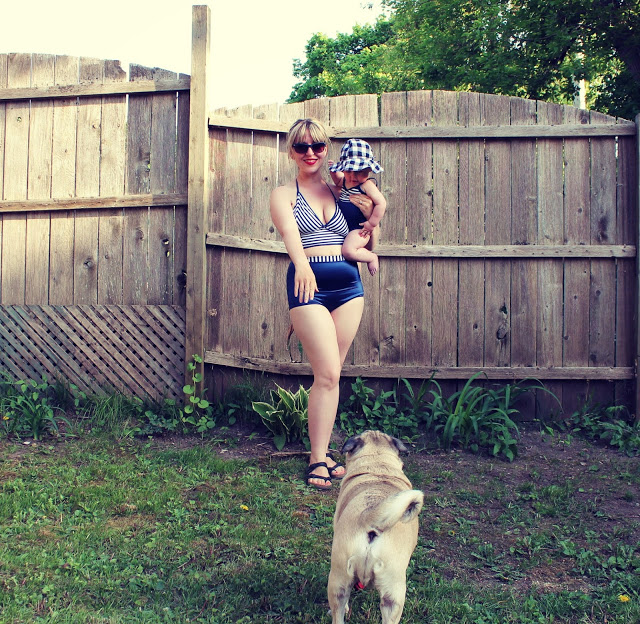
Here I am in mine. Neverind the pug butt and falling down fence. I made Izzy a matching suit too! Now hopefully the weather gets a little warmer so I can test mine out at the beach.

Sarah & Ava Retro Swimsuit Tutorial Part 1

Tutorial

We had frost here last night…
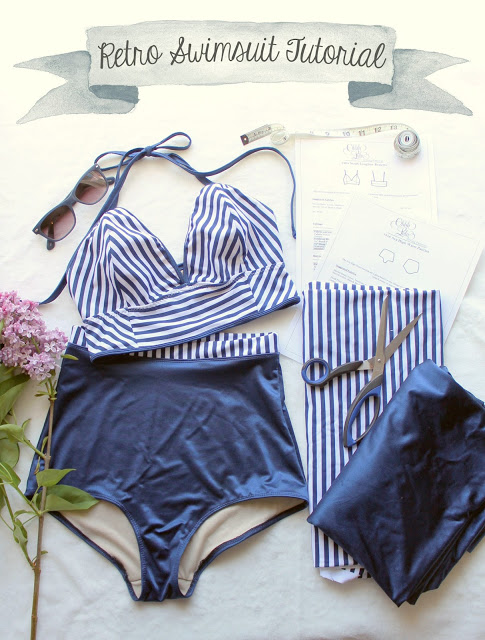
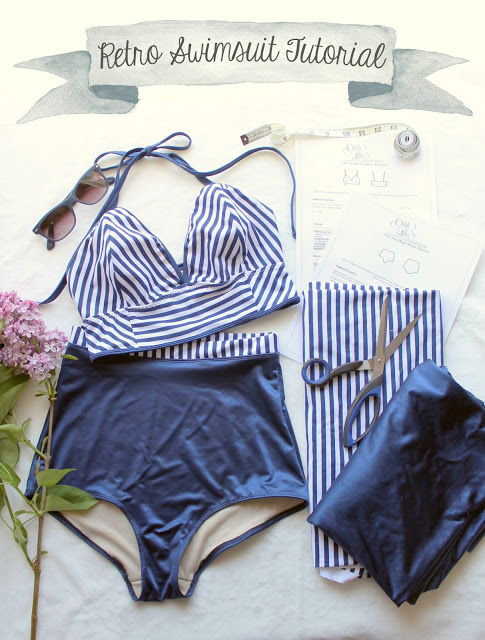
BUT! I’m not going to let that get me down!  Last weekend I made this swimsuit. I was inspired by Alexia (from Whimsy Tails ) who made an amazing 2-piece version of my Abigail Swimsuit. You can see it on her Instagram. I really loved the way she place the stripes on the top. I decided I’d give it a go using my Sarah & Ava Pattern to do something kind of similar. I really loved how it turned out and I get lots of emails about using my patterns for swimwear so I thought I’d offer an indepth tutorial.

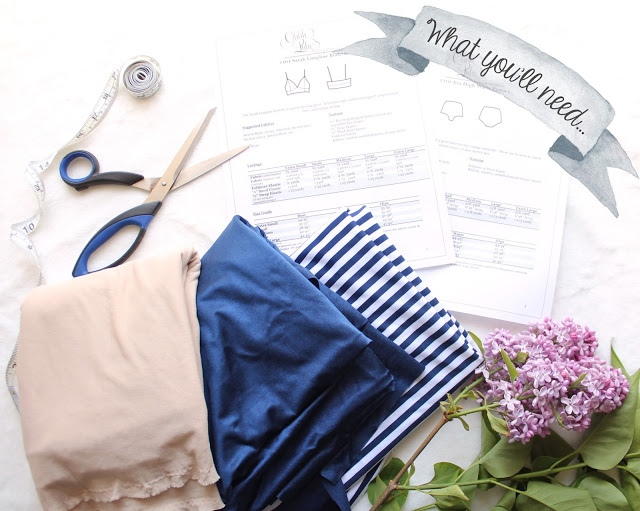
What you’ll need:
1. The Sarah Bralette Pattern and Ava Panties Pattern
2. Coordinating Swimsuit (Spandex) fabric.
3. Swimsuit Lining
4. Thread
5. Twin Needle
6. Rotary Cutter (optional, but handy)

Instructions:
1. Print out your patterns.

2. Trim away margins where indicated.

3. Tape pattern together.

4. Optional: I wanted to have a diamond motif pattern layout on the back, so I added seam allowance to both my back pieces, instead of cutting them on the fold.

5. Make adjustments. I have a slightly larger cup size than what I’ve drafted this pattern for. All I have done is cut between a size small and medium. If you need a significant change to the bust area, you can slash and spread the cups to increase the size. You can also wing it, like I sometimes do, by just exaggerating the curve of the cup and adding some height. If you are more petite, just straighten that sucker out. Check out my tutorial on adjusting the cup size of my Jasmine Bra for some further instruction.

Cutting between a small and medium

5. Optional Pattern Placement: I have drawn a line on my pattern pieces so I know where to place my stripes. I wanted to create a chevron motif over the bust so I took a little bit of time before cutting my fabric to make pattern placement indicators on my pattern pieces.

7. Cut your fabric! For a swimsuit, you’ll need to cut Lining & Swim Fabric. You don’t have to line the back, but I think it makes for a nicer suit.

8. Cut your binding. Using a contrasting fabric, cut several long strips of binding (stretch should be going lengthwise). I cut mine in 1 inch strips, as I wanted narrow, quarter inch straps and binding. Cut accordingly! Using a rotary cutter makes life a lot easier.
9. Baste lining to Front Cup.
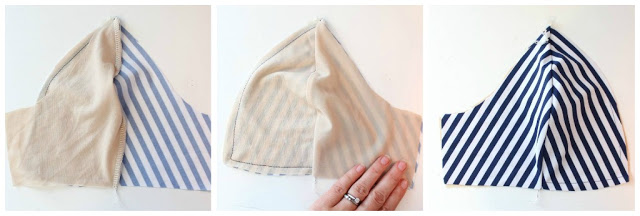
10. We’re going to line and sew our cup seams in one motion so that our seam is encased between the lining and swim fabric. Layer your pieces like so: Side Cup Lining, Basted together Front Cup (lining side down), finished with Side Cup (right side down). Sew your seam (1/2″ Seam Allowance). Why do it like this? This way your lining and exterior fabric won’t shift and you’ll have less seam allowance to worry about between your layers. I’m serging my seams, but you can also just use a zig-zag stitch.
11. Prepare your binding by turning under the raw edges by  1/4″ and pressing with a warm iron. Careful not to melt your farbric!

 12. Baste Binding along front edge of cup using a narrow zig-zag stitch. Gently pull on the binding as you stitch. You wan the suit to contour along your bustline. When you’re done, turn the binding under and top stitch with a twin needle. If you don’t have a twin needle, you can also zig-zag stitch. The binding gets applied exactly the way you’d apply any binding (though I apply mine to the right-side first). I made a Video! Watch!

Raw edge trimmed back, binding is ready to be turned under and top stitched.

Twin-stitched binding.

 13. Baste Lining to Center Front Band.

14. Just like we did with the cups, we’re going to sew our lining and exterior fabric in one motion. Layer your fabric like so: Side Front Band Swim fabric, Center Front Band Basted Piece (Swim Fabric Down), finished with the Side Front Lining. Sew your seam, and now your seam allowance is encased.

15. Stitch cups to Front Band

16. Prepare your back pieces. If you’re doing it like me, you’ll have to sew your Center Back Seams. Then, go ahead and baste your lining to your swim pieces. Stitch your Upper Back to your Lower Back.

17. Sew your side seams then try this baby on! If you’re happy with the fit, finish your seams by serging or zig-zag.
18. Apply Band Elastic on the inside of the garment using a wide Zig Zag stitch, as indicated in the pattern instructions. I have also made a video to show you exactly how to do it. 

 19. Now it’s time to bind the upper edge of our tops. I used a length of binding approximately 80″ long (I had to attach two pieces in order to get this length). I started basting on my binding approximately 31″ down the length of the binding – this extension forms your strap. You will be left with a long extension on the opposite end as well.

20. Folding your binding in half, and making sure all of the raw edges are turned towards the inside, top stitch with a twin needle.

21. Cut your straps so that they are both an even length and tie the ends into knots.

22. Cut a strip of elastic approximately the same lenth as the bottom of your top. Stitch it into a loop.

23. Pin the binding evenly around the bottom of your swimsuit top and baste on. Finish just like we did all of the other bindings by top stitching with a twin needle.

I’ll post the tutorial for the coordinating bottoms in a separate post!