drafting
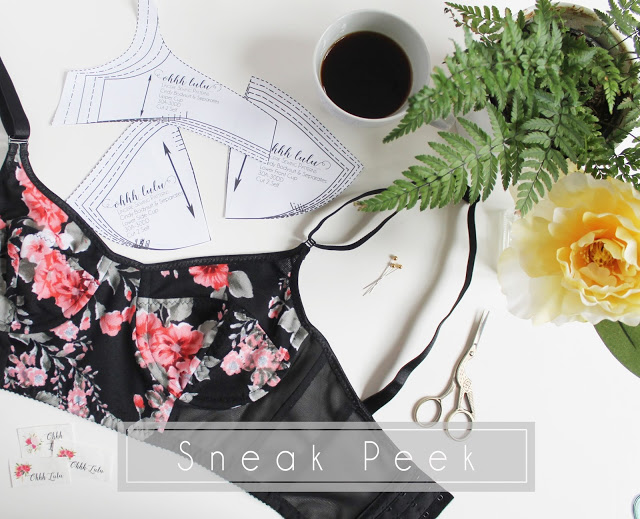
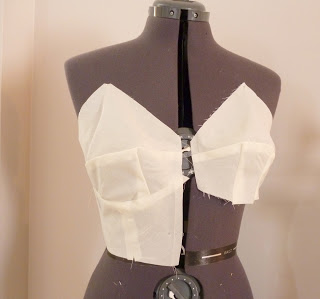
I’m super behind where I hoped to be, but here is a sneak peek at my new pattern collection. I am working on two Bra’s to go with. I cut and sewed all 4 sizes of the knickers today and they go together nicely!
Ohh La La Pin Up Sew Along Pt 2… Preparing your Pattern and making adjustments for Long Line Version.
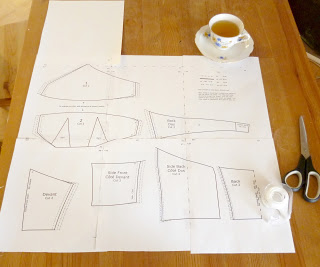
Uncategorized March 19, 2012Start by printing and assembling your PDF pattern. Not sure how to do this? Follow Anna’s instructions from the corset section of our Sew Along.
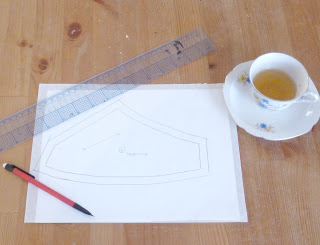
I am making some alterations to my pattern, so I am tracing mine out, but Anna has added enough space between pattern pieces for you to add the Seam Allowance directly to the pattern if you wish to do so!
I am adding 1/2″ Seam Allowance to ALL edges. I am applying a 1/2″ elastic to the top and bottom edges of my bra, so I am adding 1/2″ to the top and bottom edges of my pattern. If you are binding your top and bottom edges, do not add Seam Allowance. If you are turning your edges under, add the appropriate amount of seam allowance.
For the Long Line Bra, the original Pattern instructions tell us to OMIT the darts for the lower cup. I sewed a couple of test garments, and this just doesn’t seem to work right for me. So, I sewed a cup with just the FIRST dart, and omitted the second dart. I also sewed a cup with both darts. I found, for myself, the cup with both darts contoured much better than the cup with one dart. If you are larger chested, a D cup or over, you will likely prefer the cup with 2 darts. This version will require additional pattern manipulation.
I highly recommend you sew the cups both ways to see which one contours around your body best. You literally just need to sew the cup and hold it over your… ahem… boob.
Follow below if you wish to keep both darts in the long-line version of the bra.
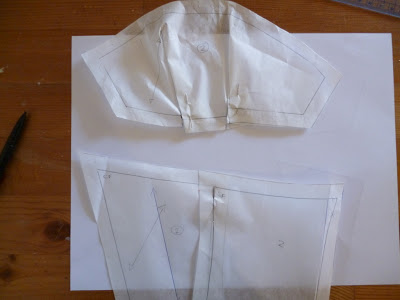
Start by closing your darts – I have just pinned mine closed. I have also pinned my front corselette pieces together, stitching lines lined up.
Walk your lower cup along the upper edge of the corselette.
When you get to the end you will notice you are about 1 1/2″ short (or more, if you are cutting a larger size)
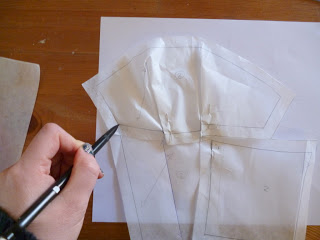
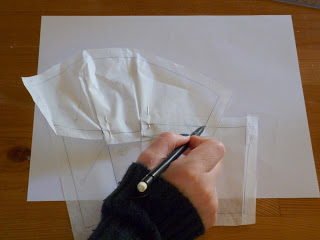
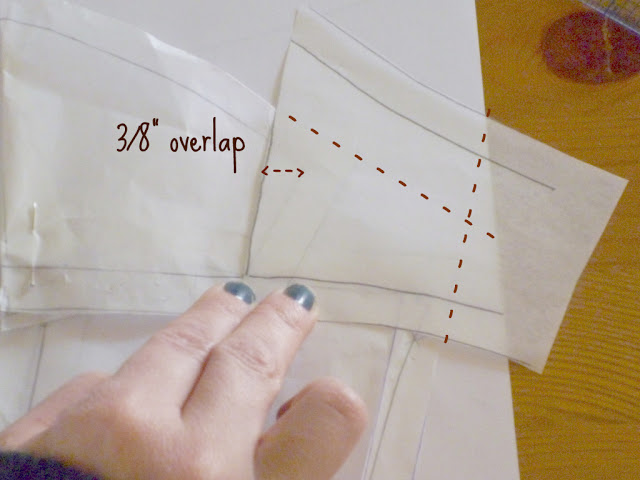
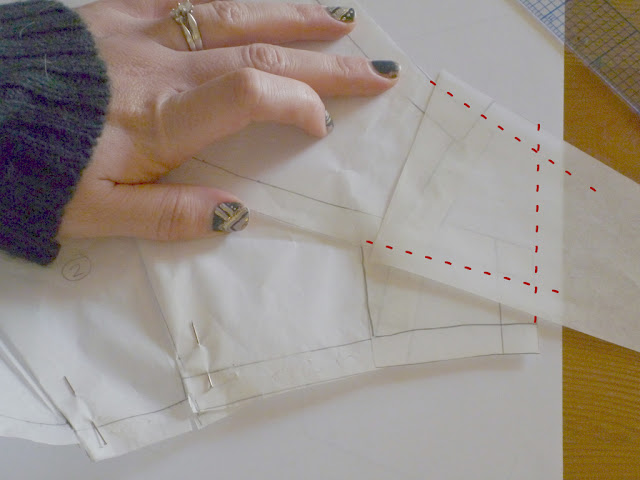
I traced a small portion of the back band to make an “Extension” along our lower cup. Align the lower line so that it creates a smooth line along the bottom of the lower cup. The side seam of the band should over lap the side seam of the lower cup in the top corner by about 3/8″. Extend your cutting lines as shown below.
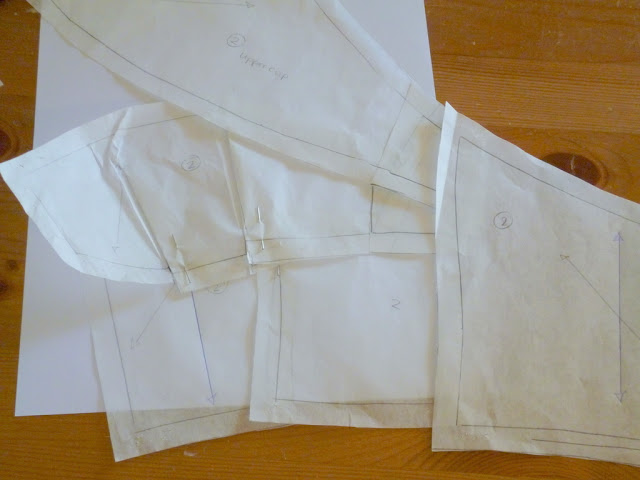
We now have an extension along the side of the upper and lower cup. Walk your pattern to make sure your lines match. I found mine was about 1/2″ short, which I then added along the top edge of my upper cup.
A note about grain lines: I am cutting my cups on the bias. I am doing this because I want them to mould around my natural shape, but you can cut the cups on the straight grain as well. I am cutting my corselet pieces on the straight of grain, but will be adding stretch lace for some give.
We’re now ready to cut out our muslin and test our fit!

