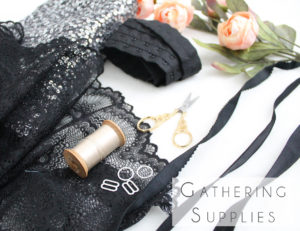
Lingerie-making requires some specialty supplies. If you’ve ever wondered why lingerie is so expensive to buy, it’s because there are a lot of bits and pieces that go into a single piece of lingerie! All of those pieces, as well as the labour involved add up!
Because I also sell made-to-order lingerie, I generally don’t give out the exact names of my suppliers. I like to keep some things a little private. However, I’ve purchased from nearly every big supplier online! So I’m happy to share some of my favourites with you.
As I mentioned earlier, this sew along is going to move along quite quickly. I know that many of you will need to order supplies, which can take some time. I’m hoping that you’ll be able to catch up once you receive everything you need.
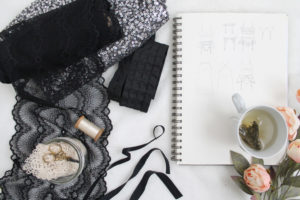
Fabric
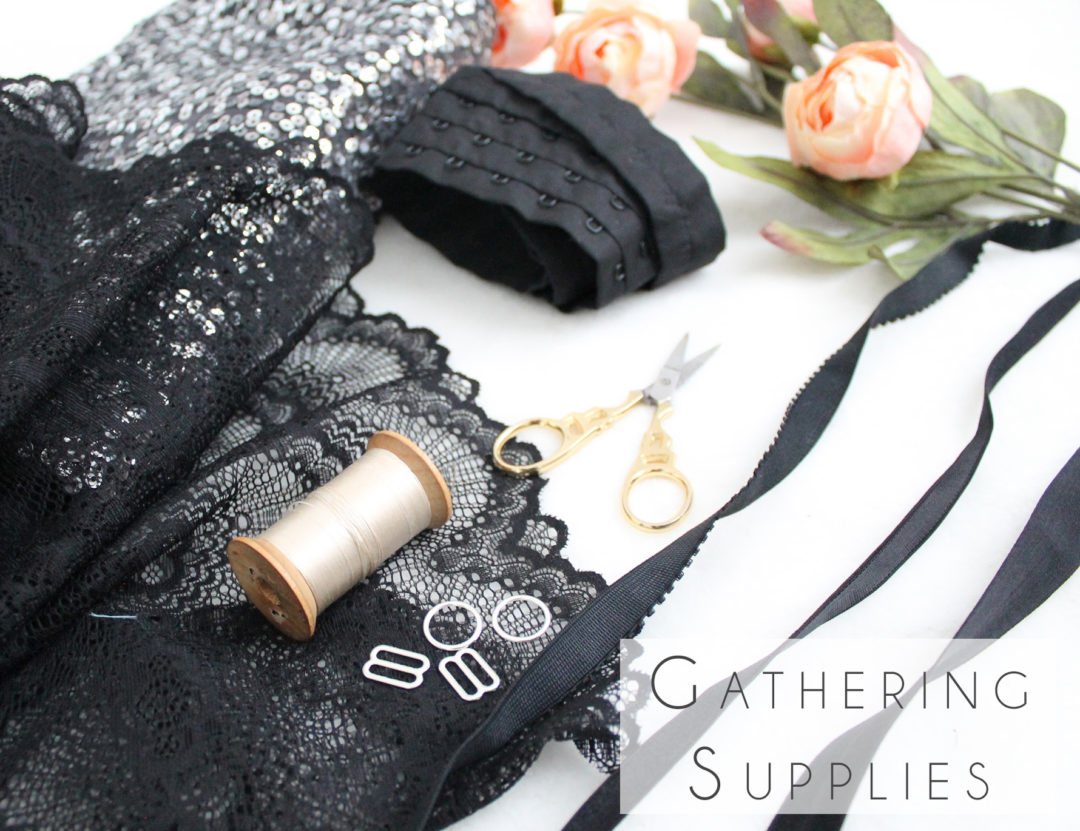
You’ll need to select a stretch scalloped lace fabric. I’m recommend looking for something at least 18cm (7″) wide. Buy the required amount as indicated in the patterns, plus an extra yard or so for the elongated band.
You will also need some sort of lining for your bra and or the front sequin panel of your panties. I like to use a simple stretch mesh. You can purchase it in a skin-tone shade for a nude look, a contrast shade to help your lace pop, or go tone on tone.
We’ll be adding a sequin panel to the front of the panties, so you’ll need to pick up some sequin fabric (or specialty fabric of your choice). This doesn’t necessarily have to be a stretch fabric. As long as it’s not too heavy, almost any specialty fabric will do. My local Fabricland and Lens Mills stores both cary sequin fabrics, but if you need to source online, fabric.com is a great resource. If you’re looking to source locally, try browsing second-hand and vintage shops for old formal dresses.
The last bit of fabric we will need is a small piece of cotton jersey to line the gusset. Any cotton jersey will do, even an old t-shirt!
Elastics
We’re going to need a variety of elastics to complete this set.
Strap Elastic – this is the elastic we will use to make our bra straps and the Cora version of the garter belt. I used 1/2″ elastic for my straps and 5/8″ for my garter belt. I actually also used 1/2″ strap elastic on the waistband of the Mina version of my garter belt. Which ever size you choose is up to you and your personal preference.
Neckline Elastic – this elastic will run along the inside of the bra, so pick something soft. I just use a regular 3/8″ wide knit elastic. I like to make sure this elastic feel soft and is not scratchy, since it will lay against the skin.
Band Elastic – this elastic will go along the underbust seam of the bra, and can be also used on the waist edge of the Mina garter belt. Band elastic comes with one plush side – this is the side that lays against the skin. It also usually has a decorative edge running along one side. I’m going to be adding a 3/4″ band elastic to my bra, but 1/2″ tends to be the standard.
Waistline Elastic – I’m using fold over elastic. It works best with the sequin fabric we will be using, since it will bind that potentially scratchy edge.
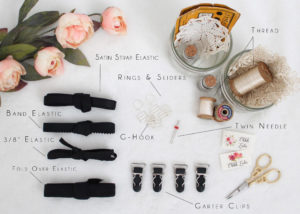
Other Findings
We’re going to need some basic hardware to complete our set.
First, we’ll need bra strap sliders and rings. I’ve used two rings, and a total of 7 sliders between my bra and garter belt. Buy rings and sliders in the same width that you purchased your strap elastic.
Because we are adding longline band, we’re going to have to use hook and eye tape instead of a traditional hook and eye closure. You can get hook and eye tape with a single, or triple column of hooks. I’d recommend going with the triple column.
The Cora version of the garter belt closes with a simple G-hook, while the Mina Version closes with a hook and eye closure.
We also are going to need 4 garter clips. Buy these in the same size that you purchase your strap elastic.
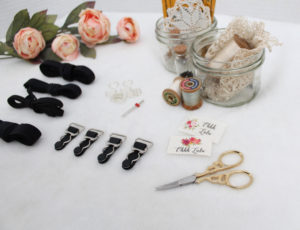
Misc. Supplies
Make sure you have ball-point needles on hand for your sewing machine. These are ideal for sewing stretch fabrics. We will also be using a twin needle. Of course, buy some thread to match and make sure you have a pair of good, sharp scissors.
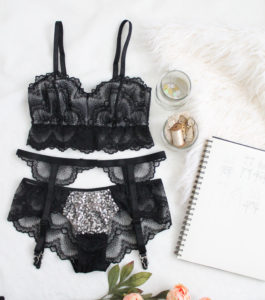
Of course, we are also going to need patterns. I’m using the Jasmine Bra, Claudia Panties, and I’m making two garter belts: the Cora and the Mina. I’ve created pattern bundles which you can purchase directly here, or through my Etsy Shop. Remember to use coupon code BeMine to receive 15% off until January 16, 2016.
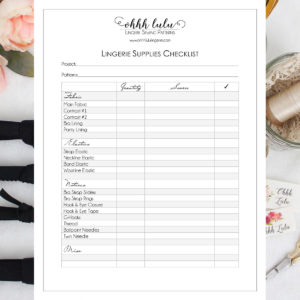
I think that just about covers everything! I know that this is a lot of stuff, so I’ve made a printable checklist for you. I’ve made it as generic as possible so hopefully you can use it for other lingerie-sewing projects in the future!
Download the list here:
Where to Buy Lingerie Making Supplies
Now you’ve got your list, you need to actually find the stuff. Here are a list of shops I recommend.
Tailor Made Shop (USA)
Blackbird Fabrics (Canada)
Bra Makers Supply (Canada)
Sew Sassy (USA)
Lace Heaven (USA)
Sewing Chest (UK)
Vena Cava (UK)
I hope you find this to be a helpful resource! I’m really excited to get started but will wait a few days for everyone to organize their supplies. If you have any questions, I will do my best to answer them here. If you want to share your makes and progress on social media, use the hashtag #ValentinesSewAlong and/or #SewingWithOhhhLulu .

