Lingerie
Ooh La La Pin Up Sew Along: Printing Your Pattern & Adding Seam Allowances
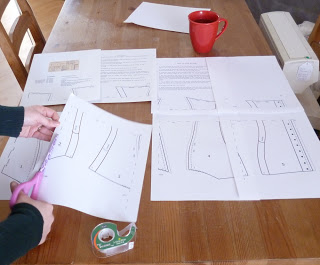
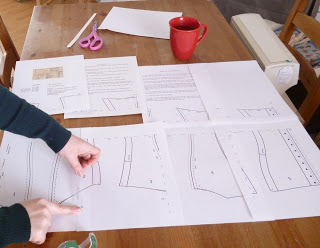
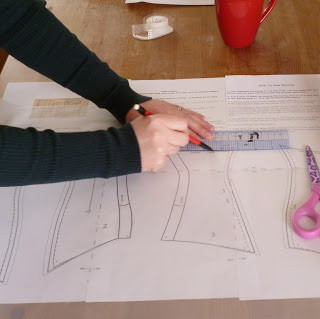
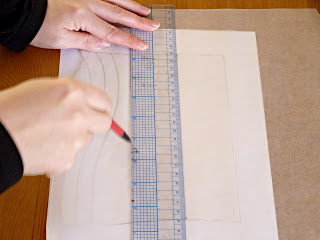
Uncategorized February 21, 2012Print out your corset garter belt pattern on regular, letter size paper, making sure the printer scaling is at 100%. Arrange each piece on a large work space. Cut and tape each corresponding piece together, like so:
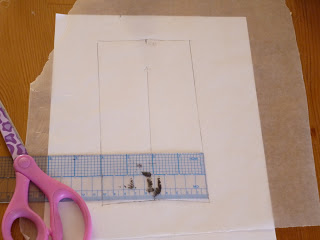
For corsets that will lace – add 2″ to the centre back seam. This will form a facing. We will also need to draft an interfacing piece to reinforce this section.
Why do you need to face and interface this section? There will be a lot of pull on the grommets – if they are set through 1 layer of fabric they are going to work their way through in no time. You will also want to add boning along either side of the eyelets to prevent “scrunching” (ick!), and the facing will form your bone casing.
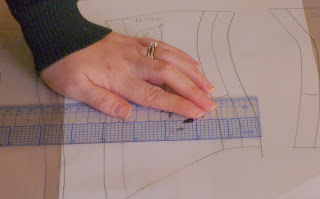
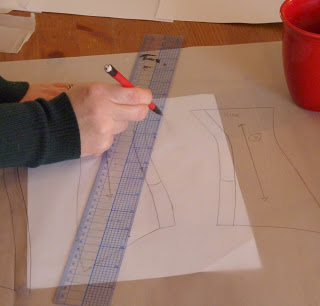
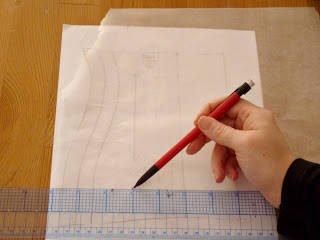
Measuring in 2″ from the centre back line, draw a line straight up (parallel to the centre back line).
Anna wrote a great post on what you will need to prepare for the Corset Garter Belt Sew Along.
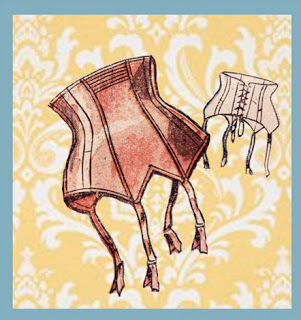
I am so so so excited! Anna, from A Few Threads Loose, came to me with a great idea – a co-sew along! If you haven’t seen Anna’s Etsy shop yet, she sells the best selection of vintage patterns and pdfs.


Once again, the first 5 commenters on this post, with a great handmade shop, or diy/fashion/lifestyle blog will get 1 month of FREE ad space on the right hand side of my blog.



Yesterday was the One of a Kind Show, which was awesome! I am doing all of my Christmas Shopping there next year. I picked up two things for Dan, and something for my soon-to-be sister in law and her husband, as well as something special for my mom. My mom surprised me with this beautiful, hand scuplted miniature pug. It is so life like and looks just like my Oliver. I am so in love with it and will cherish it forever.

