Anna has posted a similar post on
how to print and use your pdf pattern – Please follow Anna’s instructions if you plan on using hook and eye tape to close your corset. If you are planning on using eyelets to lace your corset close, follow my instructions below!
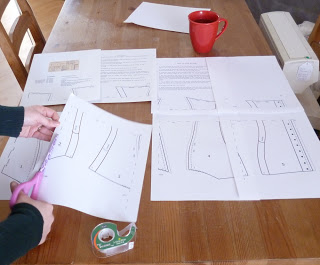
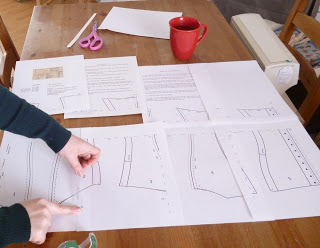
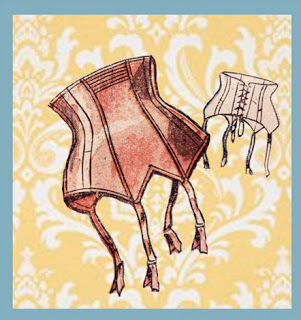
Print out your corset garter belt pattern on regular, letter size paper, making sure the printer scaling is at 100%. Arrange each piece on a large work space. Cut and tape each corresponding piece together, like so:
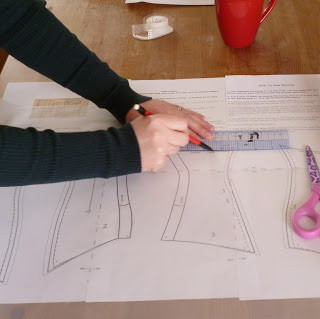
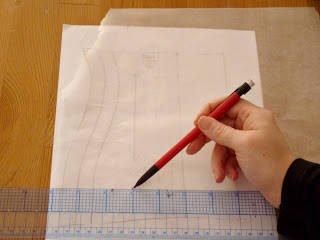
Using tracing paper, trace each piece in your size. I am adding my seam allowance to my traced pattern pieces.
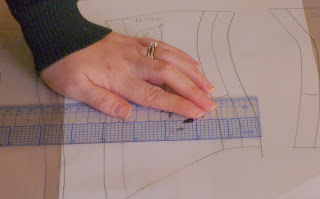
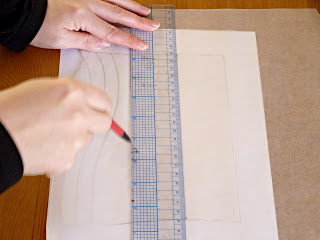
Once you have carefully traced each piece and all markings, add your seam allowance. I am using flat felled seams to encase my 1/4″ boning. I am adding a total of 5/8″ to each side of each panel, except for the centre front panel, which is to be cut on the fold. I have not added seam allowance to the top or bottom, because I plan on binding my edges.
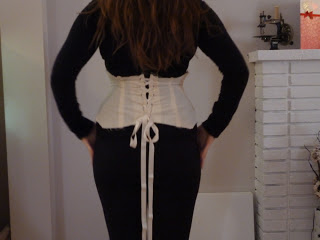
For corsets that will lace – add 2″ to the centre back seam. This will form a facing. We will also need to draft an interfacing piece to reinforce this section.
Why do you need to face and interface this section? There will be a lot of pull on the grommets – if they are set through 1 layer of fabric they are going to work their way through in no time. You will also want to add boning along either side of the eyelets to prevent “scrunching” (ick!), and the facing will form your bone casing.
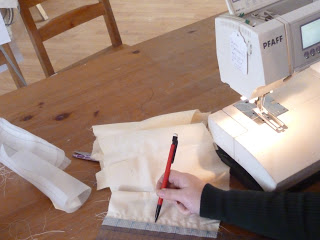
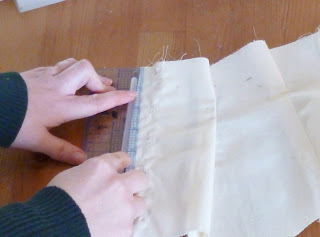
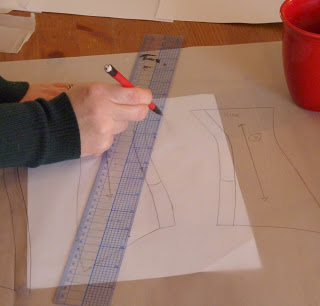
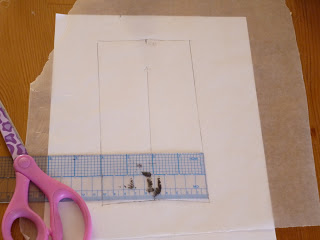
Measuring in 2″ from the centre back line, draw a line straight up (parallel to the centre back line).
Extend the interfacing pattern piece all the way along the 2″ extension so you get a large rectangular piece that looks like this:
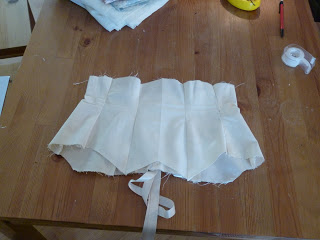
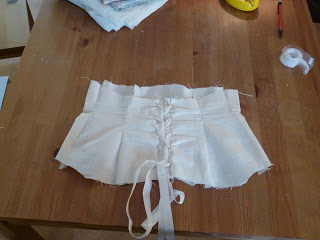
Voila! Your pattern for an laced corset is complete! You are now ready to use your pattern pieces to cut out your muslin.
